The Great Outdoors
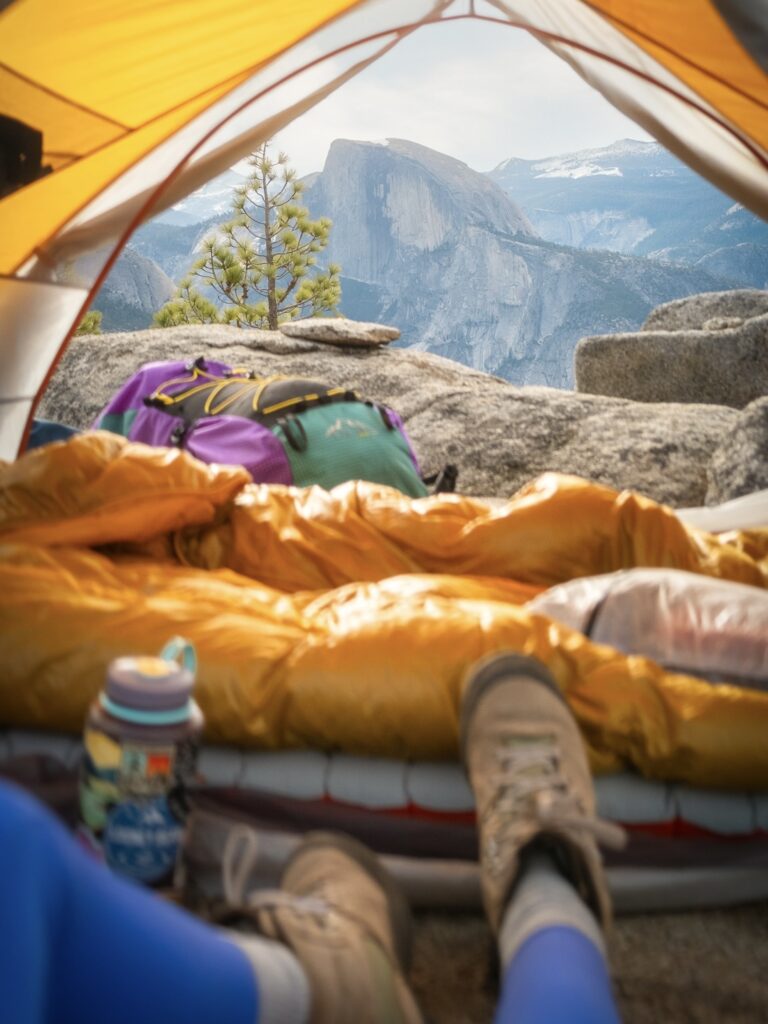
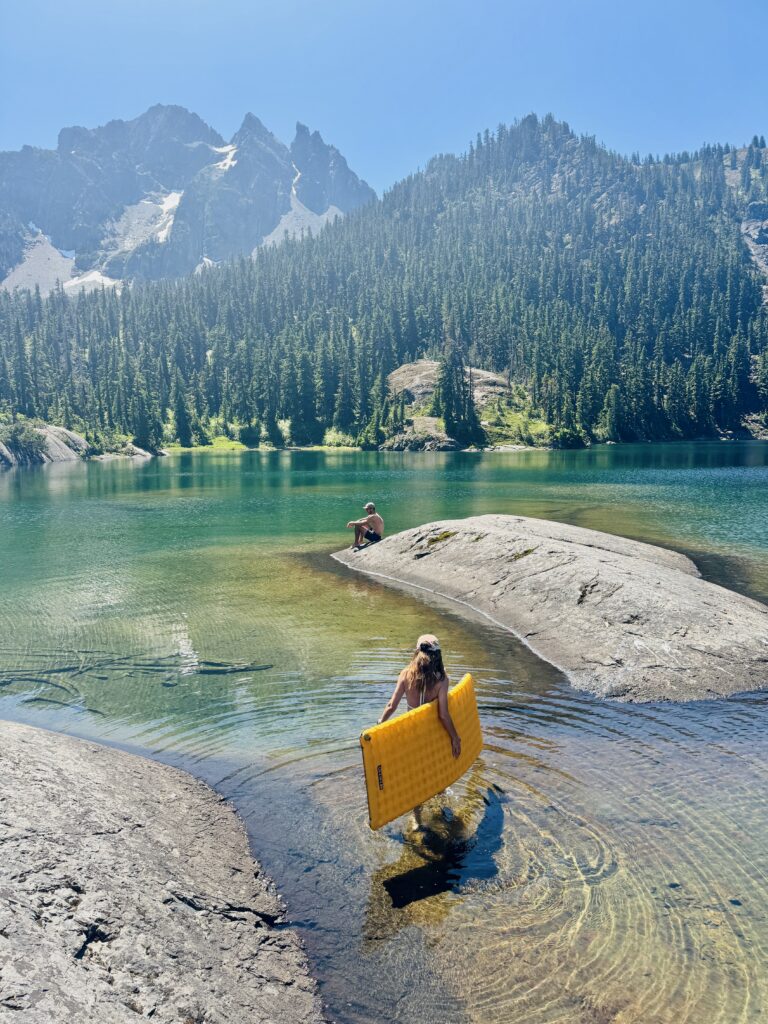
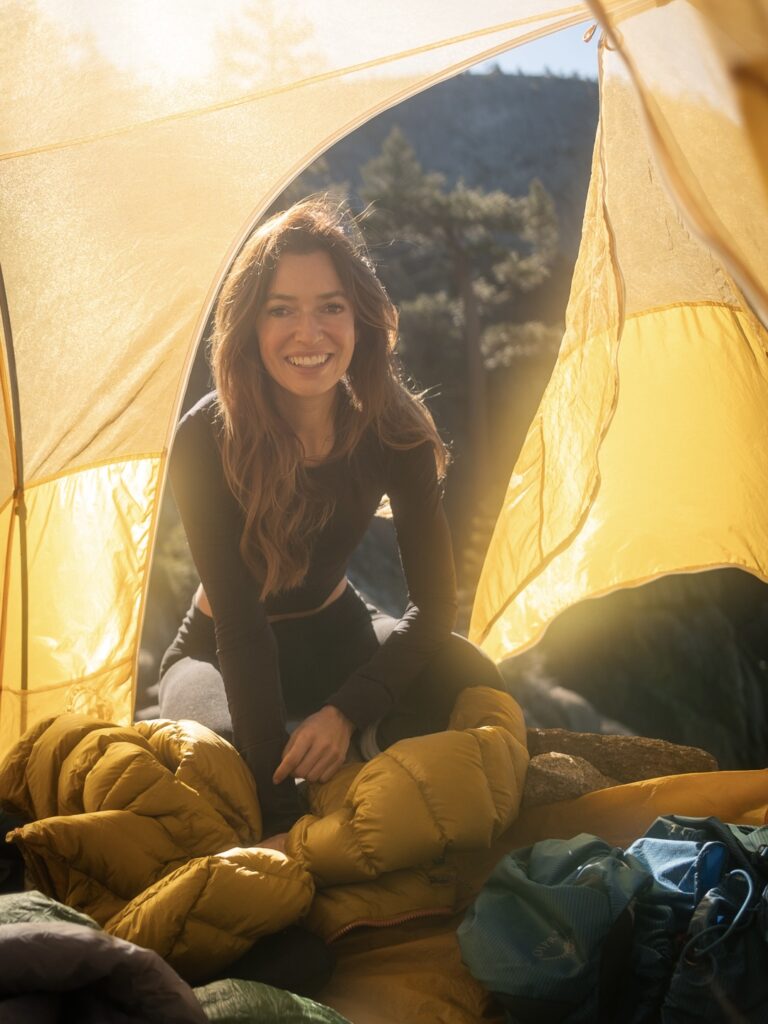
My happy place isn’t really a specific physical location, but rather an idea, or perhaps an ideal intrinsic to all those places that remain wild and untamed. It is the innate sense of solace and awe that our wilderness areas both offer and demand from those that wander into their embrace.
There is no better way to experience the full force of Mother Nature’s power to heal and inspire than by throwing on a backpack and making her your home – even if for just one night.
Backpacking is where all the world’s distractions and expectations quietly fade into the distant background. It’s human powered adventure. Type 2 fun. Proof that we can survive with only the things we can pack on our backs. And maybe, just maybe, be even happier that way. But first, you have to know what exactly you should pack!
This is where my backpacking gear check list comes in!
Checkout my backpacking gear checklist designed to keep you organized and help you pack more efficiently, whether it’s your first backpacking trip, or your hundreth. There’s even a printable version!
The Best Backpacking Gear Checklist
THE BASICS: Hiking & Camping Gear
This is the backpacking gear check list that I follow and all the backpacking gear that I bring with me when I head out into the backcountry. It’s important to remember that these items are simply some of my personal favorites. I haven’t tried every piece of gear under the sun, and what works best for me, may not work for you.
That being said, I’ve gone through a lot of camping, hiking and backpacking gear over the years, and this is my go to, tried and true, backpacking gear guide! Because nothing can ruin a trip faster than uncomfortable, heavy, or crappy outdoor gear.
Backpacking Packs
Of course the right backpack for a backpacking trip is vital. But I have this theory that whatever size bag you have, you will fill it up. For that reason, I tend to favor backpacks that are on the smaller side. Starting with a relatively small backpack ensures that I will pack efficiently, invest in quality ultralight gear, and enjoy a much lighter pack on the trail.
Osprey Exos 48 – This is my go-to backpacking pack. I’ve received numerous other backpacks since I’ve owned this one, but I always end up coming back. Osprey recently came out with a women’s model of this pack – The Eja. I have not had the chance to try it out, but I hear good things. The Exos and Eja have a sturdier frame than most lightweight packs, carry heavier loads comfortably, and are also a pretty good value for the quality of backpack.
HMG 2400 Southwest – I purchased this pack after hearing multiple rave reviews from friends whose opinions on these things I’ve learned not to question. And I’m definitely a convert! Optimized for comfort and high functionality, the HMG 2400 was built to withstand a lot of abuse. It’s waterproof, lightweight, and I can fit a surprising amount of gear inside.
Granite Gear Crown2 60L – Granite Gear has long been respected within the ultra-light and thru-hiking communities. I carried a Granite Gear pack for years before they discontinued the specific pack that I used. Since then, the super light Grown2 has become a staple in their lineup of well constructed and functional packs.
Osprey Packs Aura AG 65L – The Aura (Men’s Atmos) is the heaviest pack on this list, but it does a great job of balancing comfort, organization, and durability. The “Anti-Gravity” back panel is great for ventilation and the excellent suspension eases the stress of heavier loads.
DayPacks
Osprey Sirrus 24L (Men’s Stratos) – This pack is too small to backpack with (although it does come in larger sizes), but I’m including it in this gear guide because it is my favorite daypack. It’s not exceptionally lightweight but it more than makes up with it in fit, comfort, and support. My favorite thing about the Sirrus, is that it doesn’t skimp on important features like a solid hip belt, padded shoulder straps, and adjustable chest strap.
Osprey Packs Tempest 20L Backpack (Men’s Talon) – Another great Osprey daypack. The streamlined Tempest works well on the trail as well as around town.
Backpacking Tents
A tent is one of the most important pieces of gear you will invest in on your backpacking trip checklist. It effects everything from your comfort and enjoyment, to your safety in the backcountry. It is quite literally your home away from home. There are a lot of options out there, but key considerations include price, weight, interior space, design, and set up, among other things.
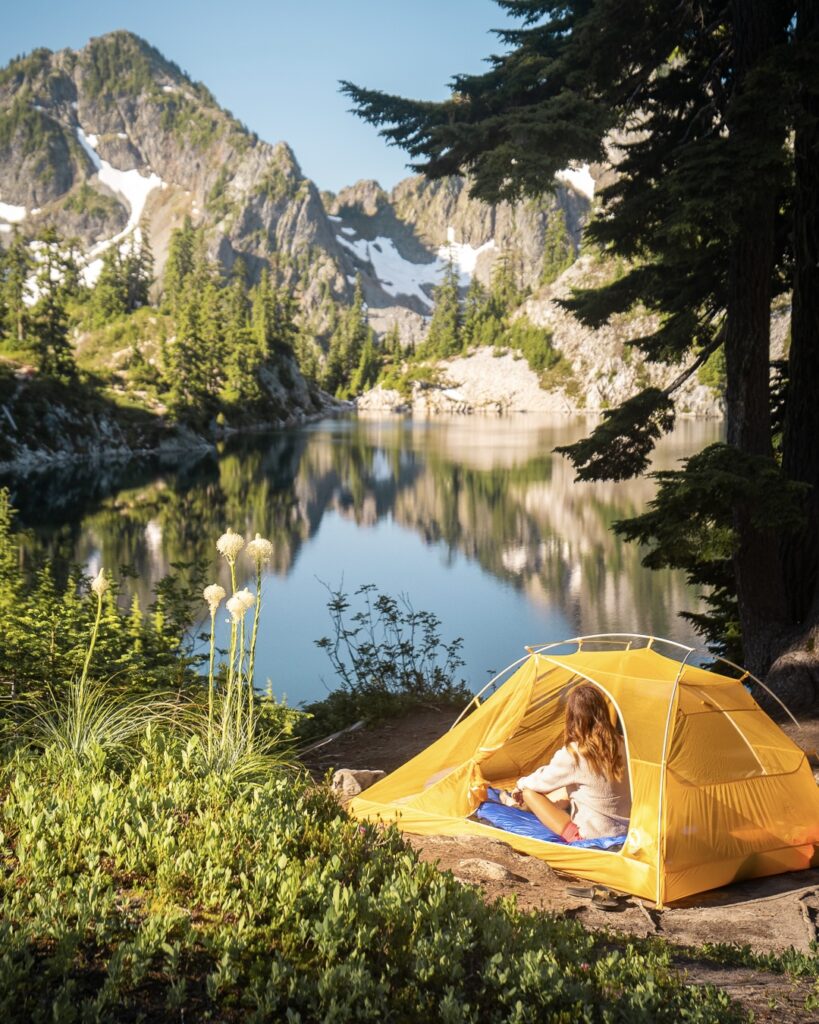
Big Agnes Tiger Wall UL3 Tent – This is the new tent that I’ll be trying out this upcoming camping season. It has two doors and two vestibules, double-wall construction, and a hassle-free pitch. Like the Nemo Blaze, the Tiger Wall is not technically freestanding, it’s easy to move around while picking a site. For a completely freestanding option, I own the Big Agnes Copper Spur HV UL2. Ultra-light two-person tents are pretty small, and there’s not a lot of room to spread out, so I like to take the 3 person tent on trips where I know I’m going to want to store extra gear in the tent, I’m not super comfortable snuggling with my tent partner, or I’m going to be spending a lot of time in the tent.
It’s a super nice option when you want a little extra lounging room, but don’t want to carry a ton of extra weight.
Marmot Tungsten 2P Tent – I camped throughout New Zealand in this tent and found it to be fairly similar in feel and size to the Big Agnes Copper Spur for a much more budget-friendly price point.
MSR Hubba Hubba NX Tent – The Hubba Habba isn’t the lightest tent on this list, but it might be the most durable! Plus, it’s sure to withstand any summer storms you might get caught in.
Sleeping Bag
I run exceptionally cold in general, but especially when I sleep. Growing up I associated backpacking with cold sleepless nights. As a result, if there is one piece of gear that I’m more than willing to splurge on in exchange for comfort in the backcountry it’s my sleeping bag. When it comes to backpacking sleeping bags, it’s all about the warmth-to-weight ratio.
Marmot Xenon Sleeping Bag 15 Degree – This was the first down sleeping bag I purchased. Backpacking primarily in the northwest, I always thought that I needed a synthetic bag to combat the moisture in the air. But now that I’ve gone down, I’m not sure I’ll ever go back. The warmth-to-weight ratio of down bags, combined with packability is hard to beat. But synthetic materials keep getting better, so only time will tell.
Western Mountaineering UltraLite 20 Degree – The Western Mountaineering UltraLite is probably the best all around sleeping bag I’ve come across recently. Weighing in at an impressively light 16 ounces, this ultra-premium, 850-fill down bag retains your body’s warmth while maintaining a super-high warmth-to-weight ratio.
The North Face Eco Trail Sleeping Bag 20 – This one is for my vegan friends out there (or anyone who prefers a synthetic bag). This eco-friendly sleeping bag honors your favorite outdoor spaces by using almost entirely recycled materials.
Kelty Cosmic 20 Sleeping Bag – A more budget-friendly bag worth checking out. The Kelty Cosmic Sleeping Bag also comes in a Women’s version. You can also add a sleeping bag liner to any sleeping bag to increase its warmth rating by at least 10°. This is an excellent option if you already own a sleeping bag (like me), but you want it to be a little bit warmer! Plus, the liners can be used as a stand-alone bag in hot weather.
Sleeping Pad
Therm-a-Rest NeoAir XLite Sleeping Pad – Comfortable and ultra-light, the Therm-a-Rest NeoAir XLight is a mainstay on many a backpacking gear list for a reason. Mine has seen years of use, and I have never had any issues with it. It reliably holds air all night, and folds down into a compact size that easily fits inside my backpack. I’ve read complaints about how noisy the pad can be when you move around on it, but it has never bothered me personally.
NEMO Equipment Inc. Tensor Insulated Lite Sleeping Pad – This is the sleeping pad I’m currently using. Like the NeoAir, the Astro is a lightweight sleeping pad for minimalist backpacking. The insulation means extra protection against the cold ground, and extra warmth at night, which we already know is a priority for me!
Backpacking Stove
Everything tastes better in the backcountry. Especially when it’s a hot meal! And few things suck more than getting to your destination and not being able to heat up your food. Take it from me, I’ve been there. So don’t forget your fuel!
Jetboil Flash Stove – Small, durable, and fast. The Jetboil’s all-in-one design makes it an easy choice for a convenient backcountry cook system. Jetboil’s are designed to do exactly what the name promises: boil water quickly. They are primarily intended for tea, coffee, and dehydrated meals. The Jetboil MiniMo Stove is another very popular option. But I actually also use my Jetboil to cook things like Top Ramen and Annie’s Mac and Cheese (even though you’re not supposed to), and the MiniMo isn’t big enough for that – although both are some of the best backpacking stoves on the market.
MSR Pocket Rocket 2 – This was the cook system that I had before the Jetboil, and It’s a pretty great ultra-light option. The only real downside is that you have to own/pack a separate pot to cook in. But the Pocket Rocket will fit into most camp pots along with the fuel. So at the end of the day, it’s really not a big deal. It just comes down to personal preferences.
MSR Ceramic Solo Pot – This is a great option if you are thinking of going with the MSR Pocket Rocket and you need a pot.
Don’t Forget Utensils!! Sea To Summit makes some of my favorite lightweight utensils for the backcountry.
OUTDOOR CLOTHING: Backpacking and hiking gear
Quality outdoor clothing can be on the pricier side, but you really only need a few key pieces to keep you comfortable and happy on the trail. And once you own them, they should last a long time!
Base Layers
Smartwool Merino 150 Baselayer – I fell for this Smartwool product the minute I put it on. Okay maybe it took a few hikes to really cement the relationship, but now it goes everywhere with me. EVERYWHERE. It offers dependable warmth for chilly evenings, and because it’s wool it’s naturally odor-resistant to keep you feeling fresh all day long. Plus, the form-fitting design is great for layering and flattering too – which I can’t say for a lot of outdoor apparel. P.S. it’s super cozy. Not itchy at all! Same goes for other quality marino wool products like Icebreaker’s Tech Lite Shirt. I’m officially a convert!
Patagonia Capilene Air Crew Top – This is a newer addition to my base layer collection and I can already tell it’s going to be a favorite. I first read about Patagonia’s new “innovative” base layer fabric that blends merino and polyester in a weave texture that optimizes breathability and wicking in Gear Patrol. The author of the review basically said it was the best base layer he had ever worn. EVER. Mic drop.
So of course as part of my endless quest for warmth, I had to try it for myself. And so far, it’s pretty great.
Patagonia Capilene Air Bottom – Same same as the top. But on the bottom.
Backcountry Tahoe Sun Crew – The sun can be deceptively intense in the mountains, so it’s important to have clothing that will protect you not only from the cold, but from the sun’s harmful rays too. With UPF 50+ sun protection the North Face Wander shirt does just that! And I really like the way it feels on my skin too.
Insulated Layer
Rab Microlight Jacket – There are so many down jackets out there, and I am personally always completely overwhelmed by the options. But after a little (a lot) of research and some asking around, I settled on the Rab Microlight Jacket because it has a slimmer fit than a lot of other brands, and because Rab has a long-standing reputation for quality apparel among “serious mountain people.”
Arc’teryx Atom LT Hooded Insulated Jacket – If ever there was a jacket that masterfully embodied the less is more philosophy the Arc’teryx Atom might be it! It feels a lot like wearing a cloud. It’s warm without being bulky and works well as a layer or on its own.
Patagonia Better Sweater 1/4-Zip Fleece Jacket – I’m endlessly surprised by how warm this jacket is. I actually purchased it on a whim, because I forgot my jacket on a trip, and it was the only option that still had an XS in stock. It turned out to be one of the best non-choices I ever made! It quickly became a staple in my outdoor and everyday wardrobe.
Patagonia Down Sweater Vest – You’re either a vest person or you’re not. And I guess I am, because I love this thing. Sometimes it’s not cold enough for a full on jacket, but your core could use a little love – queue the down sweater vest! The clothing version of a hug.
Waterproof Layer
Rab Kinetic 2.0 Jacket (Men’s Rab Kinetic Plus Jacket)- Hands down the best waterproof jacket I’ve owned. It’s the perfect blend of being a breathable and super comfy soft shell and a bombproof hard shell. It is quite slim fit though, so I wouldn’t plan on wearing super heavy layers under it!
Arc’teryx Zeta SL Jacket – The Rab Kinetic Jacket will always be my favorite waterproof shell. But as mentioned, it’s not great if I want to wear heavier layers underneath, and that’s why I picked up the Arc’teryx Zeta SL Jacket. So far I’ve been really happy with this jacket. It has kept me dry in a few downpours and it easily fits over a baselayer and my down jacket or a thick fleece.
Marmot PreCip Eco Jacket – I did a job with Marmot to promote this jacket a few years ago, and I think it’s a great budget friendly option. It’s a more traditional rain jacket, but it will keep you dry! And at the end of the day, that’s all that matters.
Mountain Hardwear Stretch Ozonic Pant – I’m not sure why, but I really just haven’t had to wear rain pants very often. Luck I guess. Nevertheless, I try and make sure these are stashed away somewhere at the bottom of my backpack before I head out on any backpacking trip. Alpine weather is notoriously unpredictable, and staying dry is one of my top priorities. Alpine weather is notoriously unpredictable, and staying dry is one of my top priorities. Rab recently came out with the Rab Kinetic Alpine Pant (Mens), and given how much I love the jacket I’m definitely going to invest in a pair of these if I’m ever in the market for a new pair of waterproof pants.
Hiking Pants
I’ve never really been a hiking pants type of gal. I think it’s because when I started hiking more regularly I just wore what I had, and what I had was a lot of leggings. Over time I’ve decided that’s okay. As long as you’re comfortable, happy, and safe, nothing else matters!
Prana, Vouri and Beyond Yoga – From hiking to HIIT workouts and everything in between, these brands make some of my favorite leggings for outdoor and indoor activities.
Prana Kanab Pant – If you’re not comfortable hiking in leggings, then these uber comfortable pants are a great alternative! They were designed for climbing but I think they work great for hiking too – they are made of strong lightweight material, have a wide flexible waistband, and actually look way better in person than they do in the pictures!
Shoes
More than maybe any other item, shoes are hard to recommend because they are so specific to the individual. That being said, hiking shoes are also the item of gear I get asked the most questions about, so I figured I’d at least let you know what I’m using. But it’s always a good idea to take any pair of boots out for a few short strolls to make sure they are a good fit before committing to a long trail day.
KEEN Terradora Mid Waterproof Hiking Boot – If I’m hiking these are the boots I’m wearing 99% of the time. They are light weight without sacrificing support or function. The first time I wore them, I didn’t follow my own advice, and I went out on an 11 mile hike. They were so comfortable that I forgot I was even wearing new boots. I have narrow feet and the Terradora feels like it was built just for me. If you have particularly wide feet, this might not be the shoe for you. Before the Keen Terradoras, I swore by the Merrell Moab 2 GTX Hiking Shoe, and they are still a great option!
La Sportiva Wildcat Trail Running Shoe – Sometimes—okay more often than not—I don’t feel the need to wear full-on hiking boots. This is particularly true if I’m just going on a short day hike. In those instances, I prefer to wear trail runners because I find them to be a little lighter and sometimes more comfortable. Right now I’m really digging La Sprtiva’s Wildcats.
Blundstone Classic 550 Chelsea Boot – Amazingly comfortable, these versatile boots are great option for travel – especially in cooler climates. I like that it’s a functional boot for long days of walking that can double as a fashionable pair of everyday boots. Again, I use these more for short hikes when I’m traveling, not so much for more strenuous treks.
Danner Mountain 600 – Let’s be honest, I purchased these boots because I like the way they look. But I also purchased them because they came highly recommended by a number of my friends that spend a lot of time outside. And after wearing them off and on for a couple of years I have to agree, they are awesome!
Smartwool Hike Medium Crew Sock – Not shoes, but equally important for your comfort. I’ve been buying Smartwool hiking socks for as long as I can remember. They keep my feet warm, without being too hot, and wick away moisture. Plus, because they are wool they stay oder free for the duration of my hiking trip. I love these so much I keep these extra socks in my sleeping bag just in case.
TEN ESSENTIALS
Packing the “Ten Essentials” whenever you step into the backcountry, even on day trips or day hikes, is a good habit. True, on a routine trip you may use only a few of them or none at all. It’s when something goes awry that you’ll truly appreciate the value of carrying these items that could literally save your life. The specific items from each “essential” that you take can be tailored to the trip, and personal preference. For more you can check out my blog post dedicated to the Ten Essentials That Will Keep You Alive In The Outdoors!
1. Navigation
This includes a combination of one or more of the following items: map, compass, altimeter, GPS devices, personal locator beacon (PLB) or satellite messenger.
Gaia GPS App – The best off-line GPS map app that I’ve found. For offline mode to work, you need to download the map you want to use for the area you plan to hike beforehand. When you get to the trailhead, start up the Gaia GPS app and load the downloaded map for use.
Garmin InReach Mini – Garmin makes a full range of InReach products, and like many other pieces of gear the one that is best for you will depend a lot on how you plan on using it. This lightweight satellite communicator enables two-way text messaging, downloadable maps, and interactive SOS to the 24/7 search and rescue monitoring center. However some of the functions, like the SOS require a monthly subscription.
2. Headlamp
Whether you are day hiking or backpacking it’s always a good idea to keep a headlamp and extra batteries in your bag. You never know when you’re going to get caught in the dark.
Petzl Actik Core Headlamp – There are fancier headlamps out there but I like to keep it simple. The Petzl Actik’s ease of use is my favorite, it’s very lightweight, and charging is a breeze with a micro-USB or AAA batteries.
3. Sun Protection
It’s not always intuitive, but the sun is often stronger at higher elevation or altitudes, especially when there is snow for it to reflect off of. Always carry sunglasses, sun-protective clothes, and sunscreen in your pack.
Maui Jim Sunglasses – I’ve never been one to purchase nice sunglasses because I always lose them. Then I received a pair of Maui Jim’s and realized what I’d been missing out on! They are relatively lightweight, they stay put, and the polarized lenses are an AMAZING quality. Plus, because they are so comfortable I don’t feel the need to constantly take them off and loose them!
Sunski Sunglasses – Sunsiks are a great casual and budget friendly alternative. I’ve had a few pairs over the years, and I always end up scratching the lenses, but they are fun while they last. Designed for alpine exposure Sunski’s Treeline offer the most protection for your peepers.
4. First Aid Kit
I use one of the prepackaged first aid kits, and then supplement it with any items that I feel it’s missing.
Adventure Medical Kit – Ultralight and watertight this prepackaged first-aid kit come in a variety of different sizes depending on your first aid needs.
5. Knife
Knifes are handy for preparing food, and making quick repairs to gear – especially if your knife is a multitool.
6. Fire
You will likely need fire to start your camp stove. But it could also be a life saver in the case of an emergency as a signal or a source of warmth.
Waterproof Matches – Because sometimes you need to start a fire when it’s wet out.
Lighter – Doesn’t need to be fancy. I usually just pick one up at the gas station on my way into the backcountry.
7. Shelter
When you’re backpacking this is your tent. See above for detailed tent recommendations. If you’re just on a day hike and not carrying a tent or other shelter, then it’s always a good idea to keep an emergency blanket in your pack. I like this emergency bivvy because it comes with a whistle. Otherwise, you can pick up this lightweight A lightweight blanket for emergency warmth. You never know, it could be the most important $5 you ever spend.
8. Extra Food
Plans change. If you happen to stay out on the trail longer than anticipated, you will be thankful for that extra Freeze Dried Dinner or Perfect Bar you packed away at the bottom of your bag – having enough food, and then some, is vital. Right now my favorite backpacking food on my hiking supplies list is from Peak Refuel, which is saying a lot because I have historically not been a fan of freeze-dried meals.
9. Extra water
This is a big one. Clean drinking water is critical for any trip into the backcountry, whether it’s an overnight trip or not. There are a wide variety of different water purification and filtration methods out there. The system that works best for you will depend on where you are going, how long you are going for, and personal preference.
Purification Tablets – I ALWAYS try and have purification tablets with me as a backup. Doesn’t matter if I’m on a day hike or an overnight backpacking trip. Sure they might make the water taste a little funny, but I think they are hands down the lightest weight, most reliable method of purifying water, and critical for having enough water if your primary method breaks down. The downside to chemical treatments is that there is a wait time before you can drink the water – about 30 minutes.
SteriPEN Adventurer Opti – The SteriPEN is another quick and easy purification method. It works by creating Ultraviolet (UV-C) light rays that sterilize clear water by destroying bacteria and even viruses. You simply press a button and gently stir the water in your water bottle. The biggest downside to the SteriPEN is that it’s battery operated, and I’m never quite sure if it actually worked or not. . . but that’s my personal trust issue.
Platypus GravityWorks Filter System – This is a great option if you are going on a longer backcountry trip and anticipate needing to filter a large quantity of water quickly. The GravityWorks System is simple, and intuitive to use and cleaning. Unlike the Chlorine Dioxide or SteriPen which are water purifiers, the GravityWorks System is a water filter. The difference between a water “filter” and a water “purifier” is that purifiers remove or kill viruses and filters do not. That being said, viruses are rarely a concern in North America, so most US backpackers don’t worry about treating them. If you are traveling abroad to a country with less developed sanitation systems, you should supplement your filtration method with a chemical treatment or UV filter.
Gryle Water Purifier Bottle – I love this bottle. It’s simple to use and filters out both bacteria and water born viruses. It’s great for hikes with frequent water sources, but even better for traveling in places without potable water. I’ve traveled throughout Mexico and South America with my Gryle and never once had to buy a single-use plastic water bottle. Pretty awesome!
Katadyn BeFree Water Filtration System is another great all-in one system, and it’s much lighter than the Gryle for long hikes – making it the best if your priority is ultralight options. I’ve probably used every water filtration system out there at this point. And to be honest, I think they all have a time and a place. I’ve been using Katadyn BeFree Filter on trips where I know there will be plenty of access to water, and I want to go super light weight.
10. Extra clothes
Weather changes quickly in the backcountry and it’s important to be prepared for a wide variety of conditions. Layer up!
A FEW OF MY FAVORITE THINGS
If you’ve checked off the above items in this backpacking gear guide than you are technically ready to hit the trail! My goal is generally not to simply survive in the backcountry. I want to thrive! The following gear is not necessary, but just might change your life!
Camping Pillow
The camping pillow is a game changer for a good night’s sleep. I used to just ball up my extra layers inside my stuff sack and call it good. And that totally works. But the bellow camp pillows deflate into next to nothing, are lightweight, and so much less lumpy than balled up sweaty clothes. So go ahead, add one to your camping checklist and live a little!
NEMO Equipment Inc. Fillo Elite – Pretty much everything I look for in a pillow (minus feathers) – it is soft and provides a nice amount of support. It packs down into its own internal stuff sack, and weighs next to nothing.
Sea To Summit Aeros – I really like the slight curvature of this pillow, it keeps the pillow balanced even when my head is not.
Trekking Poles
My knees aren’t what they used to be, and a heavy pack combined with a steep decent can result in a lot of discomfort. Trekking poles take a lot of that pressure off, and can also lend a helping hand on ascents!
Black Diamond Trail Pro – Remarkably light for aluminum trekking poles, these fold up small for easy storage in your pack when you don’t need them. Plus, the aluminum means they are more budget friendly than their carbon counterparts.
Black Diamond Distance Carbon FLZ – incredibly lightweight and collapsable for easy storage.
Microspikes
Kahtoola MICROspikes Traction System – Absolute life savers in cold, icy, or snowy conditions! Seriously these are one of the best products I’ve ever purchased. I don’t always end up using them, but just having them in my bag during shoulder seasons and all winter long has come in handy on multiple occasions. Super easy to put on and remove, microspikes are just a no-brainer.
Gaiters
Black Diamond Cirque Gaiter – When the weather turns cold and wet gaiters can make life a lot more enjoyable. They keep shoes and socks dry, and feet warm. They can be particularly nice in the snow.
Sandals
I don’t know about you, but after a long day of hiking there are few things that feel better than slipping off your hiking boots. I like to bring along a lightweight pair of sandals to change into at the end of the day so that I can wander around camp in comfort without taking my boots on and off a million times.
Teva Original Universal Sandal – Any pair of sandals will do, but it’s nice to find a pair that is reasonably light weight and grippy, good for water crossings, and can be paired with socks on those chilly mornings.
Nalgene
When I’m at home working out, driving in my car, or even going on short hikes I’m all about that YETI life. I particularly like the “Chug Bottle” because the integrated drinking spout allows me stay hydrated on the move without spilling all over myself. But in the backcountry I like to bring a Nalgene. First, Nalgene is a lot more weight efficient. Second, on cold nights I fill it up with boiling water and stuff it into my sleeping bag! The Nalgene water bottles will provide heat for hours.
Candy
No explanation needed.
Photography Gear
If you are anything like me then photography gear is more like one of the “10 Backpacking Essentials,” than an option. The exact camera gear I take depends a lot on the length of the trip. The farther the hike, the lighter I tend to go. Check out my complete Travel Photography Gear Guide for more details!
Natures TOILET
Nature doesn’t care if you’re off grid, it’s still going to call. And when it does, you need to know how to dispose of your waste properly. I go into more of the nitty gritty details about how to responsibly relieve yourself in the wild in my Camping 101 blog post, but carrying these few personal items with you will make the entire process more streamlined.
GSI Outdoors Cathole Trowel – If you find yourself in deuce mode without a commode, make sure to pick a secluded spot at least 200 feet from any body of water. Then dig a hole at least 6-8 inches deep. This is where having a trowel will make your life a lot easier!
Cleanwaste Go Anywhere Toilet Kit – Digging a whole is simply not an option in some environments like the desert where faeces will not easily and quickly decompose. In these cases you will need to pack your waste out.
Sea To Summit Wilderness Wipes – These compostable wipes are a godsend after a long day on the trail and are a great alternative to non-compostable toilet paper.
Don’t forget to download my backpacking checklist PDF.
LEAVE NO TRACE
While this is a comprehensive backpacking checklist, if you are stoked about nature to the point where you are thinking about spending the night, then I have to assume that you would love to hear about how you can help minimize your impact while you are out there!
After all, a clean home is a happy home. Leave No Trace is built on seven core principles that outline the best available minimum impact guidance for enjoying the outdoors responsibly. Leave No Trace isn’t black or white, right or wrong. It is not about exclusion. It’s a framework for making good decisions about enjoying the outdoors responsibly, regardless of how one chooses to do so. For more information please visit The Leave No Trace Center for Outdoor Ethics.
The Seven Principles
-
Plan Ahead and Prepare
-
Travel and Camp on Durable Surfaces
-
Dispose of Waste Properly
-
Leave What You Find
-
Minimize Campfire Impacts
-
Respect Wildlife
-
Be Considerate of Other Visitors
© 1999 by the Leave No Trace Center for Outdoor Ethics: www.LNT.org.
Please note that some of the links above are affiliate links, and I may earn a small commission on any purchase made – at no additional cost to you. That income helps support this website and keep it free for you and everyone else! As always, all ideas and opinions expressed in this post are entirely my own.
Related Posts!
The Kalalau Trail – To The Beach And Back
How I afford To travel All the Time
What’s In My Bag – Photography Gear
A Minimalist Guide To Packing Like A Pro
I loved your new blog. So informative and useful, not to mention very detailed which I love! Keep up the great work.
So glad you found the guide helpful Kim! Really appreciate you taking the time to check it out. 🙂
I AM SO INTERESTED WITH YOUR TRIP!
I ‘VE ALWAYS WANTED TO BE IN YOUR SITUATION IF SO..
Thanks for Keen recommendation as well realizing the importance of having that clear view above to connect more with nature. Love the work!!
Thanks Gabe! I really like the Keens. Those particular ones run pretty narrow, but the have other models people also enjoy a lot. I just haven’t tried them. Have an awesome weekend!
Great info. I’m a guy but found a lot to use here. Thanks!
Good to hear Bill! Other than the clothing most of the gear isn’t sex specific. And I think a lot of the clothing actually comes in men’s versions as well!
Do the tents have tarps over them ? In the pictures , it doesn’t show any but I’m concerned about what might happen if it rains . And also , do you bring toilet paper ? If so , how would you recommend disposing of it ? Really helpful post by the way .
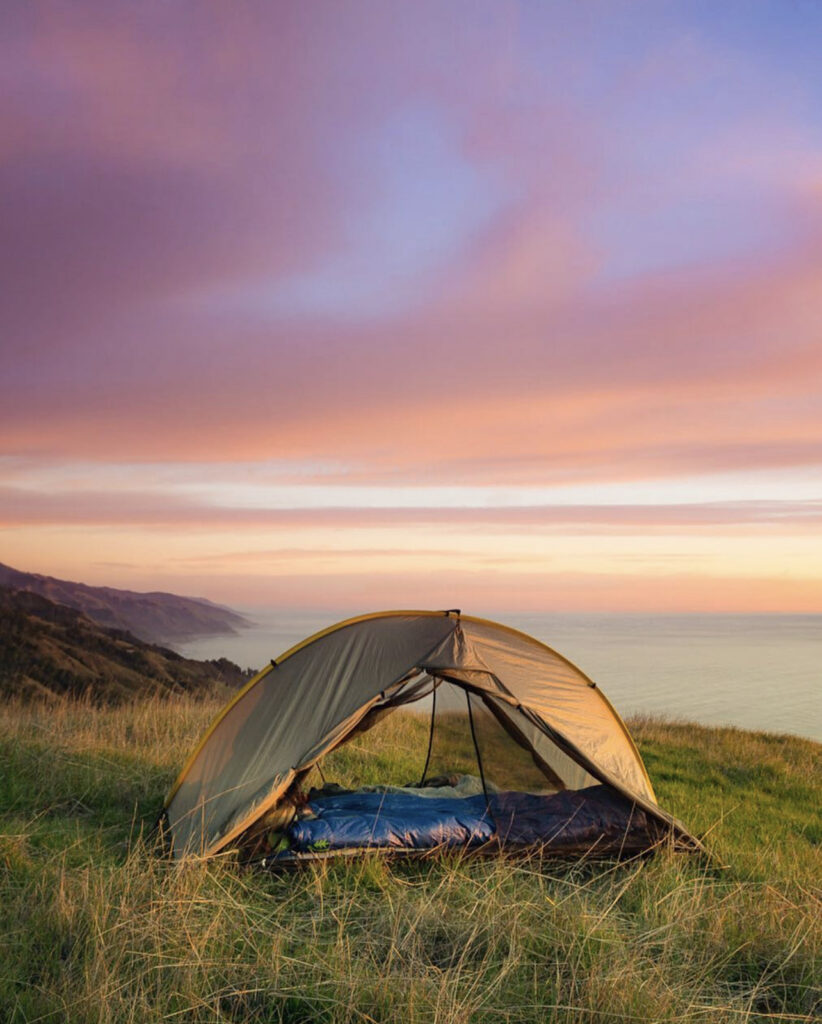
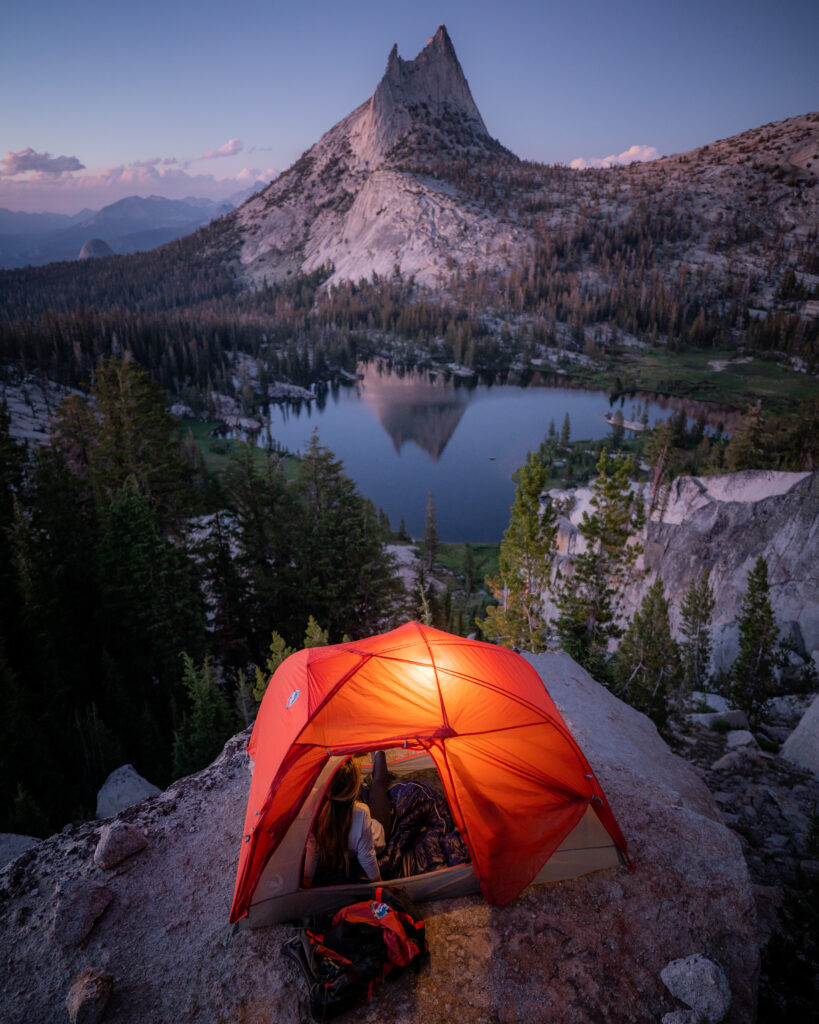
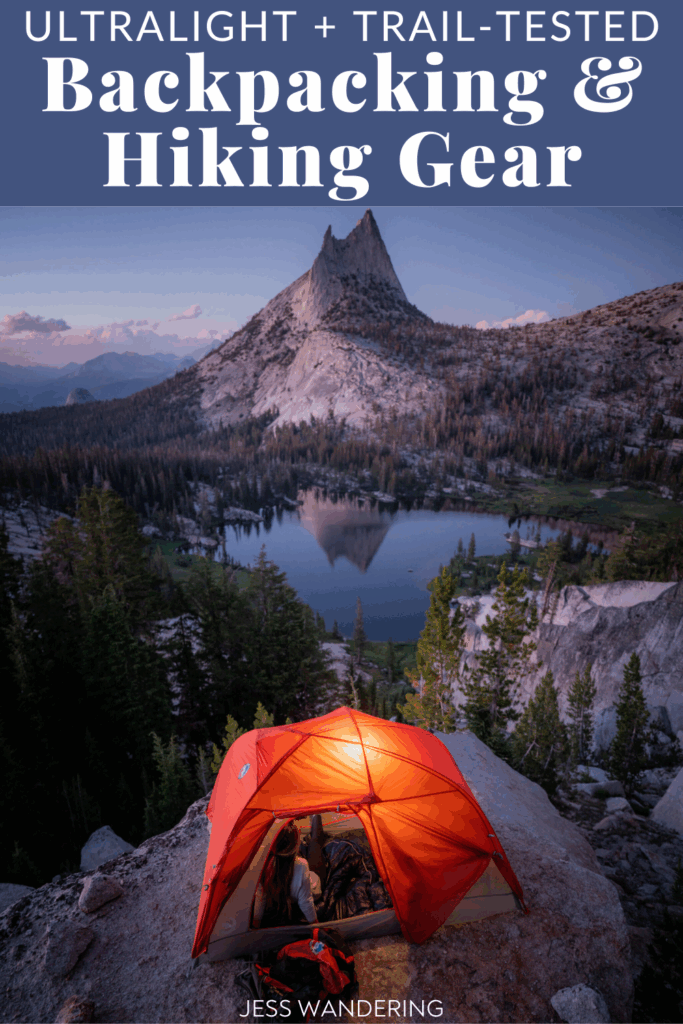
Hi Alison! Yes, all of the tents come with what is called a rainfly, which is the solid waterproof cover that goes over the mesh to keep you warm and dry. If you take a look at the last photo in the blog you can see an example of what the rainfly looks like for the Nemo tent, although the door is open in that photo, so it’s still not completely covered. Hope that helps! 🙂
Thanks for the great info! As someone who is constantly trying to pack less, narrowing the essentials down really helps. Would love to know where some of these beautiful places are as well!
Hey Lindsay! I’m the same way. Over the years I’ve realized that a light bag is the key to a good time on the trail for me. Happy to share where any of the photos were taken. Just let me know which ones you are interested in! 🙂
Thanks Jess. This is really helpful, although I wish I had a it a bit earlier. I have bought many of my gears and so far I’m satisfied. It takes time to research and find what you’re comfortable with, since it’s a big investment.
Glad it was helpful! I had every intention of putting something together earlier in the summer, but time just slipped away from me. It definitely takes a lot of time to research gear, and to figure out what works for you personally. Happy to hear that everything is working out pretty well for you so far! 🙂
Wow! This is ooo helpful! Thank you so much! Just wondering, does all of what you listed above (tent, sleeping pad/bag, stove etc fit into your backpack?? Anddddd what do you think of the lowa brand for hiking shoes?
Hi Danna! Happy that you found the guide to be helpful! It does fit, but to be completely honest I rarely carry all of that on my own. Usually I backpack with another person and we split up the communal gear. So one of us will cary the tent, while the other one will cary the cooking gear and food. If I did more solo backpacking I would probably use a 60L just to make sure I had room to spare.
I’ve never owned a pair of Lowa boots, so I can’t speak from experience, but I have a couple friends that like there’s. Sorry I can’t give you more input on that one!
This was an excellent read and I’m sure I’ll be referencing it often. Thanks!
Awesome to hear Mitch! Really glad you found it to be a good read.
What kind of food do you eat while backpacking? Curious to know because I think that the food I bring can get really heavy and would like some recommendations! 🙂
Hi Lisa! That’s a great question. My favorite backpacking food is actually Annies Mac and Cheese (the shells). I generally remove everything from the box, and repack it in a ziplock bag because it’s a lot less bulky, and ziplock bags tend to come in really handy on the trail for packing out garbage. I also really like good old fashion Top Ramen. If I’m going to be in the backcountry for a longer period of time I will also bring some freeze dried backpacking meals. My favorite is Good To-Go Thai Curry. And I always bring lots of food bars to snack on as well.
Click. Add to wishlist. Click. Add to wishlist. Click… 🙂 I didn’t realize this post was here and stumbled across it while checking out your post about Oregon! Super organized and helpful. Now to decide where to plant that tent!
Haha! I know the feeling. My wish lists are always full of outdoor gear. These are the items that finally made it off the list and into my life though! Glad you found it helpful. Happy camping! 🙂
Love your blog, Jess. Especially your post on Iceland (always been a dream of mine, but alas the funds simply aren’t there yet). You’ve been a massive inspiration for me and my own blog (thenomadsnotebook.com). Would love some feedback if you’re open to it. Thanks 🙂
Hey Isaiah. Really appreciate that. I checked out your blog, and really enjoyed it! I also really dig the layout, super easy to navigate and find articles. Keep doing you! And I hope you make it out to Iceland some day. 🙂
Hello Jess,
Thanks for the wonderful guide. Your blogs are ever inspiring and your instagram makes me jealous everytime!
On that note, how do you manage carrying your regular backpacking gear with your camera gear from the other link? Seems like 2 fully packed bags :-|
Thanks in advance!
Hi Sanjay!
That’s a great question! When I’m backpacking I don’t cary all of my camera gear. I only pack what I will need, which is generally one camera body and one lens (so it really doesn’t take up that much room). On that note, I never carry all of the camera gear in my photography gear blog all at once. For every trip, I think about the type of photos I will most likely be taking and I pack accordingly. Also, I am generally traveling with other people, and I try not to overlap gear.
Hi Jess. I was just wondering. What do you do for safety with bears and cougars in the backcountry? Bear spray or anything else you recommend?
Hi Renee. Thanks for the question! It really depends a lot on where I am backpacking. If I’m in bear country, like Wyoming or Canada I always carry bear spray. Other than that I use a bear canister to store all of my food in when it’s appropriate. I think it’s always a good idea to check in with a local ranger station before heading into the backcountry. They are full of helpful information regarding wildlife concerns specific to the area.
Hi Jess,
Thanks for this very helpful post.
How do you inflate the sleeping pad? I do it with my mouth and once someone told me it’s not a good idea cause the breath is humid and it will reduce the lifespan of the pad. How practically true is that?
Thanks!
Acey
Hi there Acey! Sorry for not getting back to you sooner. Thanks for the great question. I have heard that about sleeping pads as well, but to be completely honest I just blow mine up with my mouth and I’ve never had an issue (that I know of). But I probably only realistically use my sleeping pad about 30 nights a year now that we have the van. That being said, if you are concerned about it, I would look into the NEMO Cosmo Air (http://bit.ly/2EGqWBN). I don’t own that one, but it’s similar to the NEMO pad I use, and I’ve heard good things. It has an integrated foot pump, witch would eliminate the need for using your mouth!
Hi Jess,
Your photos are incredible! I’m wondering what you do about bringing a laptop along for longer hikes? I’m thinking about hiking Macchu Picchu next fall but I’d also be traveling for a few weeks before then and would like to have my laptop for work etc…is it too much of a hassle/weight issue to bring it along on a longer hike? I have a MacBook Pro 13”
Thanks!
Kat
Hi Kat! Thanks so much. I actually don’t think that I’ve ever brought my laptop along with me on a trek or hike because of the weight. That being said, I almost always travel with my computer, so I totally get your desire to bring it along. Generally, when I am doing longer treks in other countries I am either going with a guide or staying in a hotel before and after the hike. Those hotels or guide companies always have secure locations that they keep belongings for their guests. This is especially true in countries like Peru, where the majority of travelers are there to do treks and usually have excess luggage that they want to leave behind while they are hiking. Obviously there is always some risk when leaving valuables with strangers, but I’ve never had an issue.
Hi jess! Thank you for this very helpful article, at first I was hesitant to do this, because I don’t know what to prepare for beginners like me. but I will try to prepare it and buy the equipment in the Netherlands. Riendewolf.nl
Hi Frey. I’m glad that you found it helpful! I hope that you have a wonderful trip when you go.
Hello Jess! I’ve never tried a backcountry camping before. I live in France and the camping "bivouac" (what they call it), is rarely practiced due to some regulations and laws I think. So french people have designated areas for camping and it includes toilets and showers. This will be an awkward question but I was wondering if nature calls, how do you find toilets?
Hi Rovie! When nature calls in the US backcountry where you go really depends on where you are, and the wilderness regulations in that area. Some places ask that you dig a hole at least 6 inches deep and bury your waste, others actually provide special bags and require that you carry your waste out, while some places actually have built pit "toilets" out in nature for campers to use.
If you’re camping in the winter, it’s essential to insulate your tent to keep you warm throughout the day.
Preparing for your camping gear beforehand can help you avoid any unexpected situations and keep you safe. And you will fully enjoy the camping. Thank you for the guide it’s a big help.
I think its a complete list of outdoor gear. From the basic gear, tent to the very small items, it covers all the essential requirement for camping. Thanks for sharing
Thanks Eila! This is definitely everything I have used over the past few years. So excited for camping and hiking season!