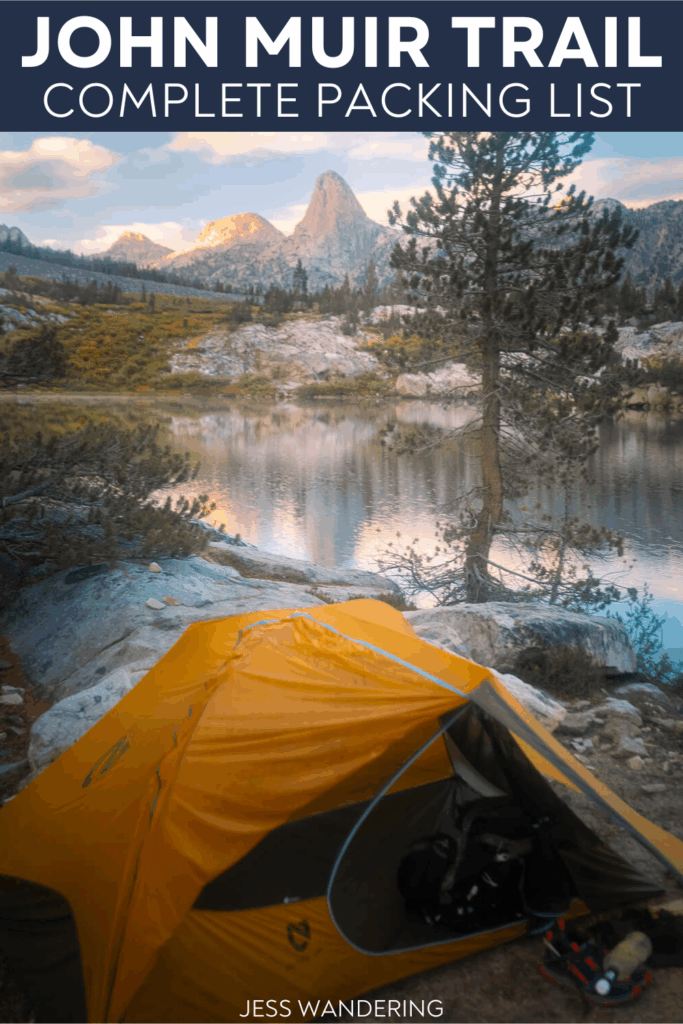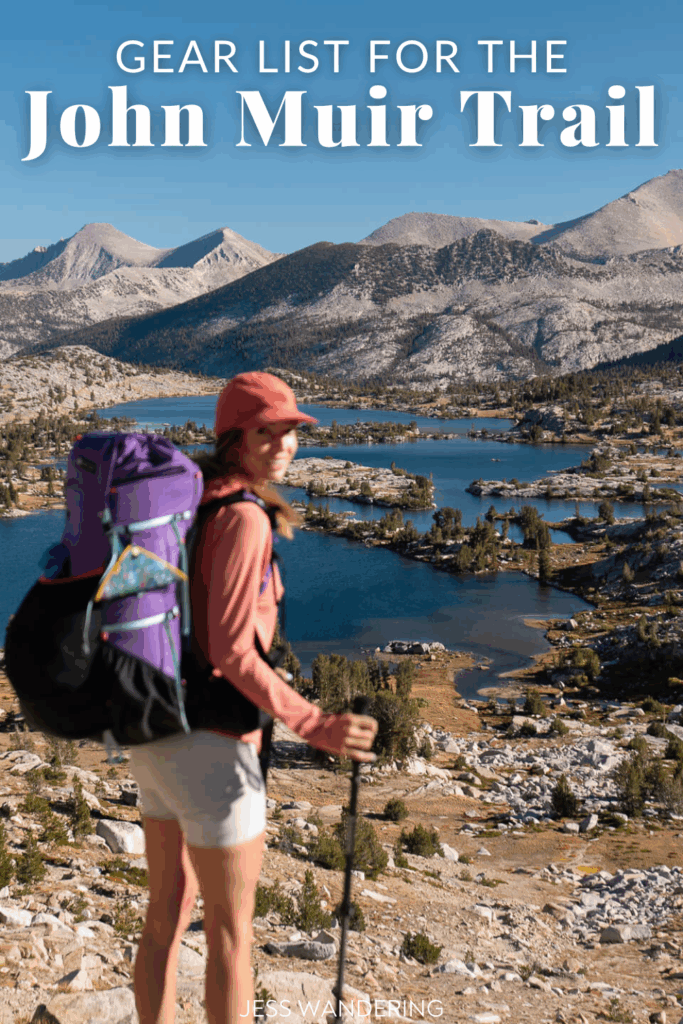
Packing for the John Muir Trail is one of the most exciting and stressful parts of the whole experience. Every ounce matters, and what you choose to carry will shape your time on the trail. This post is a complete breakdown of everything I packed for my 15-day thru-hike from Yosemite to Mount Whitney. I’ll go over what worked, what I could have skipped, and what I’d absolutely bring again. Whether you’re planning your own JMT adventure or just curious what it takes to live out of a backpack for two weeks, here’s my full John Muir Trail gear list.
| Just a quick heads up! Some of the links on this blog may be affiliate links, which means that if you click on them and make a purchase, I may earn a tiny commission. Don’t worry, though – it won’t cost you anything extra, and it’s a way for me to keep this blog up and running. Thanks for your support! |
Shelter and Sleep Gear
SLEEPING BAG – The Feathered Friends Egret UL 20 has been my go-to sleeping bag for the last two seasons and it was perfect for the JMT as well. Even on my coldest nights above 12,000 it kept me nice and toasty.
SLEEPING PAD – As a side sleeper, I’m picky about sleeping pads, and the NEMO Tensor Trail Ultralight Insulated Sleeping Pad is one of the only ultralight pads I’ve found that’s genuinely comfortable (for a sleeping pad).
BACKPACKING PILLOW – The Sea to Summit Aeros Premium Pillow is the best ultralight pillow I’ve found. Does is feel like your pillow on your bed at home? NO. But, it’s still one of those little luxuries I never regret packing.
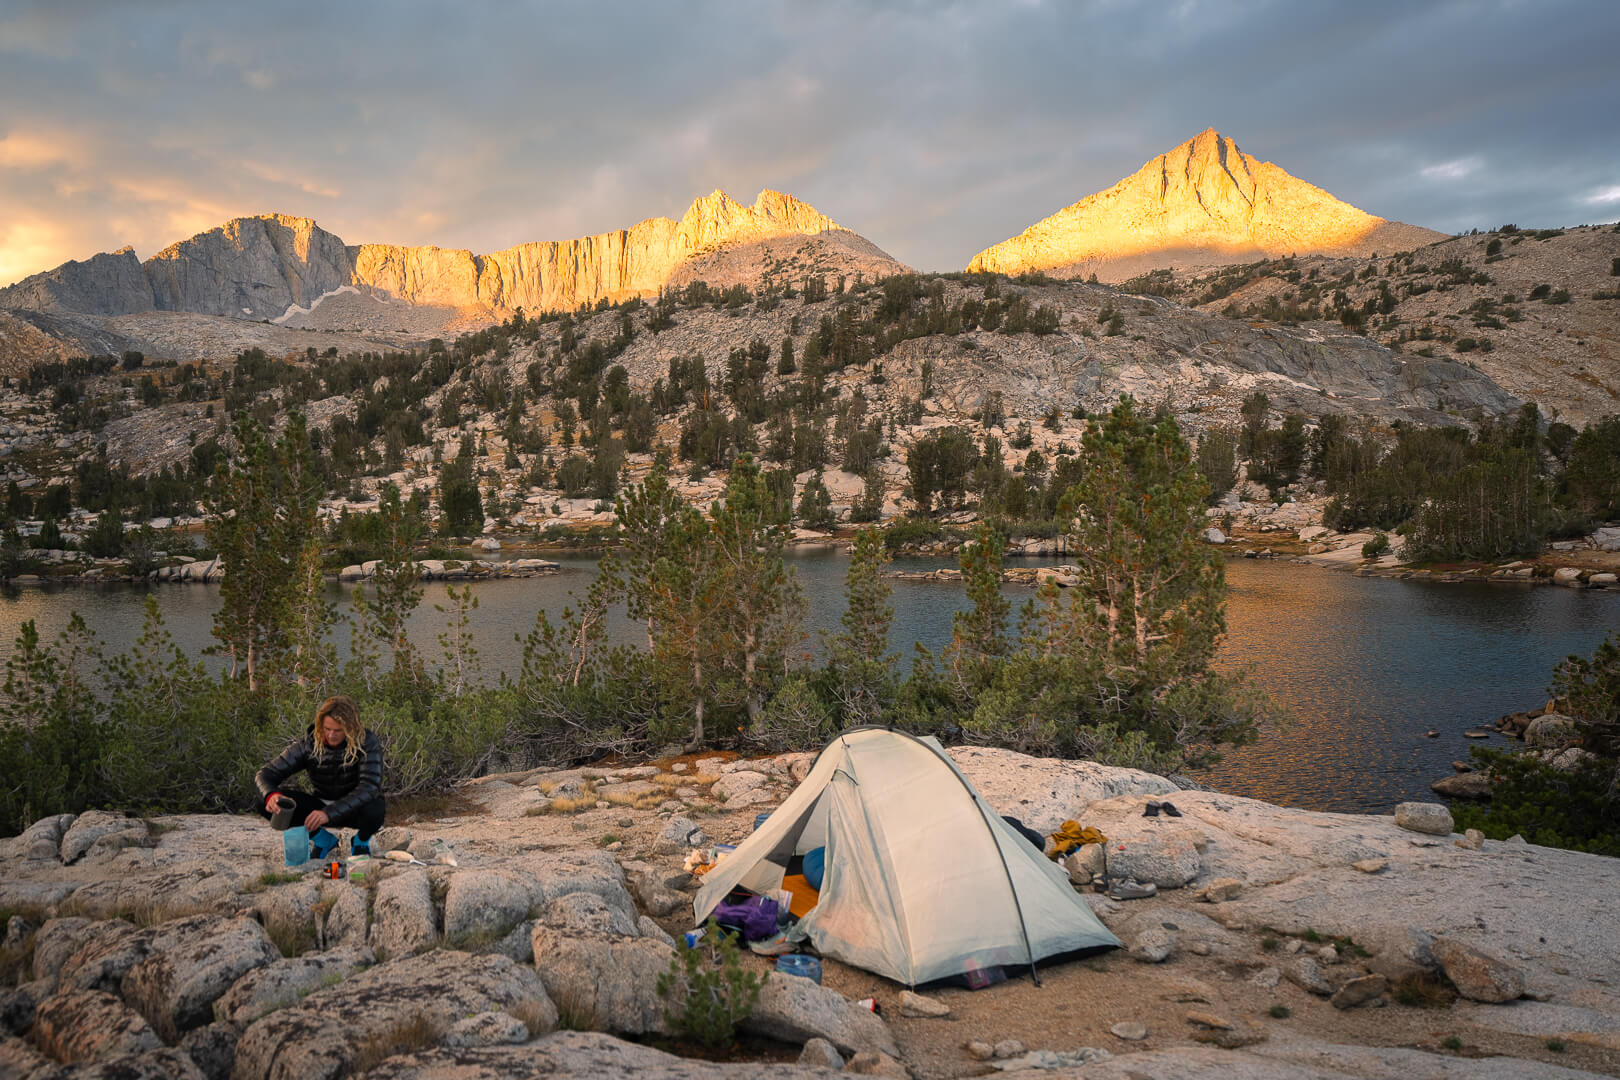
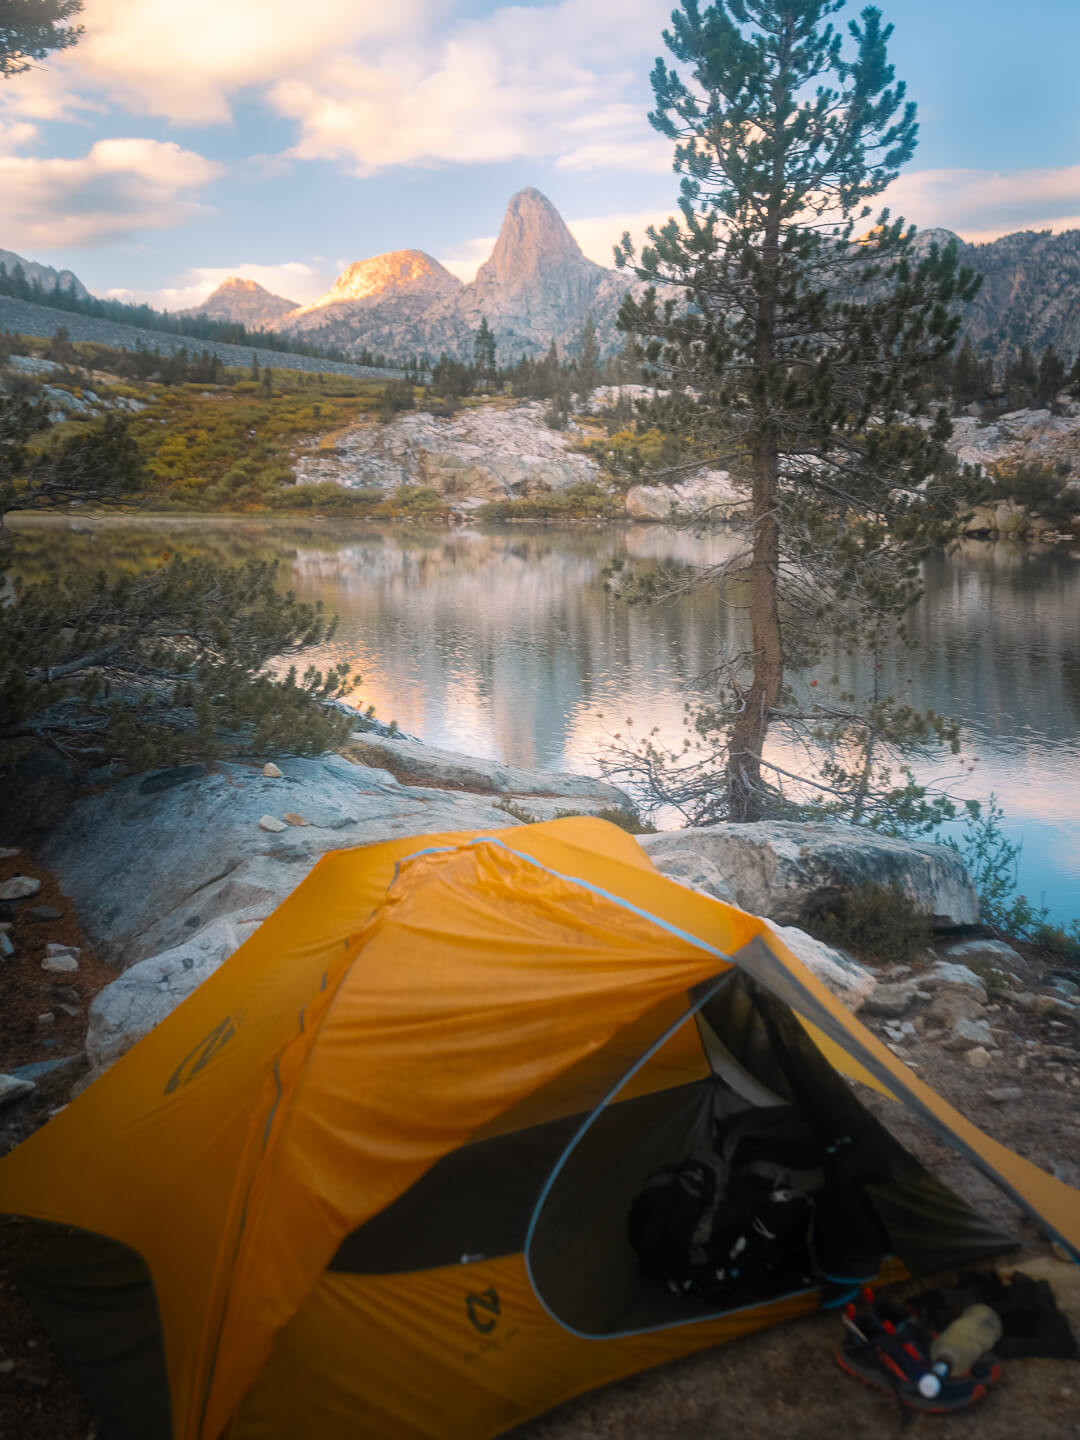
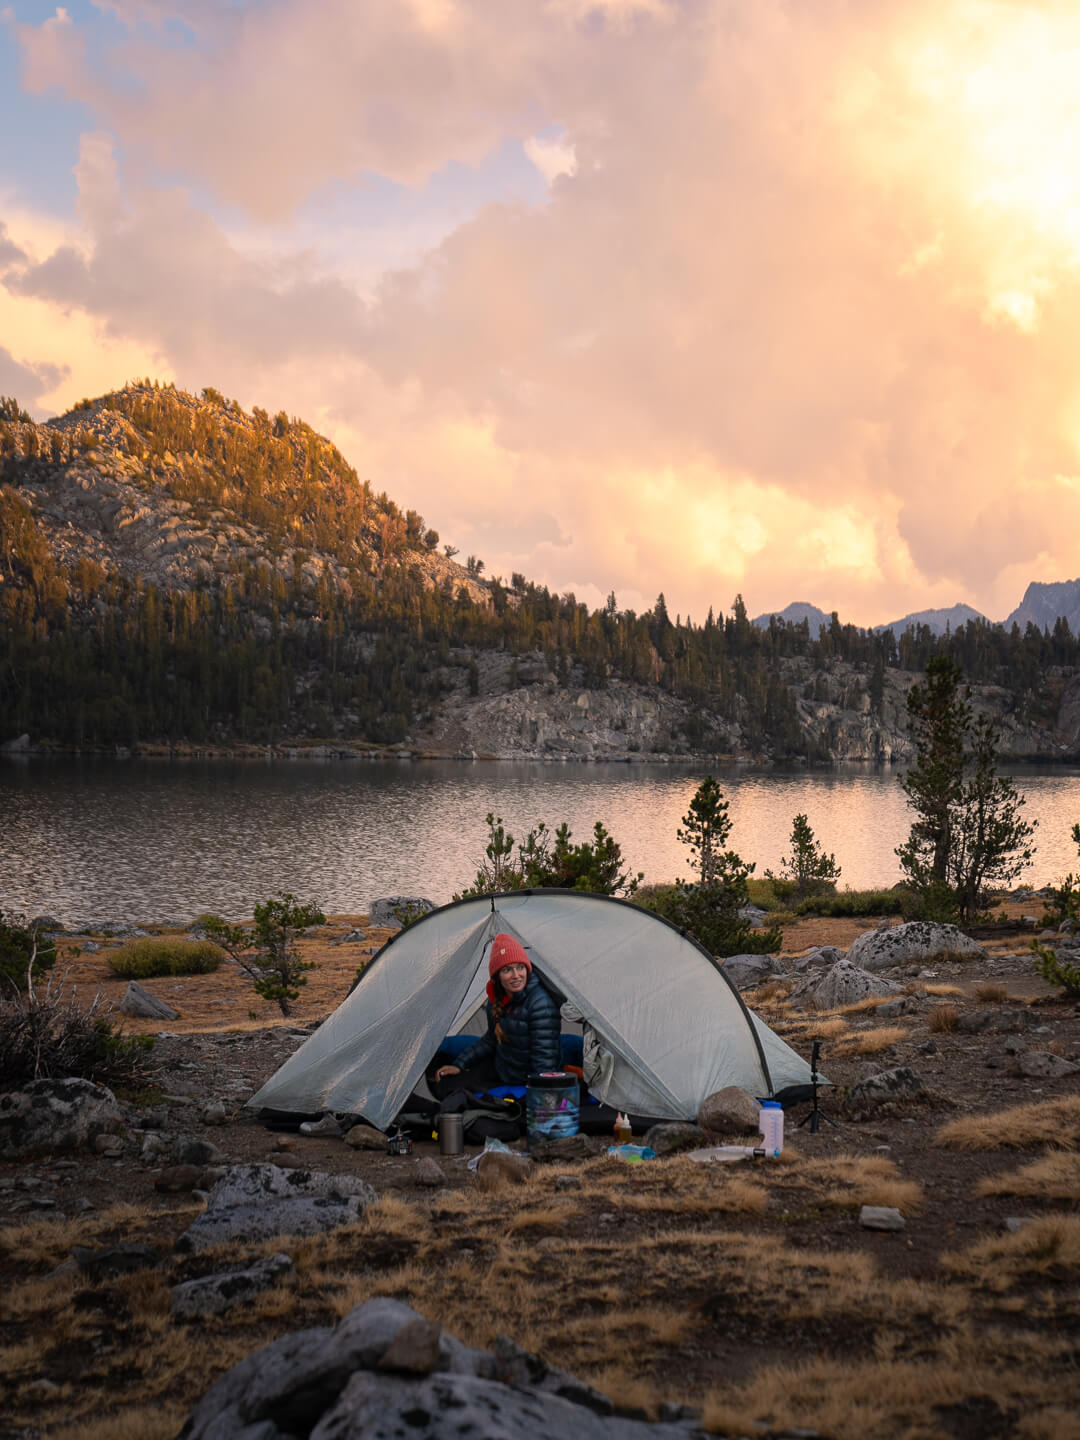
ULTRALIGHT TENT – We went with the Tarptent Double Rainbow for this trip. It’s a single-walled tent, which kept the weight down and made setup quick, which was great considering how many times we found ourselves setting up in the rain.
Food, Water, & Kitchen Gear
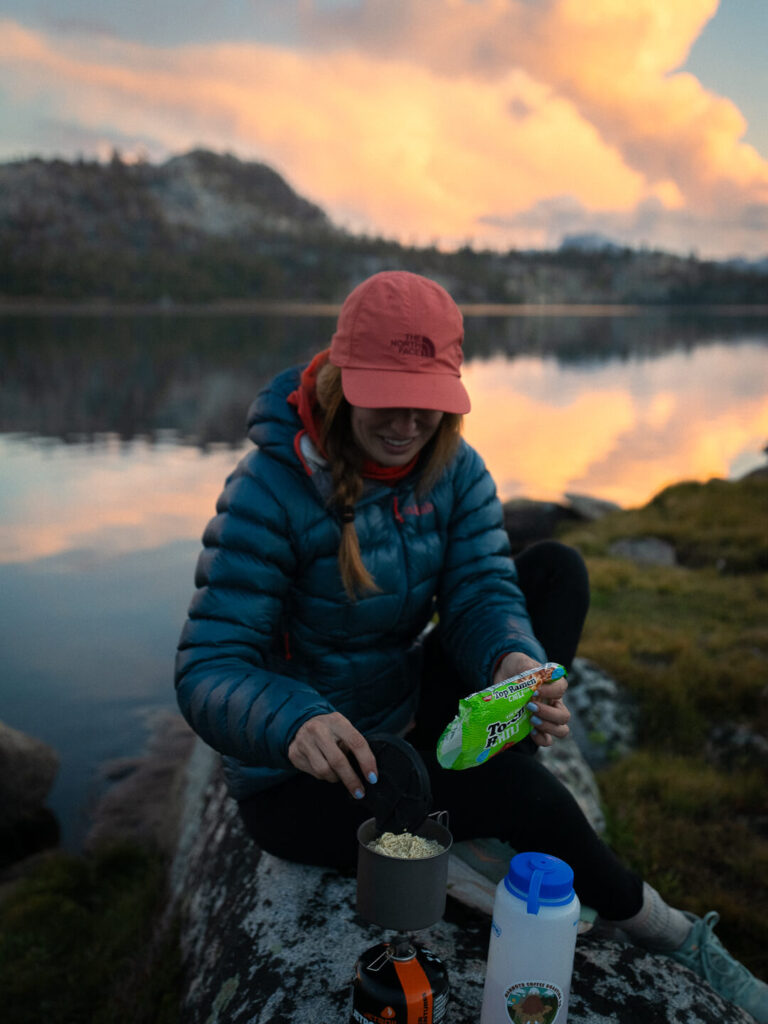
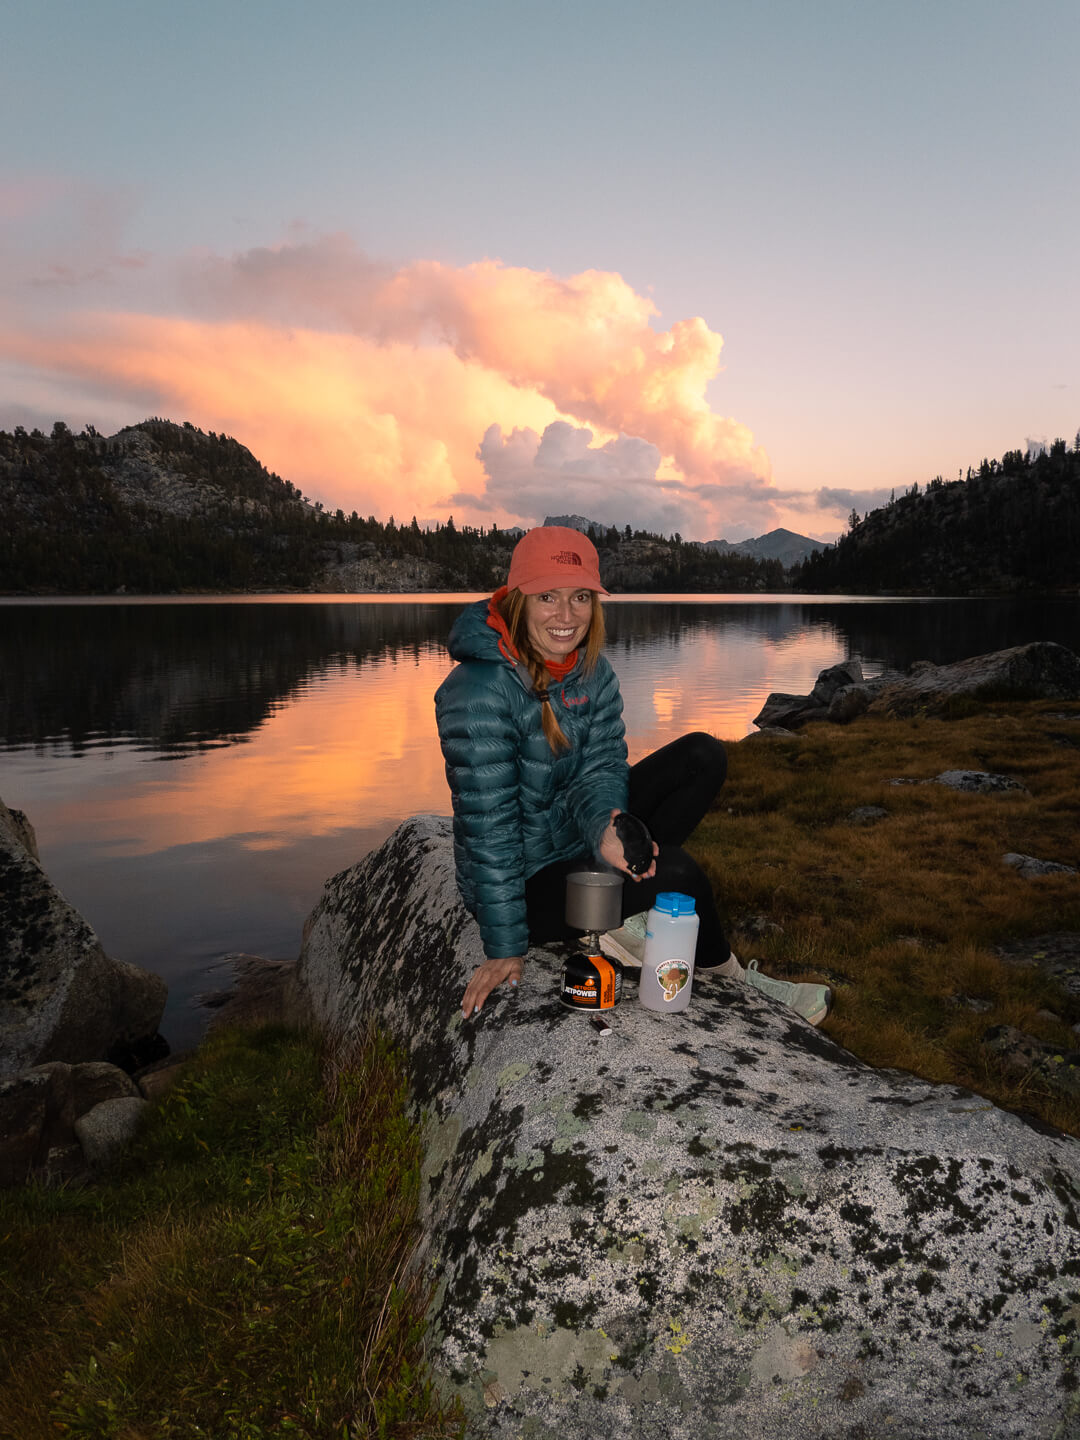
ULTRALIGHT STOVE – The Soto WindMaster with 4Flex pot is lighter and more versatile than my Jetboil so it was my choice for the JMT. It lights instantly and boils fast even in windy conditions – which we had a lot of. Plus, it fit’s nicely inside my ultralight cook pot, along with everything else I need to make a meal.
COOK POT – The TOAKS Titanium 750 ml Pot, perfectly fits a 110g Fuel Canister (the smaller standard size that you see), WindMaster Stove, and a mini BIC Lighter. It’s small and ultralight, but still large enough to heat up enough water for all my backpacking meals or even cook up some Annies Mac & Cheese. The TOAKS Pot can also easily double as a mug for those morning coffees or tea.
FUEL – I don’t have a preferred fuel brand. I generally like the smaller 110g canisters because they nicely fit inside most cook pots or even the Jetboil if you decide to go in that direction.
LIGHTER – The Soto WindMaster has a built in starters, but I never feel comfortable relying on it (not that I’ve had any issues). Plus there are other reasons you might need/want to start a fire, so I like to keep a mini Bic lighter in my cook kit.
EATING UTENSIL – Snow Peak Titanium Spork (Long).
FOOD STORAGE (BEAR SAFE) – The BearVault BV475 Trek Large Bear Canister was just big enough to store all of my food for the longer stretches on the trail. Although still annoyingly heavy, it’s lighter than other approved bear canister options, and it will keep you and the bears safe! This size is generally considered good for 5-6 days, but I used it for 7 days at one point. I had to repackage everything to make it fit though.
WATER PURIFIER – The Katadyn BeFree is my favorite filter for speed and simplicity. It’s ultralight, easy to squeeze, and perfect for quickly filling bottles on the go. The wide mouth makes it easy to collect water from shallow streams, and it packs small enough to always bring along.
NALGENE – It may seem old school, but a Nalgene is one of the most versatile pieces of gear I always carry. It’s indestructible, easy to clean, and works for everything from water storage to mixing drinks or rehydrating meals. On the coldest nights, I filled it with boiling water, sealed it tight, and tuck it into my sleeping bag for extra warmth. Was a game changer!
FOOD – Food can make or break a trip like the JMT. You want to bring enough to fuel long days in the mountains without carrying more than you have to. The key is maximizing calories per ounce — high-energy foods that pack small but keep you going. Think foods with high fat content! Nut butters, dehydrated meals, nuts, and olive oil are all trail staples for a reason.
PEAK REFUEL BACKPACKING MEALS – Peak Refuel meals are my go-to for backpacking because they’re high in protein, and actually feel like real food at the end of a long day. My favorites are Butternut Dal Bhat (great for my vegi friends), Chicken Coconut Curry, Homestyle Chicken and Rice (with hot sauce), and last but not least Sweet Pork & Rice (if I’m not traveling ultralight, I like to wrap this one up in a tortilla and add avocado).
ELECTROLYTES – Not only are electrolytes important for keeping you hydrated, but I found that they motivated me to keep drinking water by tricking my brain into thinking it was a tasty treat.
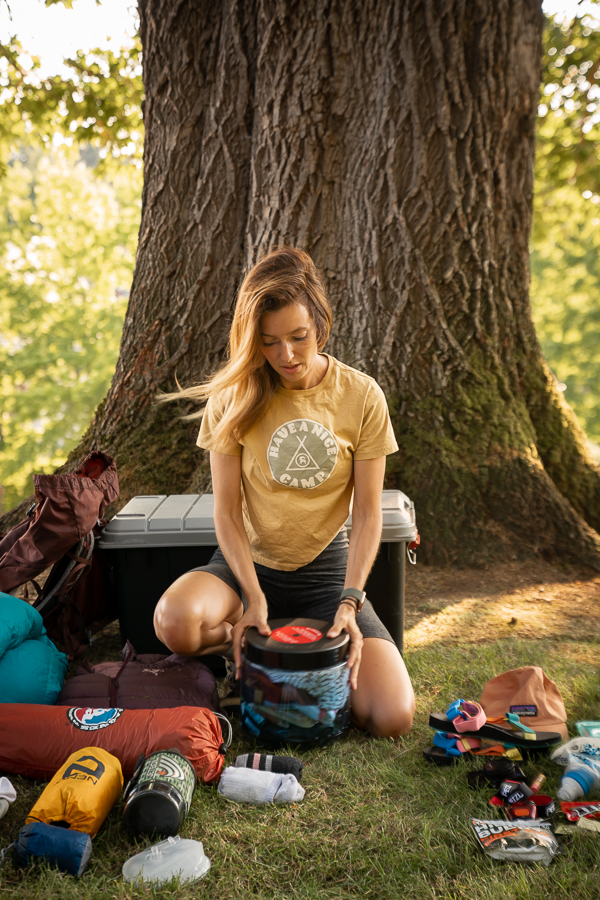
Packing & Organization
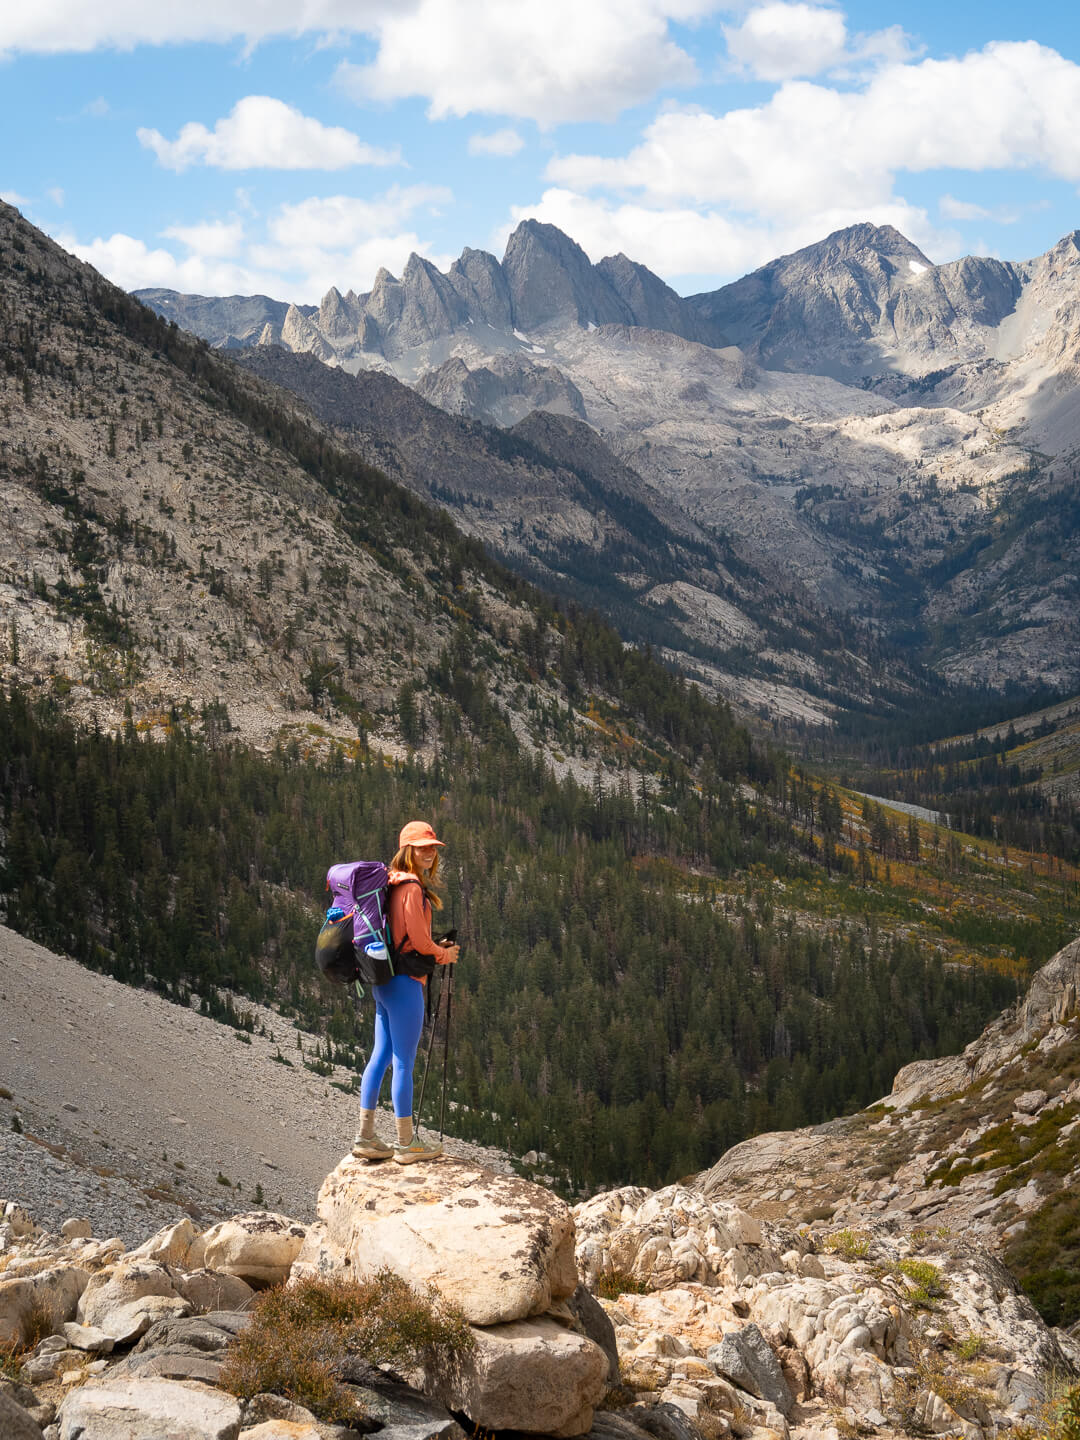
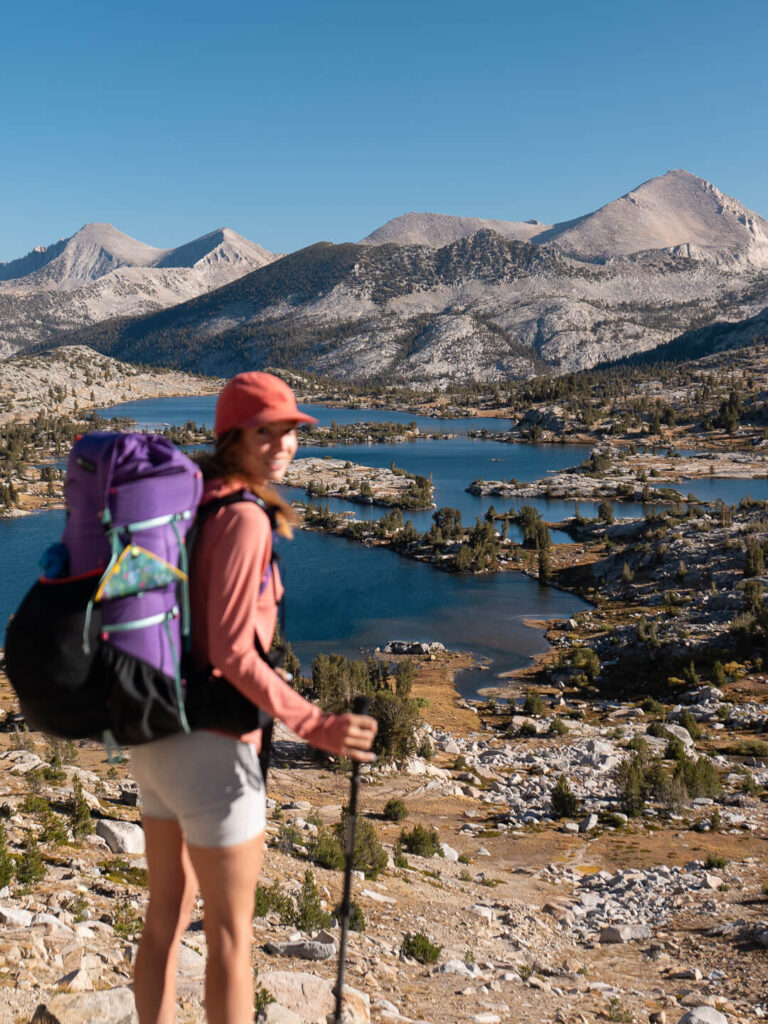
ULTRALIGHT BACKPACK – Gossamer Gear’s Gorilla 50L pack is my newest backpack and the one that I used on the JMT. I’ve tried a lot of ultralight packs over the past few years (Hyperlite, ULA Equipment, etc.), but most of them didn’t work for me. They were either too big, didn’t have enough support, or skimped on important features like load lifters. I also love the removable back pad, which doubles as a sit pad for breaks on the trail.
NOTE: The Gorilla is designed for ultralight trips. If your bag weighs more than 25 pounds, this is probably not the bag for you.
As much as I really like this pack, my left load lifter broke about halfway through the trip which was a pretty huge bummer. My pack was slightly off kilter for the rest of the trip – which really took a toll on my back and neck. The Gossamer Gear website does state that the max weight for the Gorilla 50L is 30 pounds (and the comfort rate is 25 lbs), which I was probably pushing after our resupply at VVR. So I can’t completely blame this on the pack. That being said, I think I will replace it with the slightly larger Mariposa 60.
BACKPACK LINER – I found it a little awkward to pack my gear inside the Nylofume Pack Liner because it has no stretch, but at the end of the day I was super glad I had it. It’s the simplest, lightest way I’ve found to keep my gear dry.
BAG FOR CLOTHING – 3L Sea to Summit Ultra-Sil Dry Bag for clothing. I like an little extra layer of organization and protection for my clothes. I’ll pull this out of my bag every night and keep it in the tent so it’s ready to go the next morning and I can easily access whatever clothing the conditions call for.
Other Backpacking Gear
HEADLAMP – Nitecore NU25 400 Lumen Rechargeable Headlamp
TREKKING POLES – Durston Iceline Trekking Poles. I just picked up the Durston Iceline trekking poles because I wanted something ultralight but sturdy to take pressure off my knees on big hikes – like the JMT. They’re incredibly light (under 10 oz per pair) and designed for strength, and ended up being one of my most valuable pieces of gear on the trail.
MULTI-TOOL – Swiss Army Classic Knife
FIRST AID – Band-Aids, Leukotape, Advil, anti-bacterial cream.
REPAIR KIT – Repair Spool by Igneous, Tenacious Tape.
Clothing Essentials
SUN SHIRT – I literally lived in the Crater Lake Hoody on the JMT. There were probably only a handfull of hours in the entire 2 weeks that we were on trail that I didn’t have it on. I even ended up sleeping in it. It offers full UPF 50+ protection for long days in exposed terrain, so I don’t have to carry buckets of sunscreen.
SHORTS – Outdoor Voices Warmup 5” Shorts. I probably wouldn’t brings these again. Not because I don’t like them, but I just think a lighter/thinner pair of shorts would work a lot better. Something like these super comfy Lululemon shorts would be easier to clean, dry faster after washing, and be lighter in my pack when I wasn’t wearing them.
HIKING PANTS – REI Trailmade Pants. The Trailmade Pants are affordable, durable, and surprisingly versatile for hiking and backpacking. And I have to admit it was nice to have a pair of pants that were a bit more airy than leggings.
LEGGINGS – I wore the Vuori Clean Elevation Legging. I chose these because they’re on the thicker side, and I knew that temps were going to be dropping as we moved into fall.
DOWN PANTS – I brought the Montbell Light Down Pants as a luxury item. They were so nice and cozy to slip into at camp each night while handing out and making dinner. I also wore them to sleep on the two coldest nights. I’m sure I will get a lot of use out of them on future backpacking trips, but I’m not sure I would justify them on a long distance thru-hike like this.
BASE LAYER PANTS FOR SLEEPING – I brought the Icebreaker Marino Wool Leggings for sleeping. I like to have a “clean” change of clothes at the end of each day to change into. Plus, I don’t like the way my skin feels against the sleeping bag material. My only regret was that I didn’t have a similar top to wear at night.
INSULATED LAYER (Down Jacket ) – I brought the Rab’s Mythic G Down Jacket and was super happy with it. It has one of the best warmth to weight ratios I’ve found without skimping on any features.
INSULATED LAYER (Ultralight Fleece Jacket) – I took the Mountain Hardwear AirMesh Hoody as an alternative to Alpha™ Direct top. It’s incredibly breathable, wicks moisture fast, and adds a cozy layer of warmth. That being said, I’d probably switch it out for an Alpha layer if I did it again. I just like the feel a little bit better.
RAIN JACKET – I didn’t want to buy anything new, so I brought my Arc’Teryx Beta SL Jacket. It kept me dry thought some pretty torrential rain, but I would probably bring something lighter if I could. Especially if I were hiking earlier in the season.
What I would bring instead: The Rab Phantom Jacket is an ultralight, fully waterproof shell that packs down small and disappears in your bag until you need it. I’m a fair weather hiker, but in the mountains weather can change fast, so it’s great to have rain protection that doesn’t weigh me down.
RAIN PANTS – I picked up the REI Trailmade Rain Pants in Fresno on my way to Yosemite. It was a last minute decision and boy was I glad that I had them! I think Rain pants are probably very season dependent. I probably wouldn’t bother earlier in the season. But in late September they were clutch.
SOCKS – I brought two pairs of Darn Tough socks and one pair of Injinji Hiking Socks (toe socks). I’ve been wearing Darn Tough Micro Crew Hiker socks for years because they’re tough enough for endless miles of backpacking, don’t slip or bunch, and can stay relatively fresh for days at a time. Plus, they’re guaranteed for life, which says it all.
HAT – The North Face Horizon Hat . Nice and lightweight.
GATORS – I wore the REI Flash Gators most days – although I’m still not convinced I needed them.
Shoes
TRAIL RUNNERS – I picked up a new pair of the Hoka Challenger Trail Running Shoes right before I started the JMT and they preformed even better than I expected! I’ve owned previous models, so I knew they’d work, but the Challenger 8s were so comfortable. No break-in time, no hot spots, no sore feet – even on the longest days.
Electronics
GPS COMMUNICATION – I carry the Garmin InReach Messenger Plus for peace of mind on backcountry trips — it lets me send texts and share my location even when there’s no service. The battery lasts for days, and it’s a small, reliable way to stay connected and safe when I’m off the grid. AND you can send photos and voice notes! Watch came in very handy after I broke my arm.
Note: Since my trip, Garmin has released the new inReach Mini 3 with photo and voice messaging capabilities. This is another great option if you prefer not to use your phone.
SMART WATCH – I’ve been wearing the Garmin Fenix Watch to track my activity for years, and the JMT was no exception.
POWER BANK – Nitecore Power Bank
SOLAR PANNEL – We used the BigBlue 28W Portable Solar Panel Charger. It was two pounds, which is way heavier than any of us would have liked. But it got the job done.
USBC CORD
APPLE EARPODS – I picked these up so that I wouldn’t have to worry about charging my AirPods.
DIDDY BAG – I used a DCF Dry Bags by Bonfus for my electronics for an added layer of protection against the elements.
Camera
SONY RX100 VII – The Sony RX100 VII is my favorite compact camera for backpacking because it’s small enough to slip in a pocket but still delivers professional-quality photos. The 24–200mm zoom range makes it incredibly versatile, and it’s the perfect option when I don’t want to carry one of my heavier cameras but still care about image quality.
Hygiene
SOAP – Small bottle of Dr. Bronner’s organic soap for dishes, hands, or laundry.
Leave No Trace: Even biodegradable soap can harm ecosystems if used directly in lakes or streams. Always carry water at least 200 feet from natural water sources to wash yourself, your clothes, or your dishes. Use only a small amount of biodegradable soap — a little goes a long way. When you’re done, dispose of wastewater in a 6–8 inch cat hole
TROWEL – Lightweight and durable, perfect for digging a proper cathole and practicing Leave No Trace.
WIPES – Quick, easy way to freshen up on trail days.
KULA CLOTH – The Kula Cloth is a reusable antimicrobial pee cloth that’s more hygienic and eco-friendly than packing out toilet paper. I must admit that this idea did not sit well with me at first, but I’ve had too many people highly recommend it, so I’m keeping an open mind and giving it a try on my next backpacking trip.
Keeping it clean: After peeing, pat dry with the soft side, fold the cloth, and snap it shut before clipping it to your pack. Rinse with water or a few drops of biodegradable soap when needed, and give it a full wash once you’re back home.
SPF CHAPSTICK
TOOTHBRUSH – travel-size toothbrush with cover.
TOOTHPASTE – A tiny travel tube or toothpaste tabs to keep things simple and lightweight.
HAIR BRUSH – This mini hairbrush/mirror from Zpacks was perfect.
DIDDY BAG – I used one of these Outdoor Exposure Diddy Bags for my toiletries and a DCF Dry Bags by Bonfus for my electronics.
Items I regret not bringing
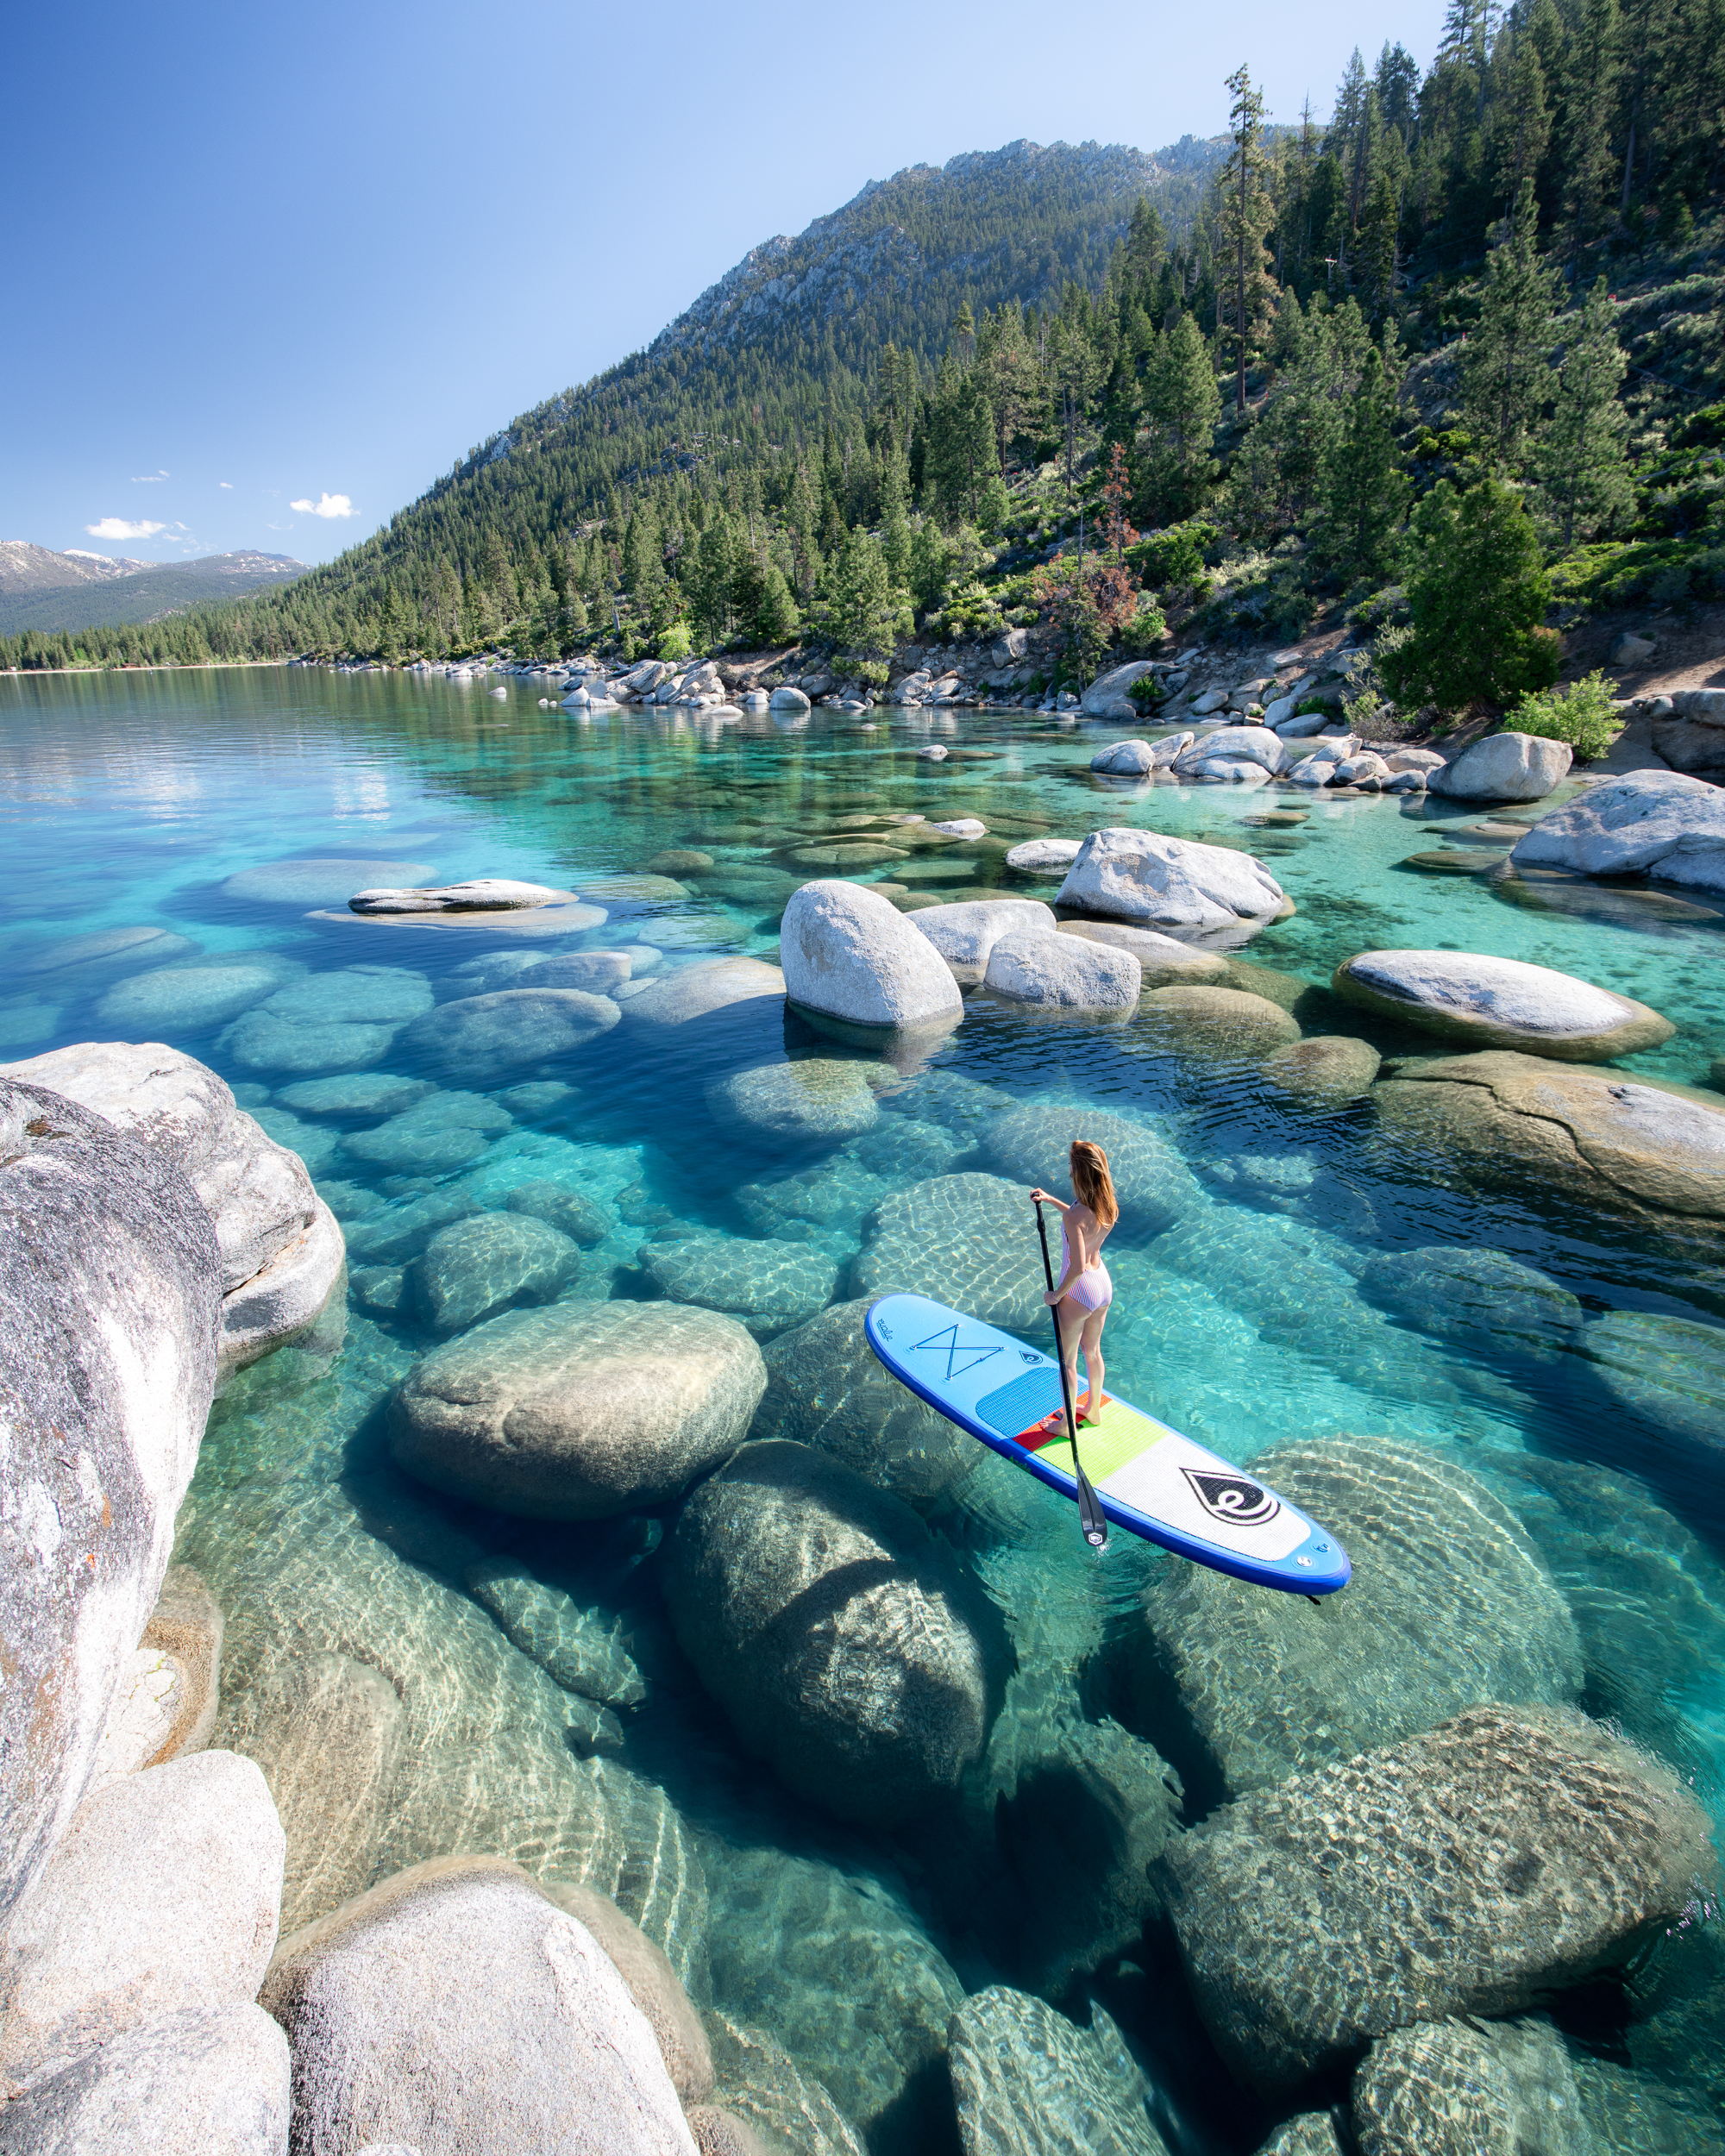
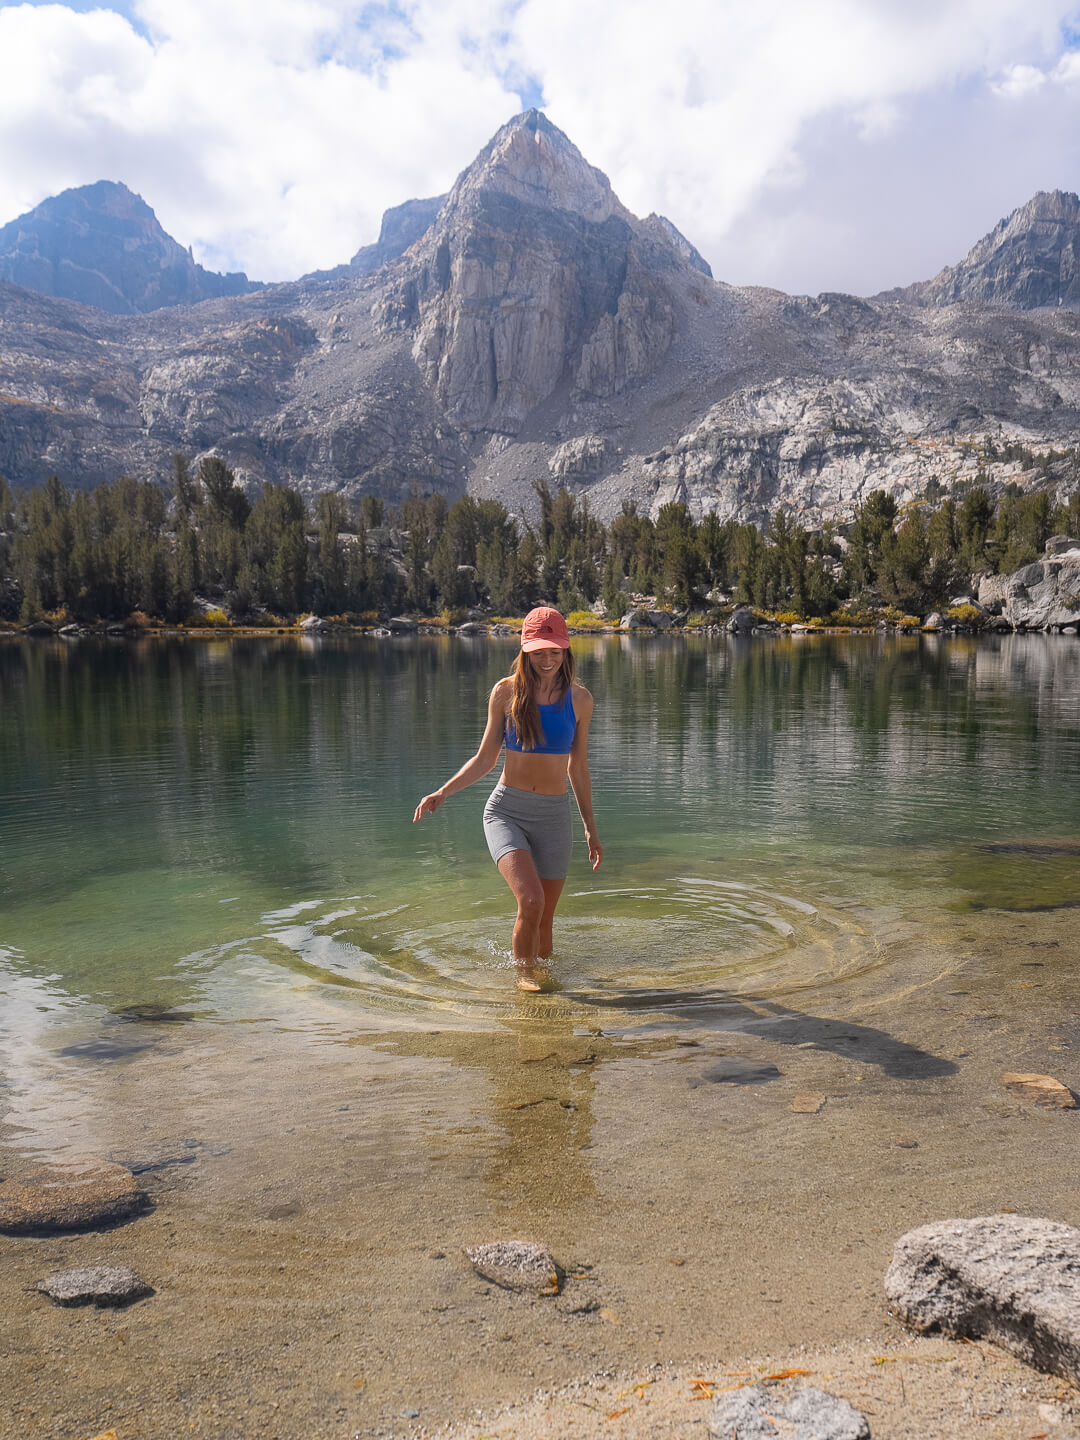
SWIM SUIT – There were so many alpine lakes along the JMT that begged for a quick dip, but swimming in my sports bra and underwear got old fast. A lightweight swimsuit would’ve made it easier (and more comfortable) to take advantage of all those cold, clear swimming spots.
BASE LAYER TOP FOR SLEEPING – After long, often wet days on the trail, slipping into a clean, dry base layer at night would’ve made a huge difference in comfort. I thought I could get by without one, but sleeping in my hiking clothes quickly lost its charm — especially when temps dropped below freezing.
Items I’d leave behind
BIG CAMERA – Okay, so I didn’t actually carry a full camera setup for 200+ miles, but I listened to quite a bit of complaining from those that did. Everyone unanimously agreed it wasn’t worth the extra weight. The truth is we were too tired most of the time to even bother pulling the big cameras out. My phone captured everything I needed, and for anything extra my Sony point and shoot was more than enough.
SECOND PAIR OF HIKING PANTS – One pair was plenty. Between rinsing them out and rotating with my shorts while they dried on my pack, I never felt like I needed a backup. The extra pair just added ounces I wish I didn’t have to carry.
DOWN PANTS – They sounded comfy when I packed them, and they were. But strictly speaking, I didn’t NEEEED them.
GATORS – When I was doing research for the JMT, it seemed that gators were on the top of everyones must have gear lists. But I’m not so sure. . . The trail was surprisingly well-maintained, and dust wasn’t as bad as I expected. Maybe because of all the rain? Unless you’re hiking early season with lots of snow or mud, gaiters probably aren’t worth the hassle. Maybe that’s just me though.

Final Thoughts for the John Muir Trail
At the end of the day, gear is a personal choice. What works perfectly for one hiker might feel completely wrong for another. This list reflects what worked for me on the John Muir Trail — my preferences, my pace, and my priorities. The best way to find your own perfect setup is to get outside and test everything before your trip. Practice using your gear, learn how it packs, how it feels after ten miles, and how it holds up to a little trail dust. The more comfortable and confident you are with your setup before stepping onto the JMT, the more energy you’ll have to focus on what really matters: the adventure itself.
You Might Also Find These Posts Helpful
My Experience Hiking The John Muir Trail
Complete Backpacking Gear Guide: Trail-Tested Ultralight Gear
Backpacking The Mineral King Loop
Like this post? Pin it for later and share it with others!