


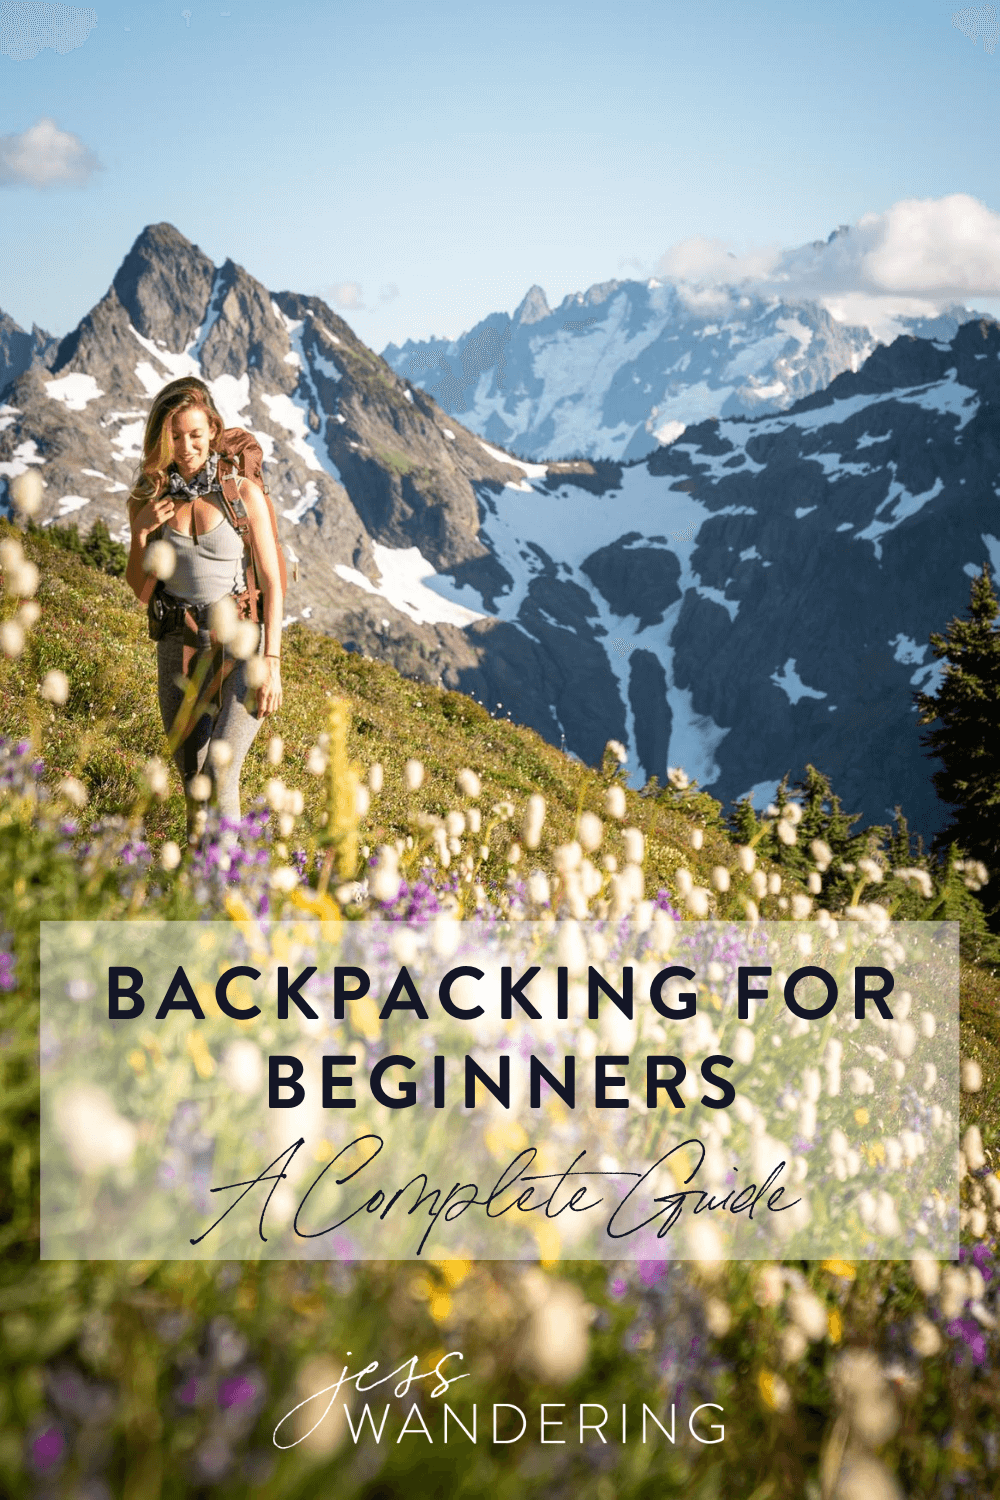
Backpacking For Beginners: Getting Started
There’s something special about heading into nature with nothing but what you can carry on your back. It’s the ultimate escape. And not to get too hippy-dippy on you, but I can pretty much guarantee that disconnecting from all the noise that accompanies modern life, and checking into nature for an extended period of time will leave you feeling like a new person. Sure maybe you’ll be a little tired. Maybe even a little sore. But that’s a small price to pay for the mental recharge you’ll get in exchange.
Of course, I get that if you’re new to backpacking it can seem a bit daunting. When I first started backpacking I was small enough to be one of the items that my parents carried in their pack with the rest of their camping gear! I never had to deal with the doubts, worries, or questions that naturally come with the prospect of hiking into the wilderness to spend the night. But I’m here to help! This beginner backpacking guide is designed to answer your backpacking questions, alleviate any worries you might have, and get you out on the trail.
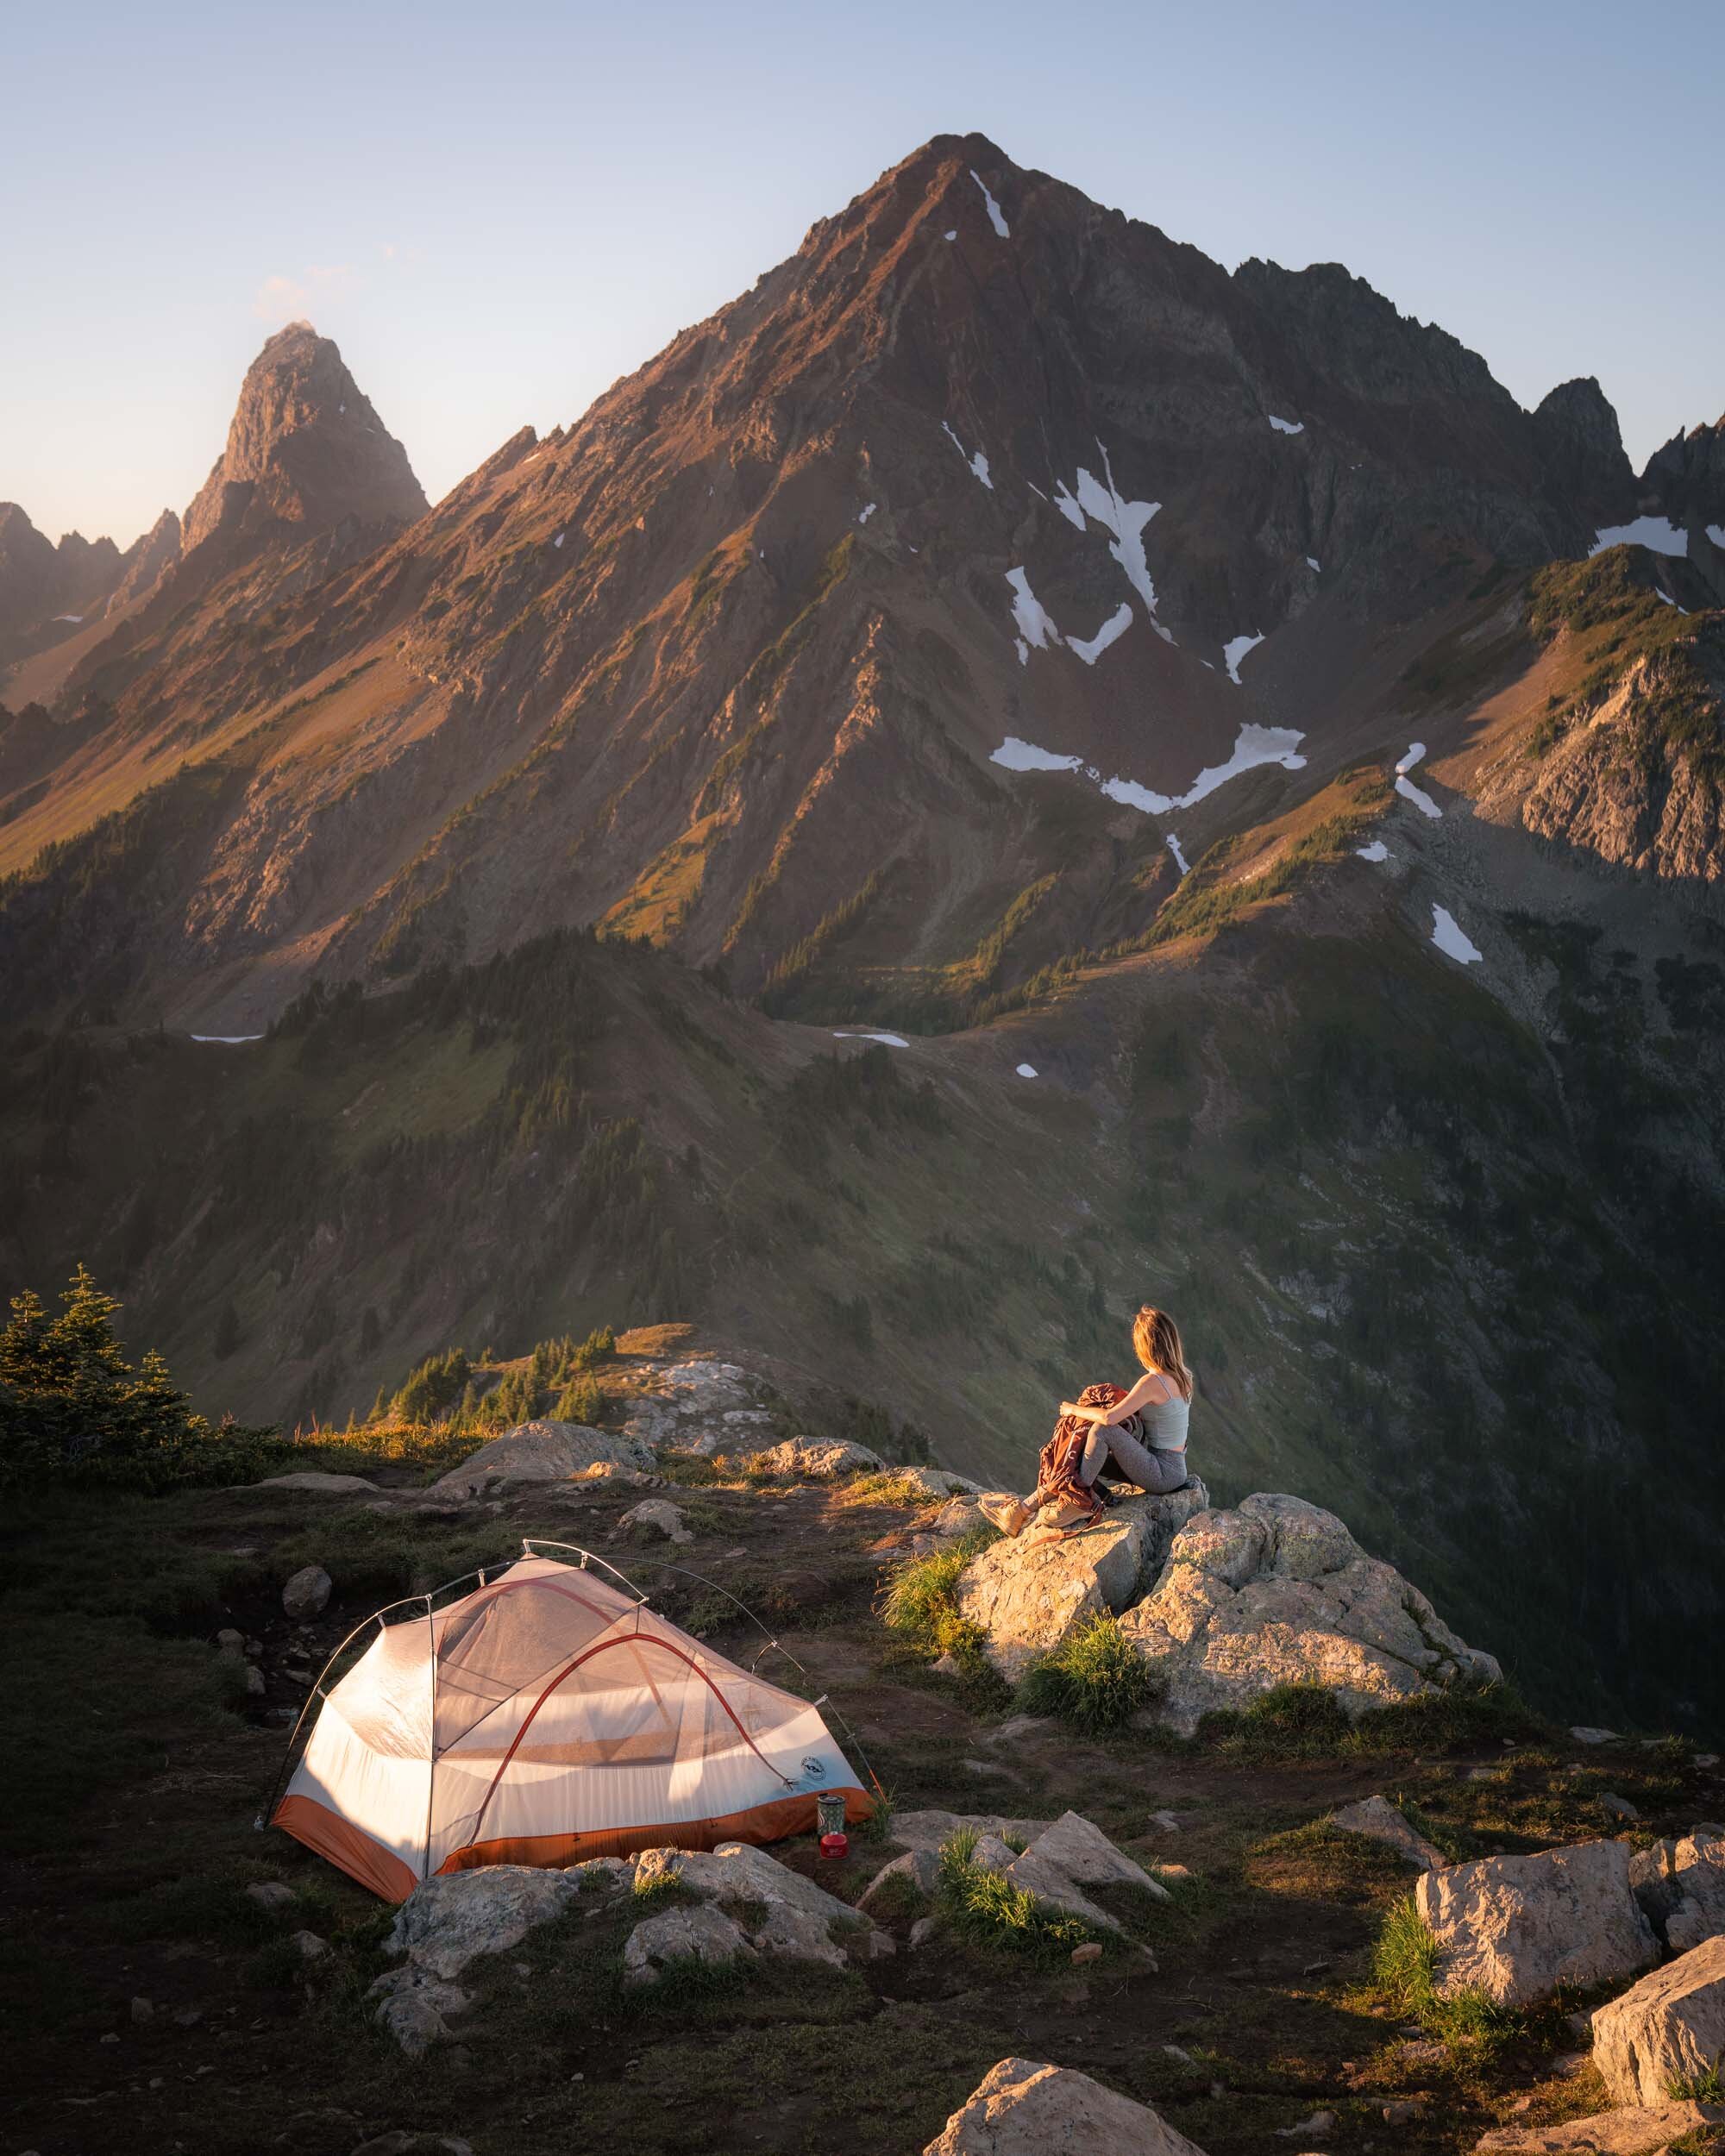
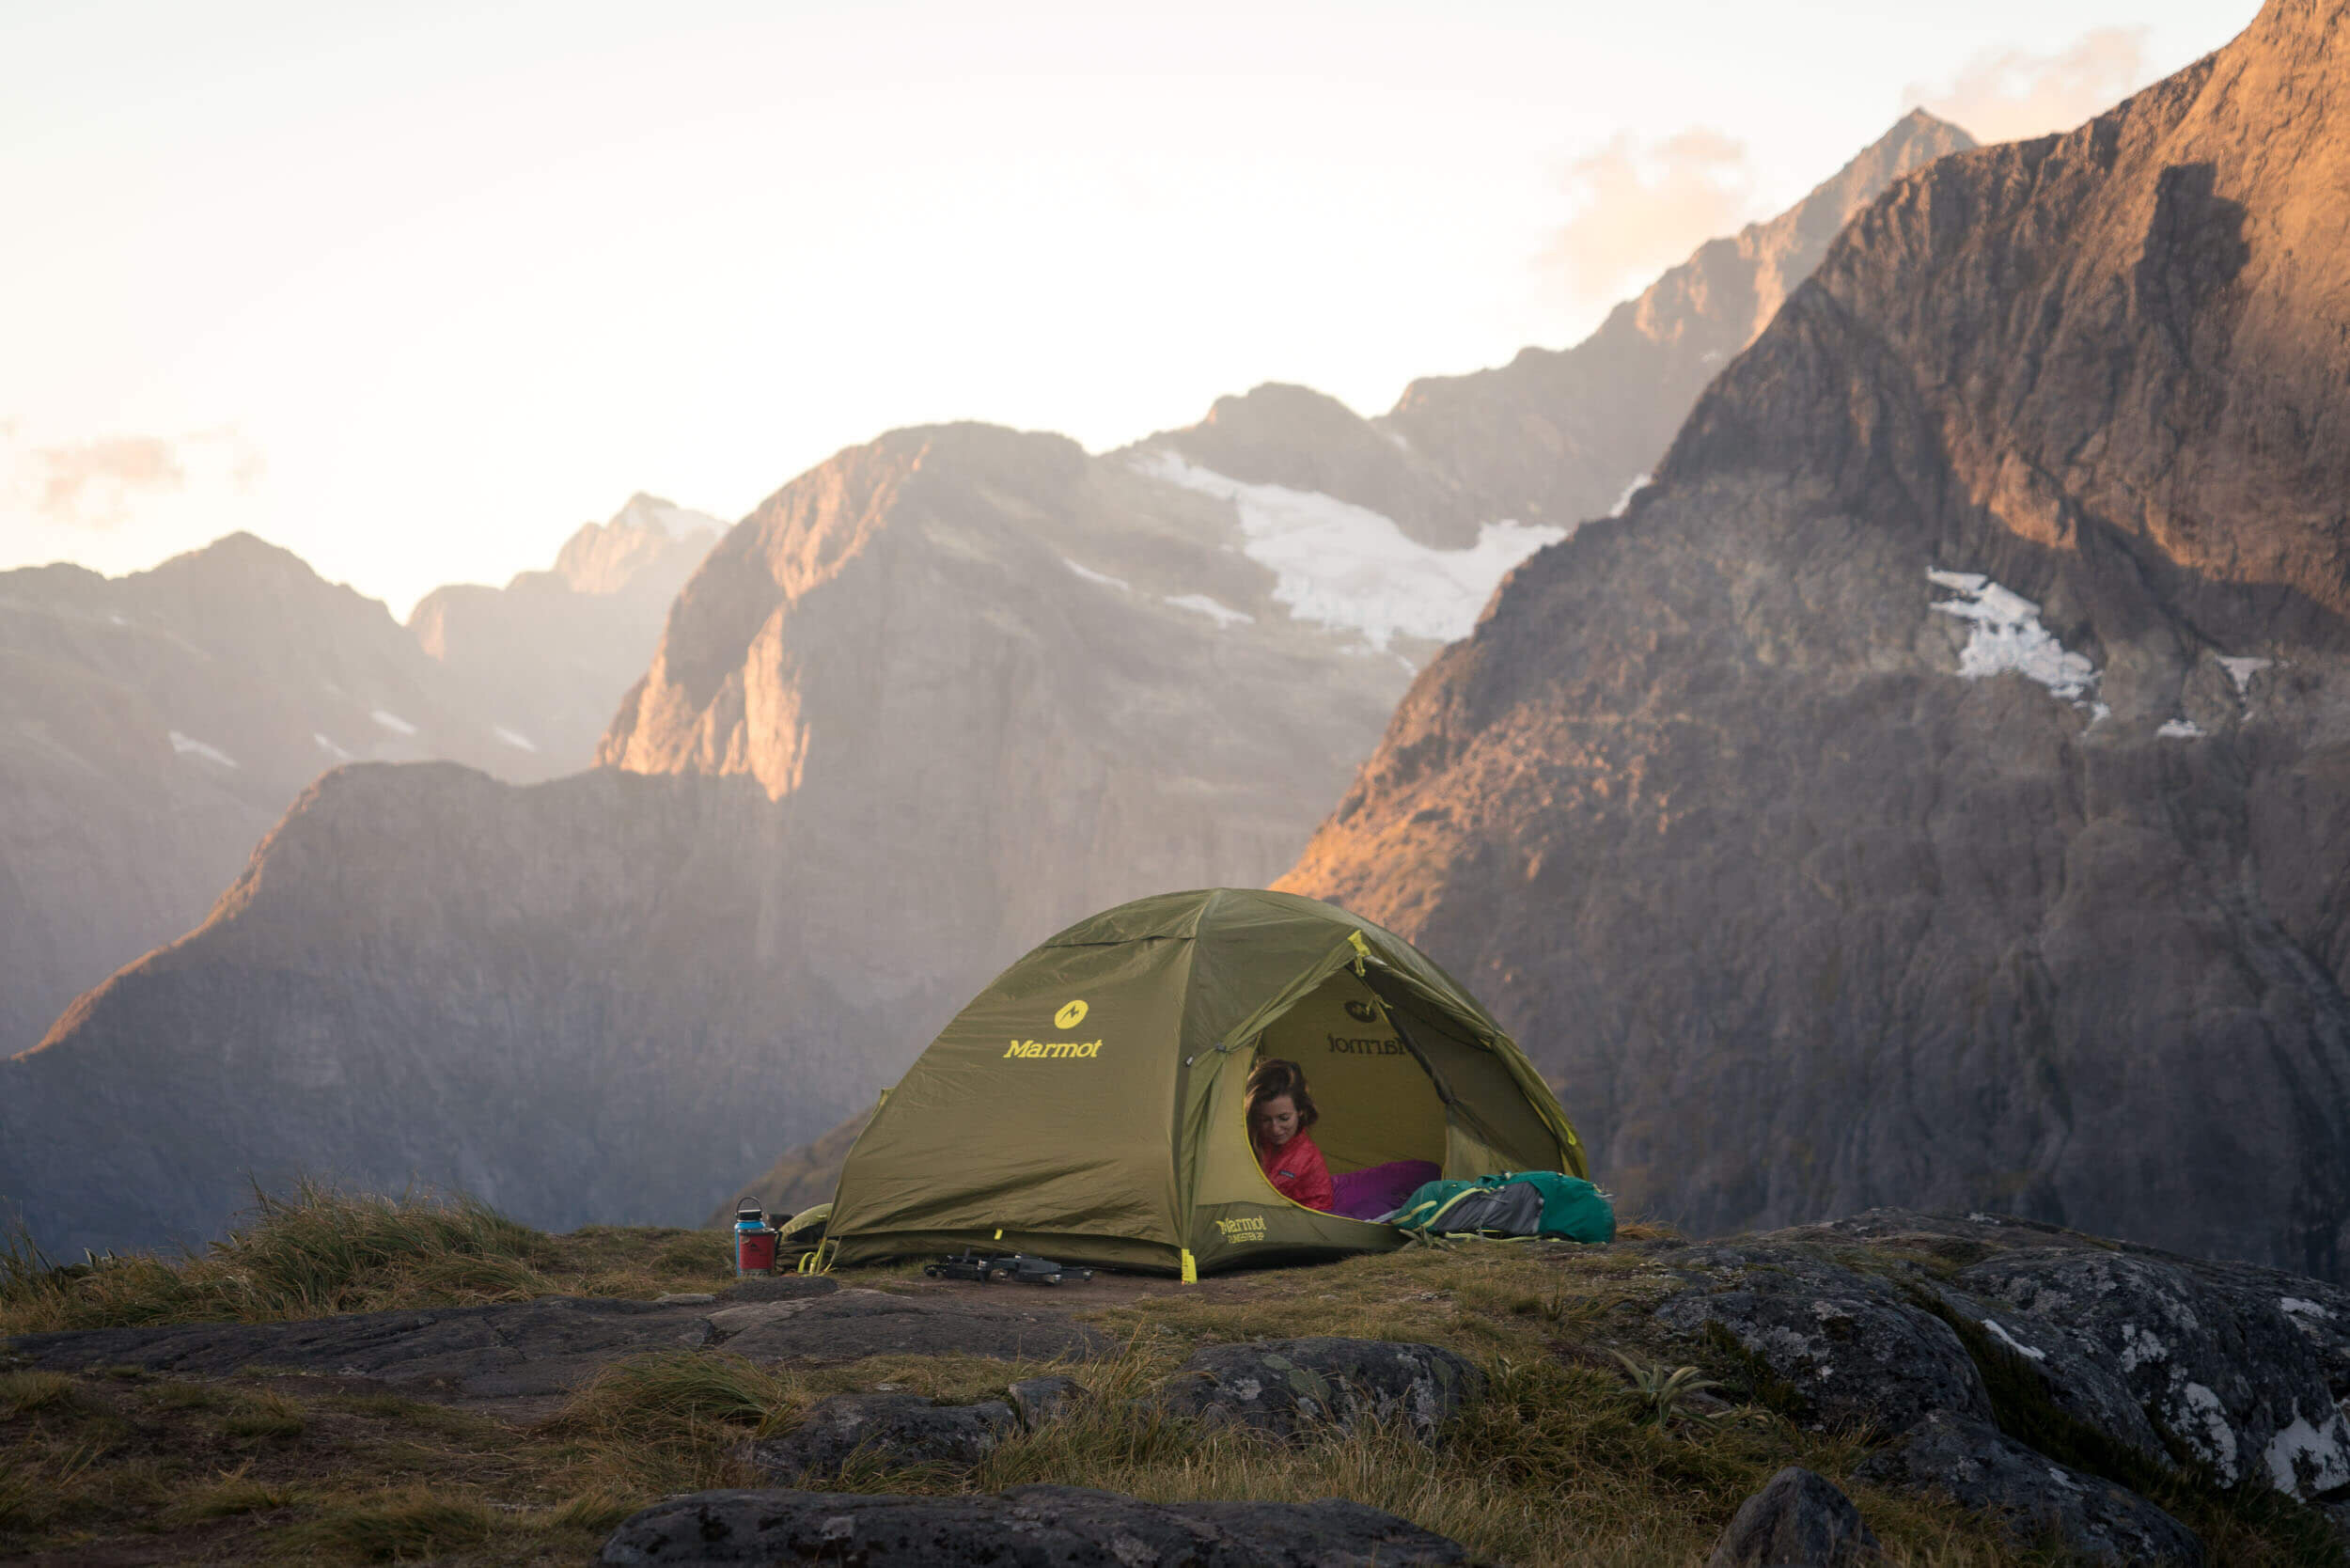
Spending the night in the North Cascades, WA. Tent: Big Agnes Copper Spur HV UL2 Tent.
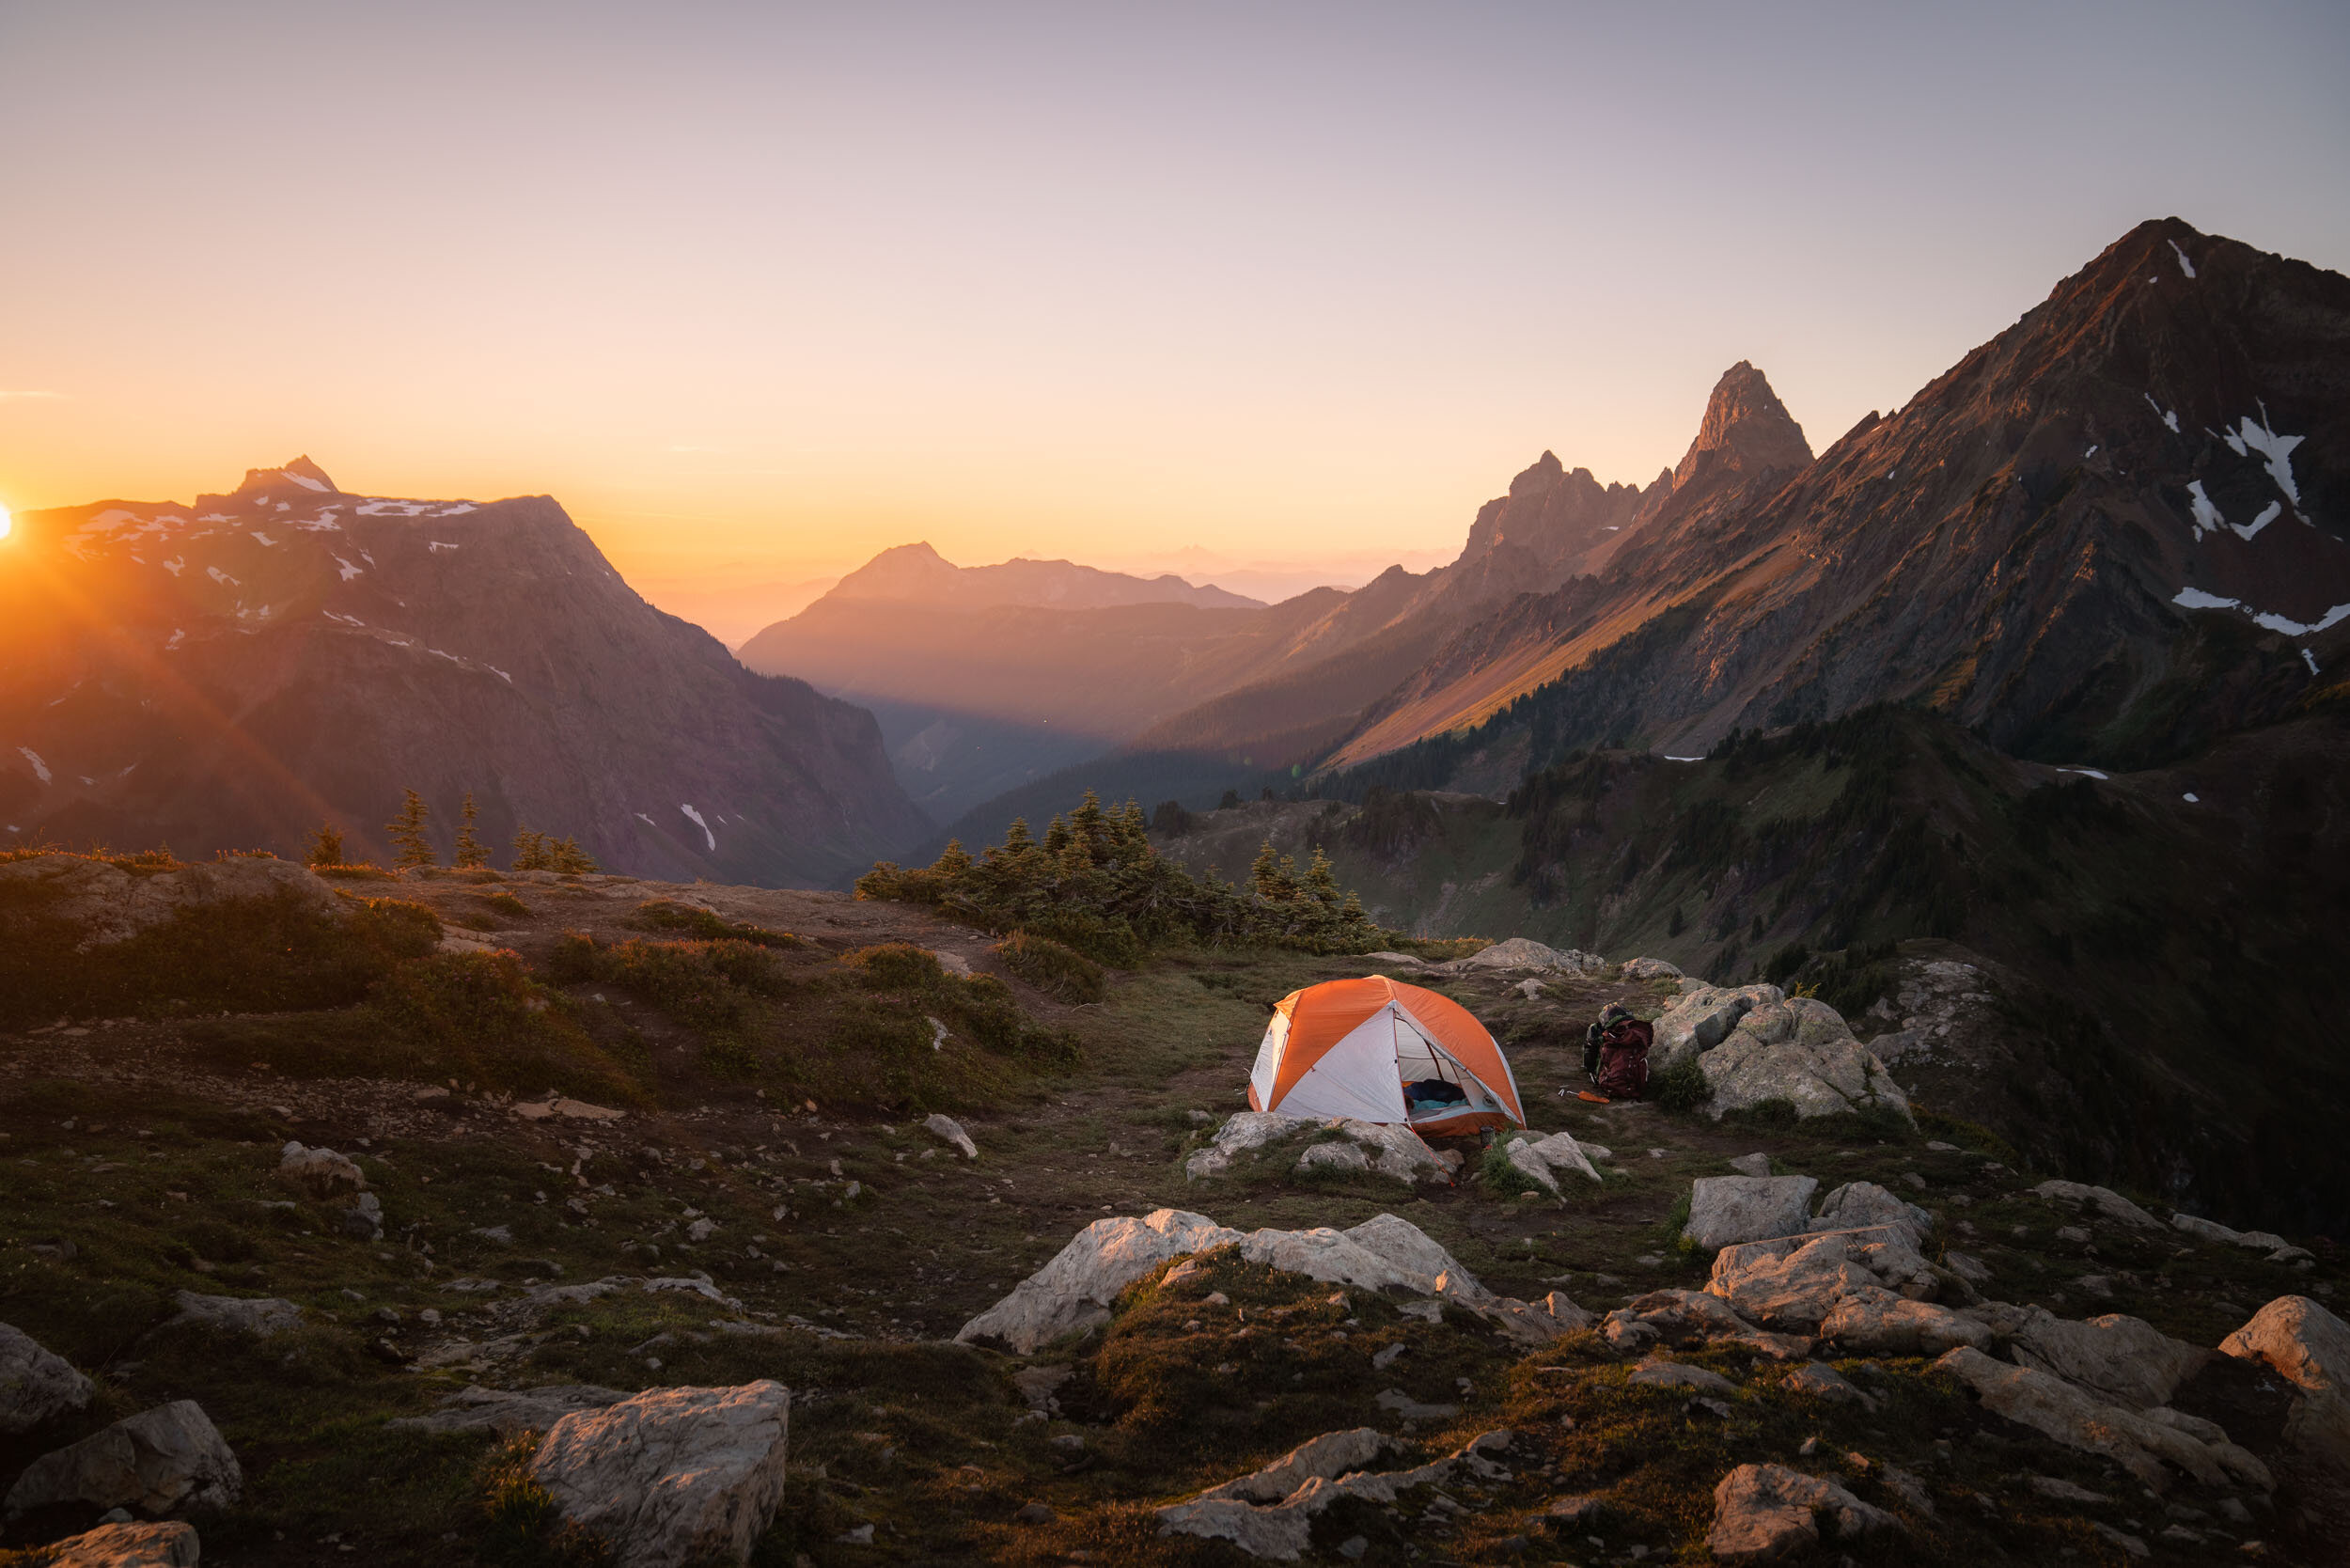
Sunset in The North Cascades. Camping in the Big Agnes Copper Spur HV UL2 Tent.
1. Chose Easy Destinations For Your First Backpacking Trips
As a beginner backpacker, your goal for the first few trips is to get comfortable with your gear. There is no one size fits all packing list, outdoor brand, or difficulty level. The only way to figure out what works for you is to get out there and spend some nights in the backcountry. But you don’t need to kill yourself doing it! In fact, if you go too big too soon, the chances of things going awry are exponentially greater. And there’s no better way to get turned off from an activity than to have something go wrong when you’re first starting out.
Keep it short and sweet
As any experienced backpacker will tell you, nature is a fickle beast, and even the best-laid plans occasionally don’t work out. In other words, shit happens. And when it does, knowing that you’re only a few miles away from your car can be a massive source of comfort. So, for your first few backpacking trips, consider choosing shorter trails than your typical day hike.
For the above reasons, “walk-in” campgrounds can be a great way to transition into backpacking. Essentially, these are campgrounds that require a short walk (generally about a mile) from your car to your designated camp spot.
Minimize your elevation gain
Chances are that your backpacking pack is going to be significantly heavier than the daypack that you are used to carrying. That extra weight will make everything a little more difficult. I’d also suggest finding a relatively level hike or two for your first couple backpacking attempts. You want this to be an enjoyable experience, not one that makes you curse under your breath with each uphill step!
Aim for Summer Backpacking Conditions
Because summer days are longer and warmer than the rest of the year, they are generally more forgiving. This isn’t just a matter of enjoyability, it’s also an important safety consideration. Other than an accident, inclement weather is probably the single largest factor in most backcountry mishaps. And your chances of encountering snow, ice, or an unexpected storm are significantly less likely during summer. Even in the summer, it’s important to always check the weather before heading into the backcountry, and be prepared to cancel your trip if conditions look questionable.
Pick a well-established backpacking trail
Don’t feel like you need to be completely isolated to get a genuine backcountry experience. A few years ago after setting up camp I realized that I’d forgotten a lighter for my stove. Luckily, I was at a popular lake, and a group of nearby campers was happy to lend me some matches. Had I been in a more remote location, it probably would have been a very long night. Remember, there’s no shame in asking for help, but it’s hard to do that when there’s no one else around.
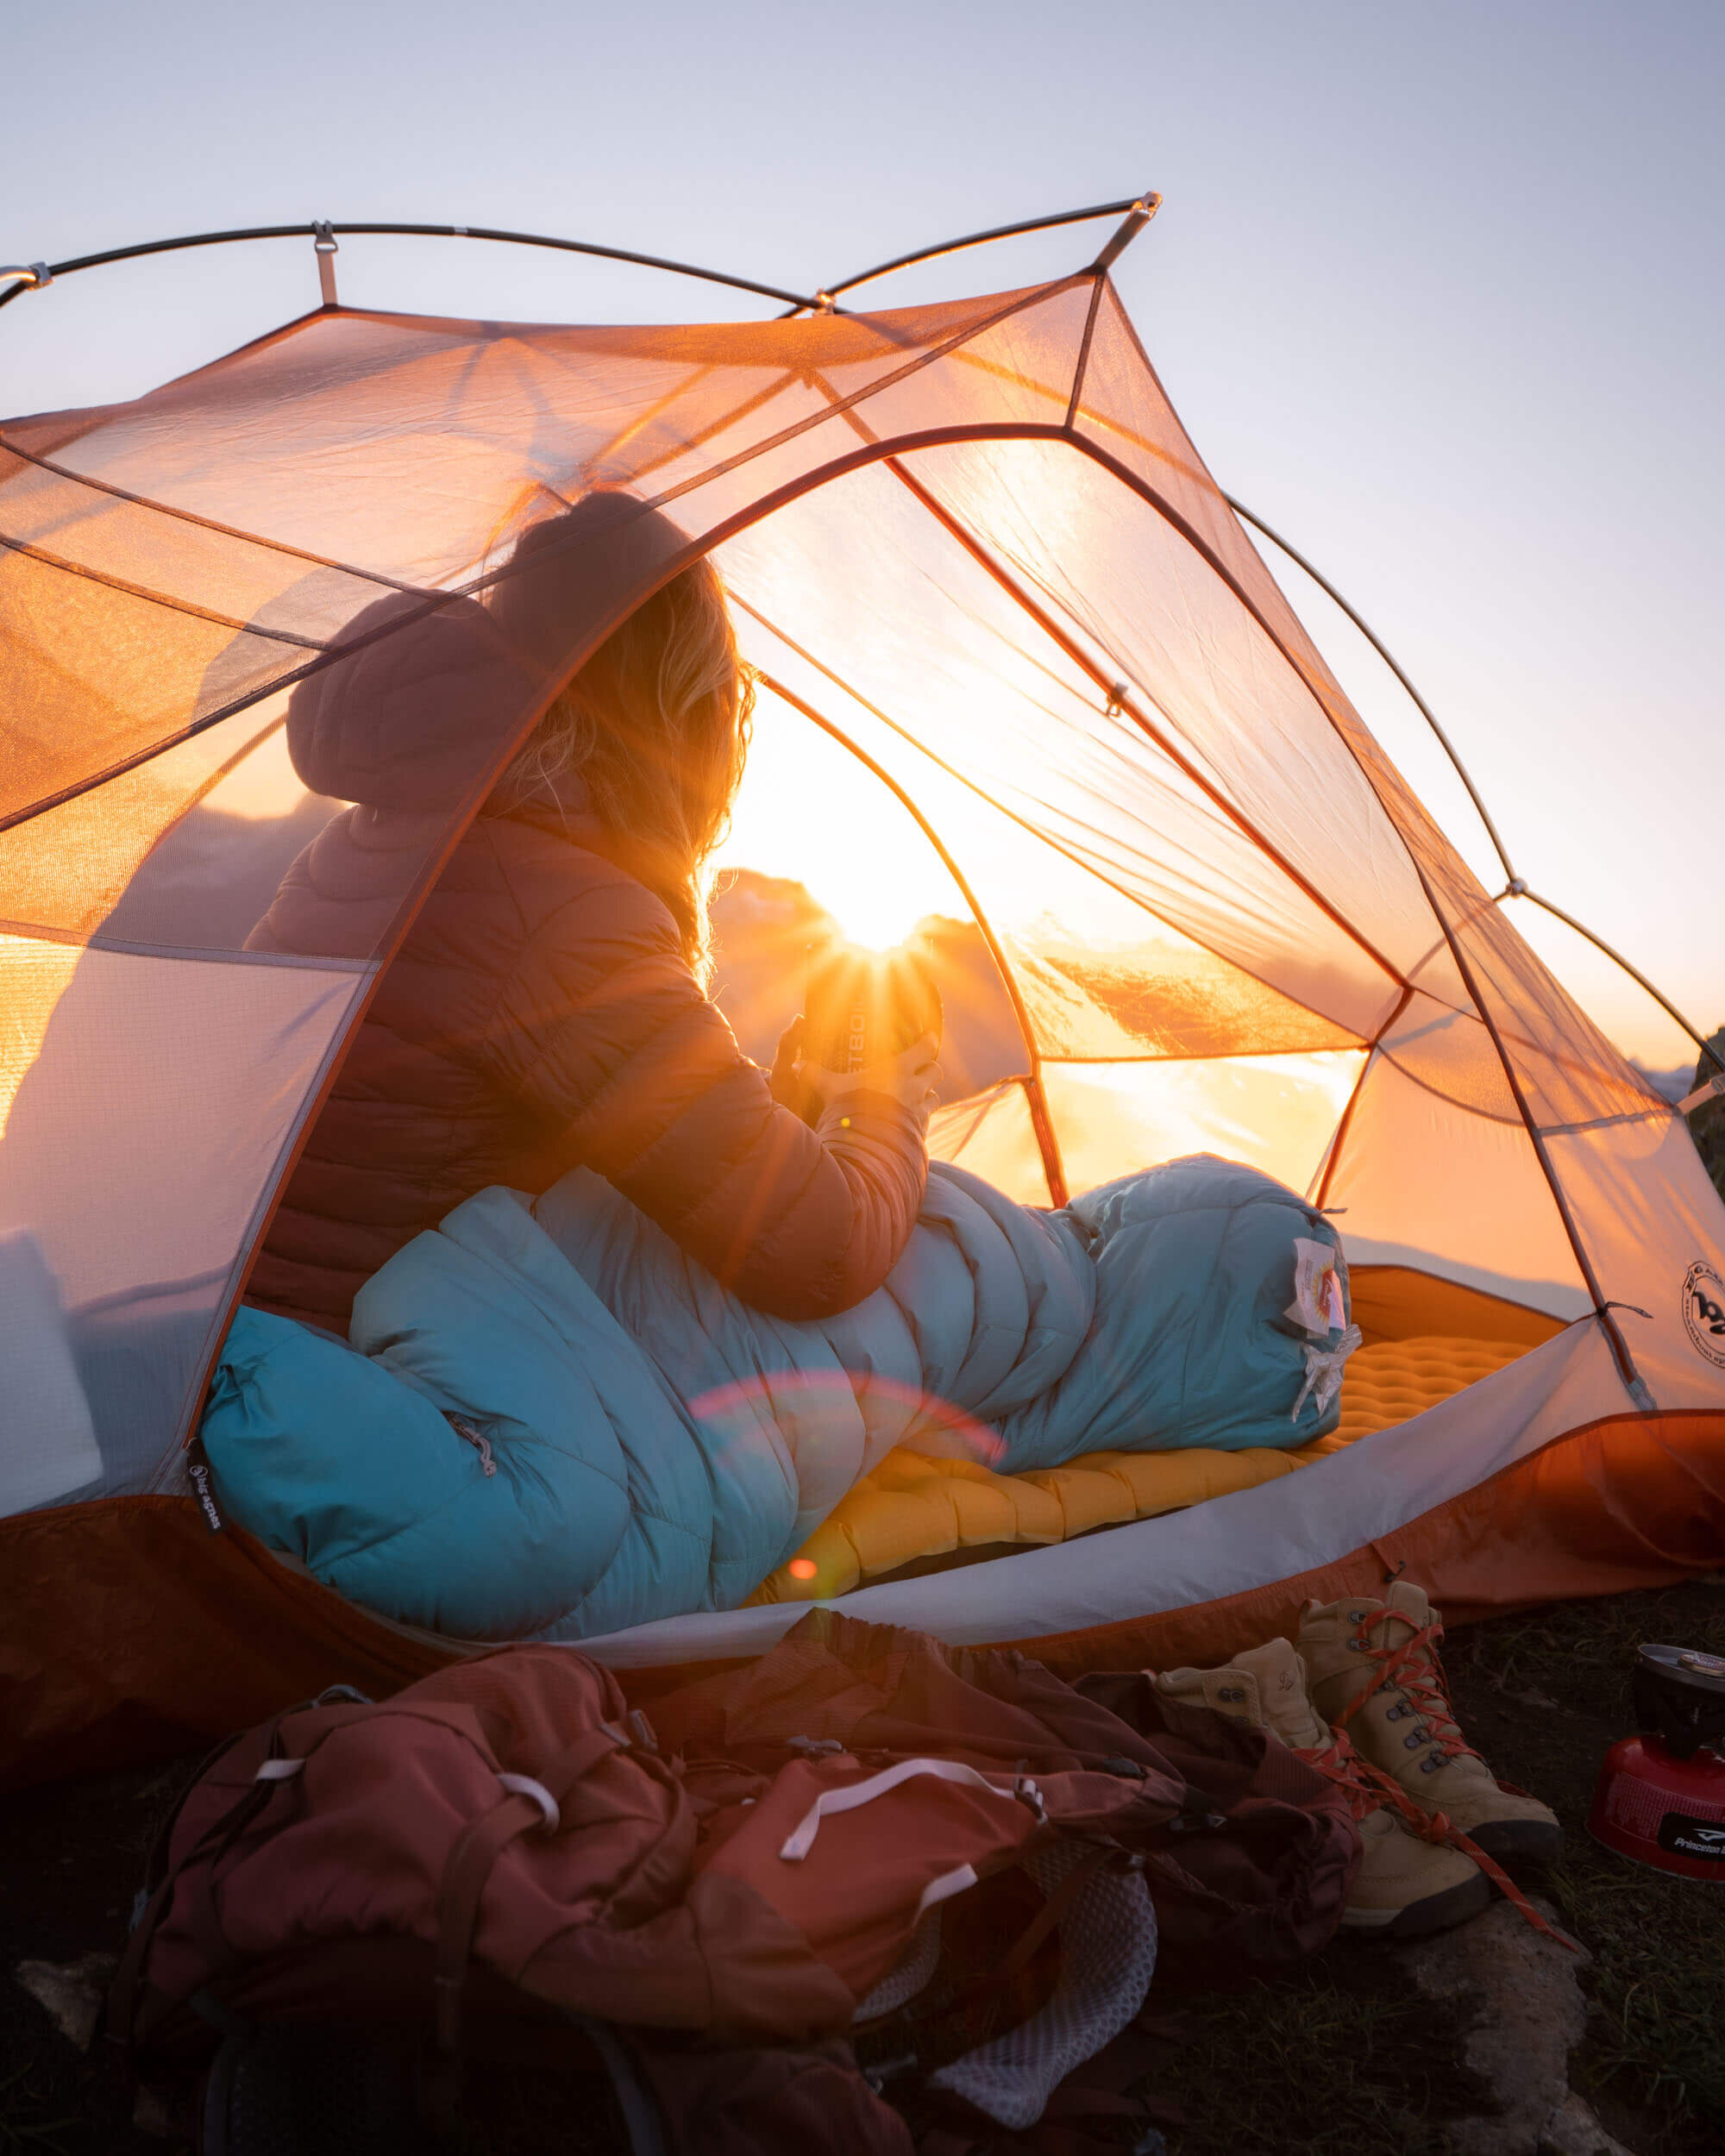
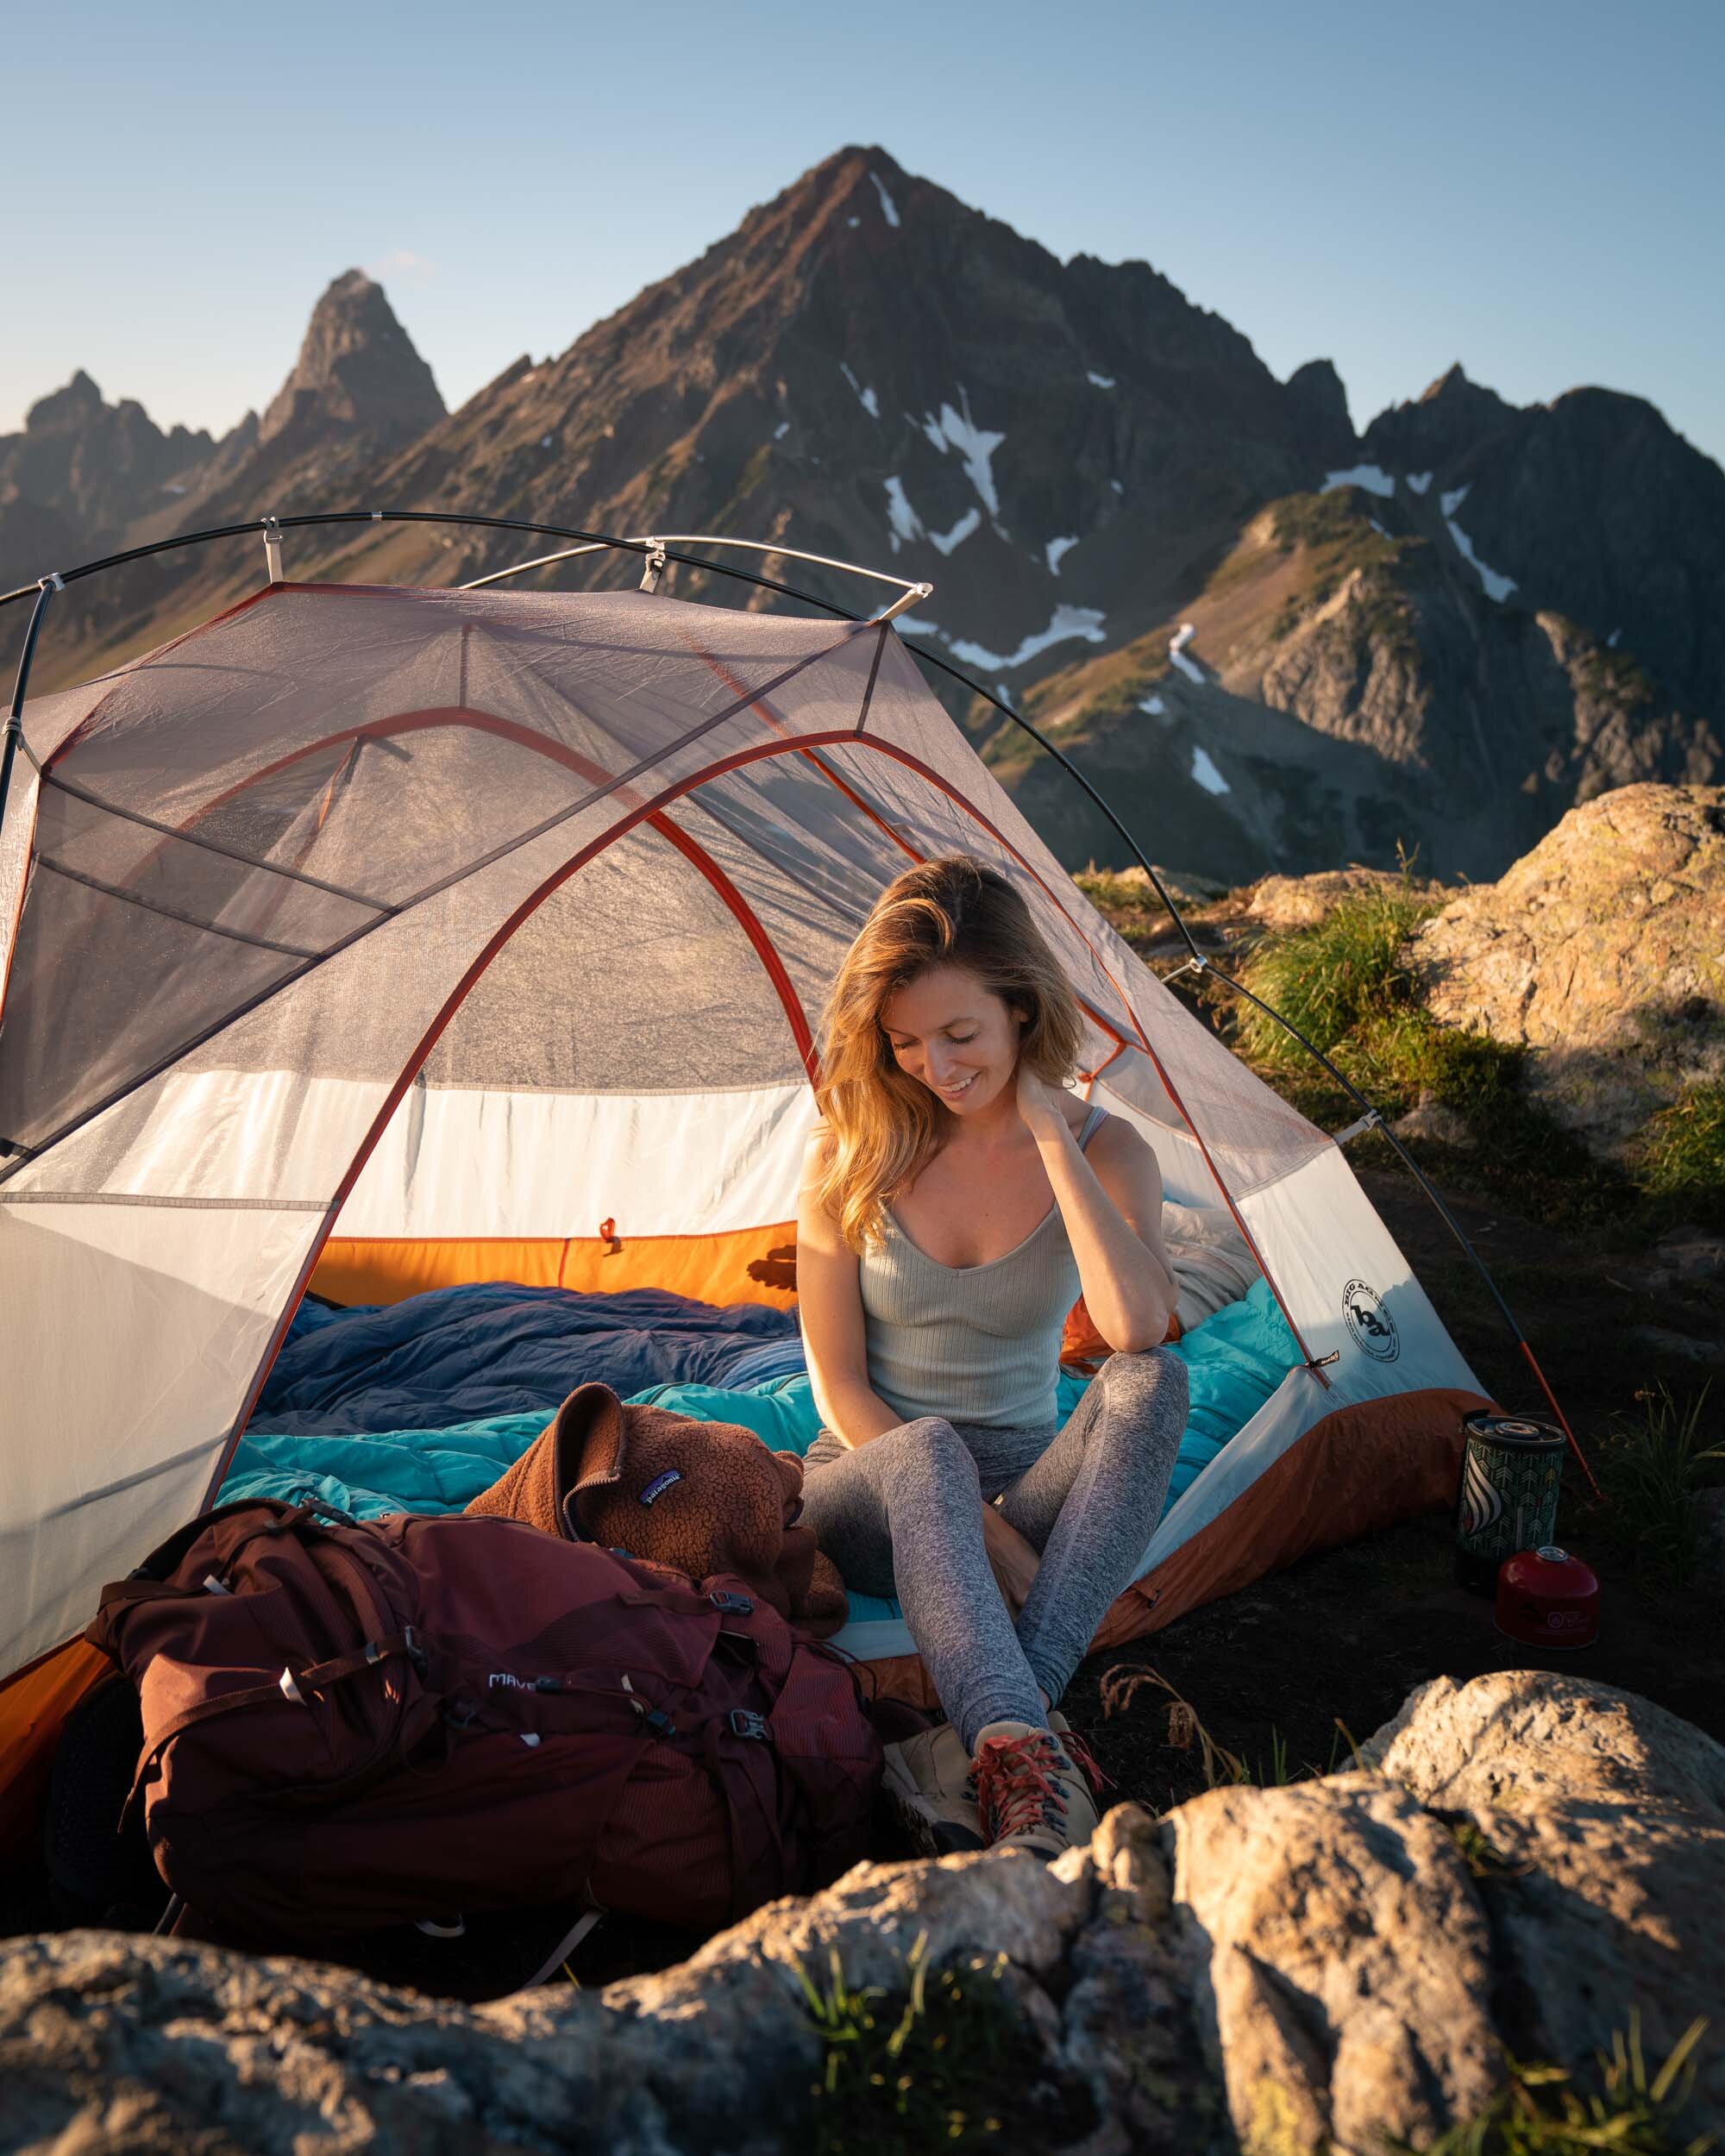
Waking up at sunrise in the North Cascades. Wearing: Arc’teryx Cerium LT Hooded Down Jacket. Also shown: Marmot Women’s Xenon 15° Sleeping Bag, NEMO Sleeping Pad, Big Agnes Copper Spur HV UL 2P Tent.
2. What clothes to wear backpacking
You don’t need to go out and buy a bunch of new clothes when you’re first starting out. Your favorite athletic apparel or workout clothes should do the trick. Just make sure you are bringing moisture-wicking, quick-drying fabrics like nylon, polyester, and wool. These will keep you dry and warm even when you’re not at your freshest. Conversely, avoid cotton and other moisture-loving materials that take a long time dry.
That being said, layering is key to regulating your temperature in the outdoors. It allows you to adapt quickly to changing conditions, keeping you warm and dry when that unexpected storm rolls in. At a minimum, it’s essential to always carry these three layers of clothing with you: a hiking layer (made from moisture-wicking synthetic materials or merino wool), an insulating layer (generally down or fleece), and a waterproof layer.
I would also recommend always bringing a designated set of clothing for sleeping in. A next to skin base layer (aka long underwear) works best for this. Keep in mind that even the warmest days in the mountains generally turn into chilly nights. And whether it’s from rain, snow, or sweat, chances are when you arrive at camp, the clothes you hiked in won’t be as dry as when you started. Changing into a dry base layer at the end of the day could make all the difference between a good night’s sleep and a very long night shivering in your tent.
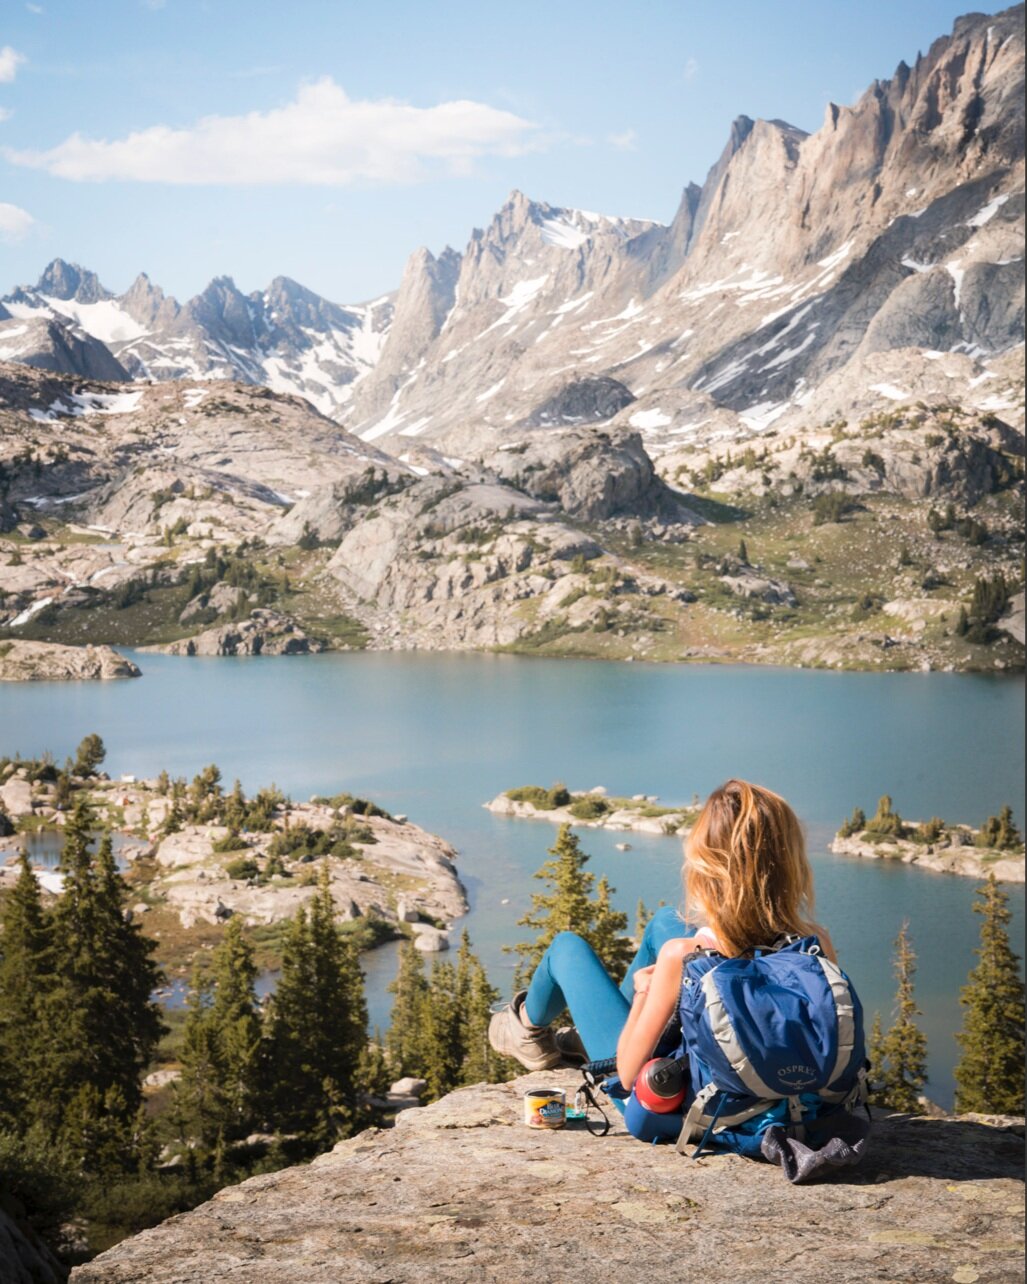
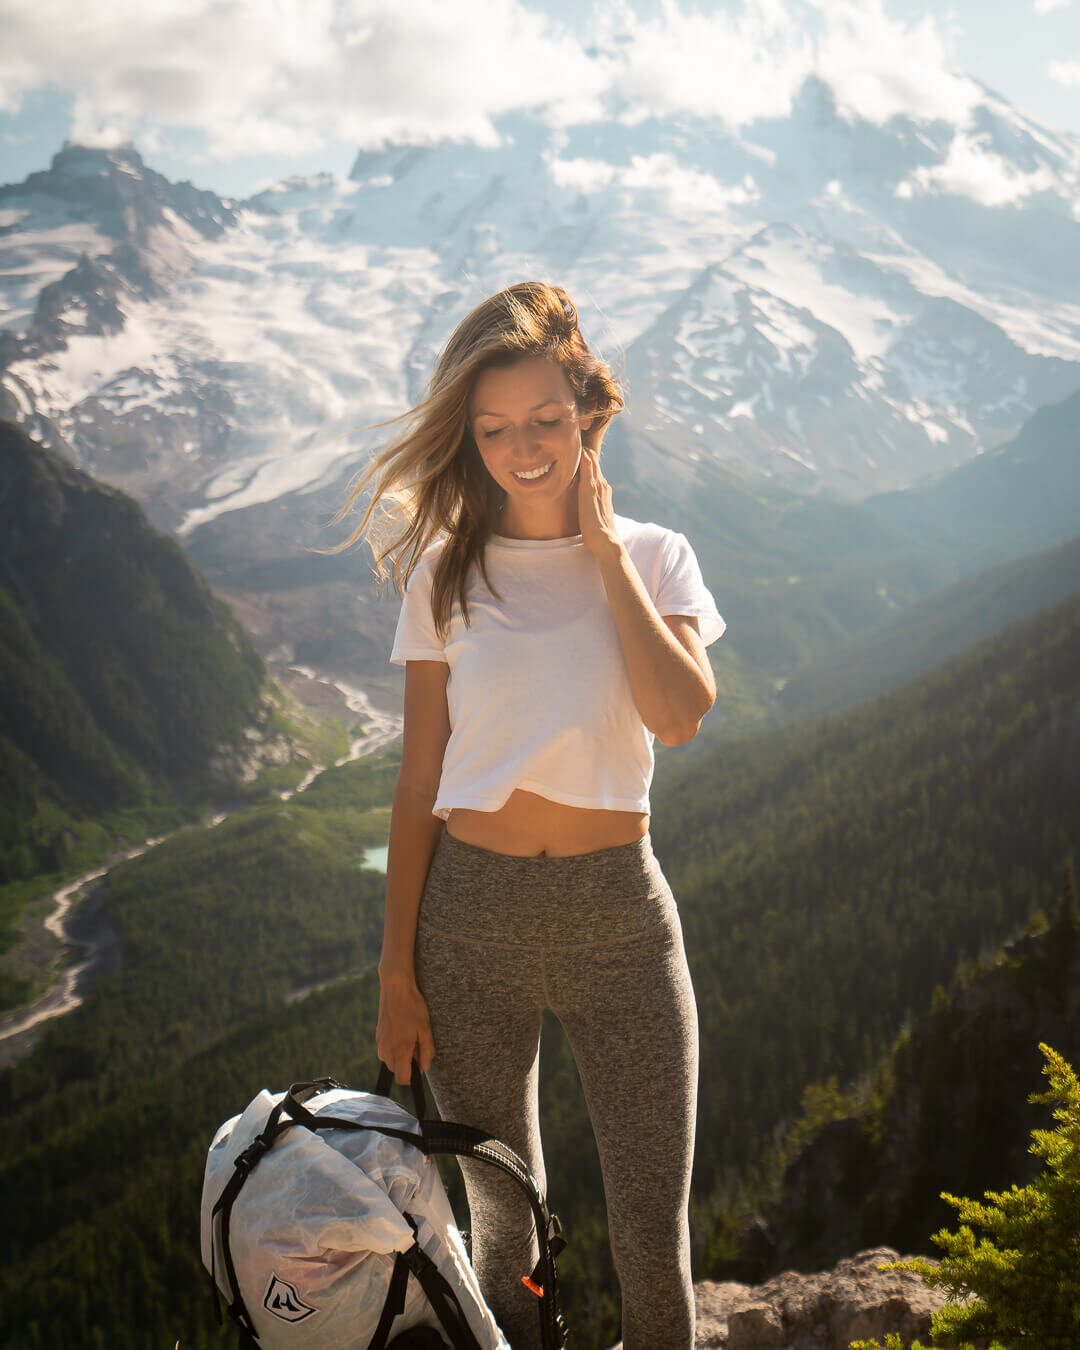
Backpacking into Wyoming Wind River Range. Wearing: Osprey Exos 48 Backpack and KEEN Terradora Waterproof Hiking Boot.
3. What Gear To Bring Backpacking
The defining characteristic of backpacking is that you carry everything you need to survive in a pack on your back! This means that backpacking gear tends to be a lot lighter and compact than traditional car camping equipment. It can also be quite expensive. For that reason, it’s a great idea to borrow, rent, or purchase second-hand gear when you’re just starting out. Whenever you pick up a new hobby or interest, there’s a trial and error period. This is especially true with a gear-intensive activity like backpacking. If you can figure out what works best for you—without dropping thousands of dollars on pricy ultralight gear—do it!
If you decide to purchase your own gear, keep in mind that you generally get what you pay for when it comes to outdoor gear. Cheaply made equipment might cost slightly less, but it will generally be heavier and not as durable. Not only will investing in quality gear save you money in the long run, it’s also more sustainable.
With that being said, below is a list of the basic gear that you will need for backpacking. For a more detailed list with my favorite hiking and camping gear check out my Hiking and Camping Gear Guide! In that guide you will find the specific outdoor gear and apparel that I have used for years and recommend to my friends and family.
Don’t forget to download my free Backpacking Checklist to make sure you’ve packed everything you need before you head out into the backcountry!
The Ten Essentials
Certain equipment deserves space in every pack. In the outdoor community these items have been lovingly dubbed the Ten Essentials:
-
Navigation: Map, altimeter, compass, [GPS device], [PLB or satellite communicators], [extra batteries or battery pack]
-
Light: Plus extra batteries
-
Sun protection: Sunglasses, sun-protective clothes, and sunscreen
-
First aid: Including foot care and insect repellent (if required)
-
Knife: Plus repair kit
-
Fire: Matches, lighter and tinder, or stove as appropriate
-
Shelter: Carried at all times (can be light emergency bivy)
-
Extra food: Beyond minimum expectation
-
Extra water: Beyond minimum expectation, or the means to purify
-
Extra clothes: Beyond minimum expectation
This list was initially published in Mountaineering: The Freedom of the Hills, 9th Edition.
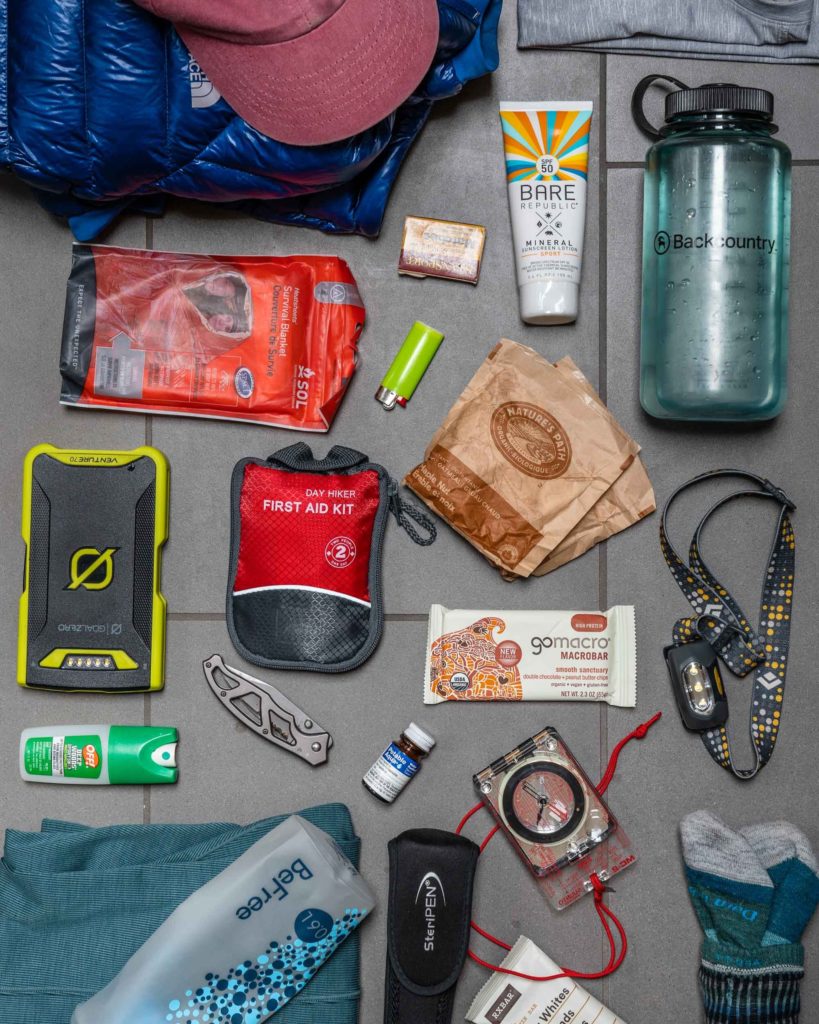
The Ten Essentials can and should be tailored to your specific needs and trip. For instance, while you should always carry the Ten Essentials, a light emergency blanket would be a more appropriate shelter to bring on a day hike than a heavy tent.
To read more about the Ten Essentials, check out my complete guide to the Ten Essentials That Will Keep You Alive In The Wilderness.
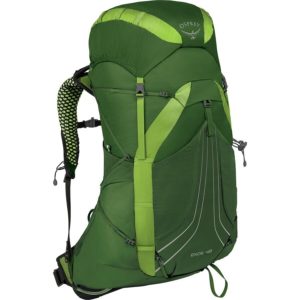
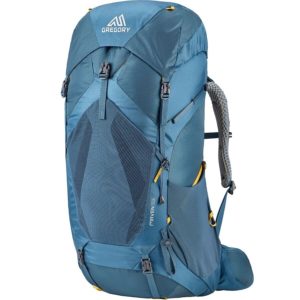
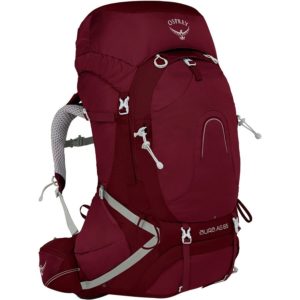
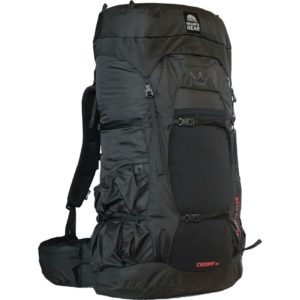
Backpacking Backpack
The right backpack can make 30 pounds feel like 15. Unfortunately, finding that backpack isn’t always so simple. Backpacks are a bit like hiking boots – there is no one-size-fits-all. Some people prioritize weight (that’s me), while others can’t live without a million pockets and compartments for organizing. There’s no right answer, as long as the pack fits you correctly and eases your load.
Here are a few backpacks that I have used, and loved over the years:
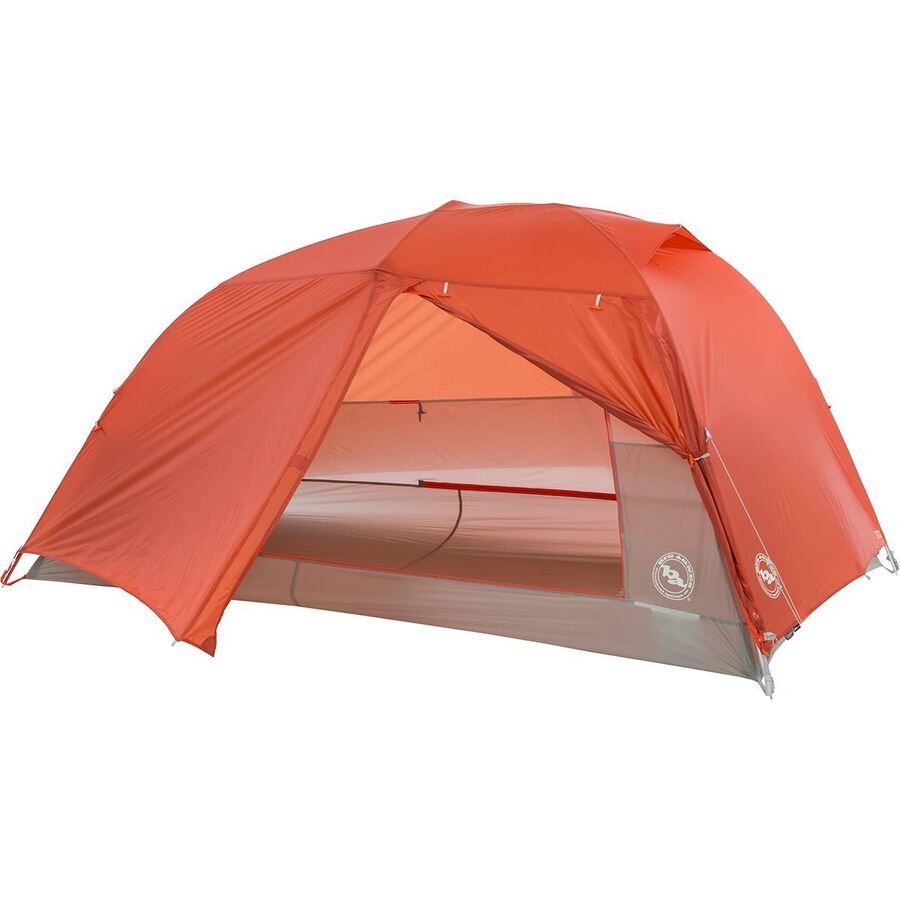
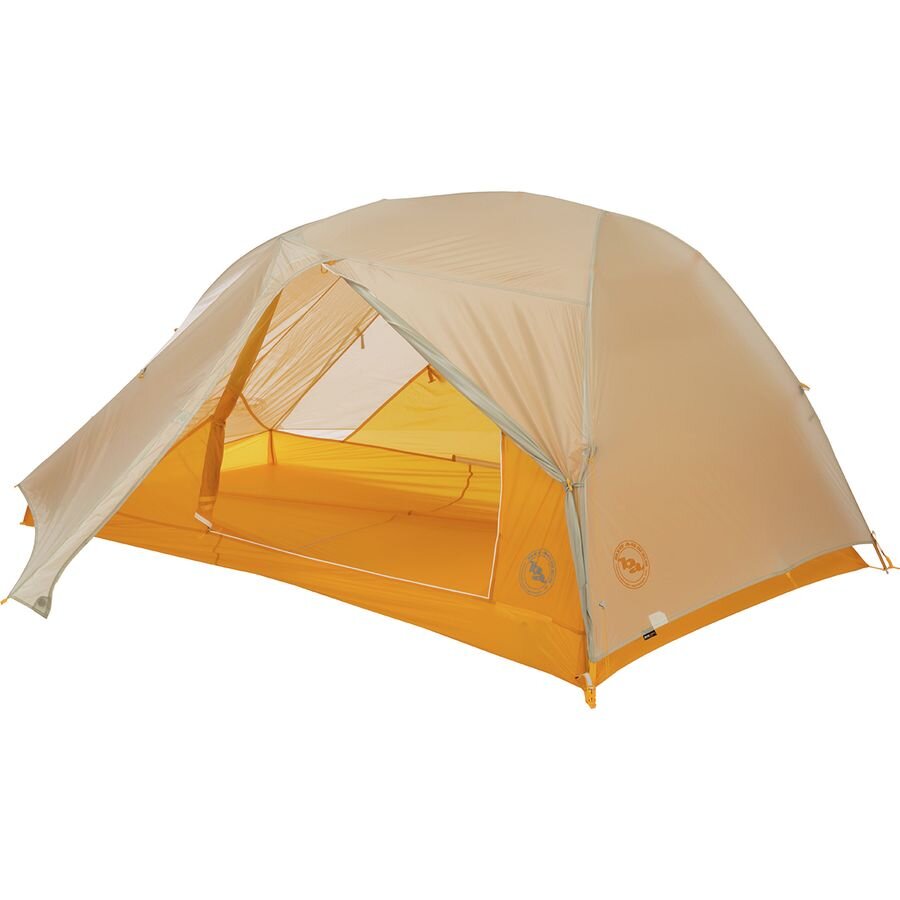
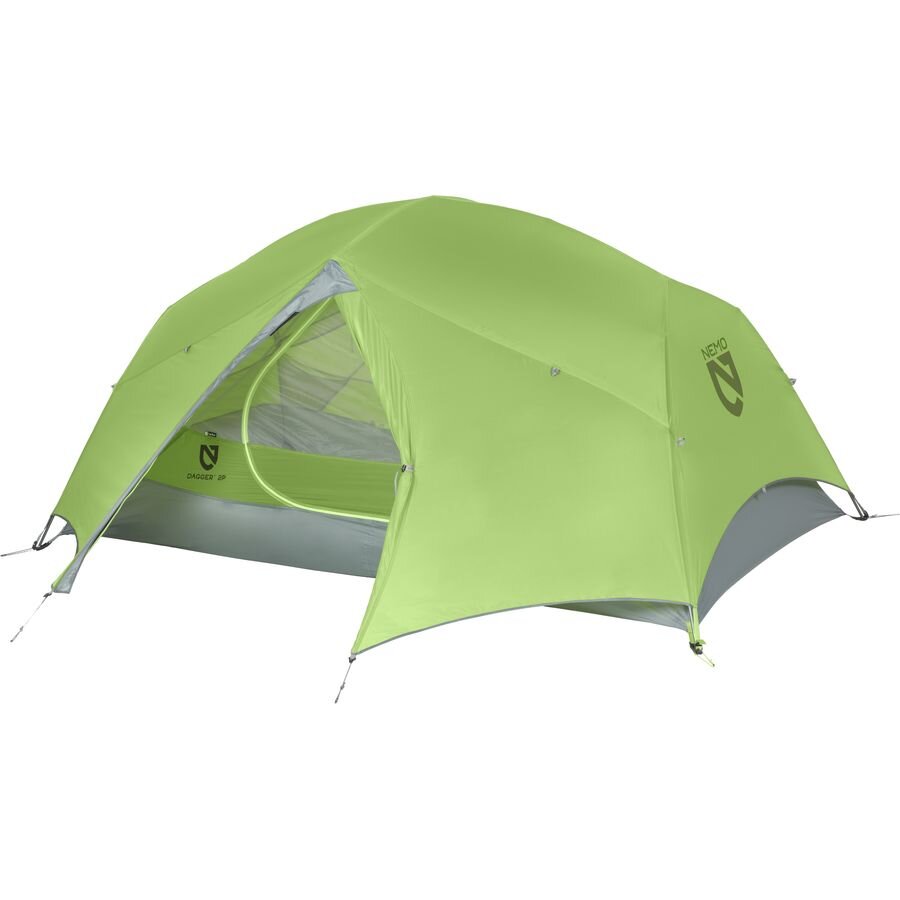
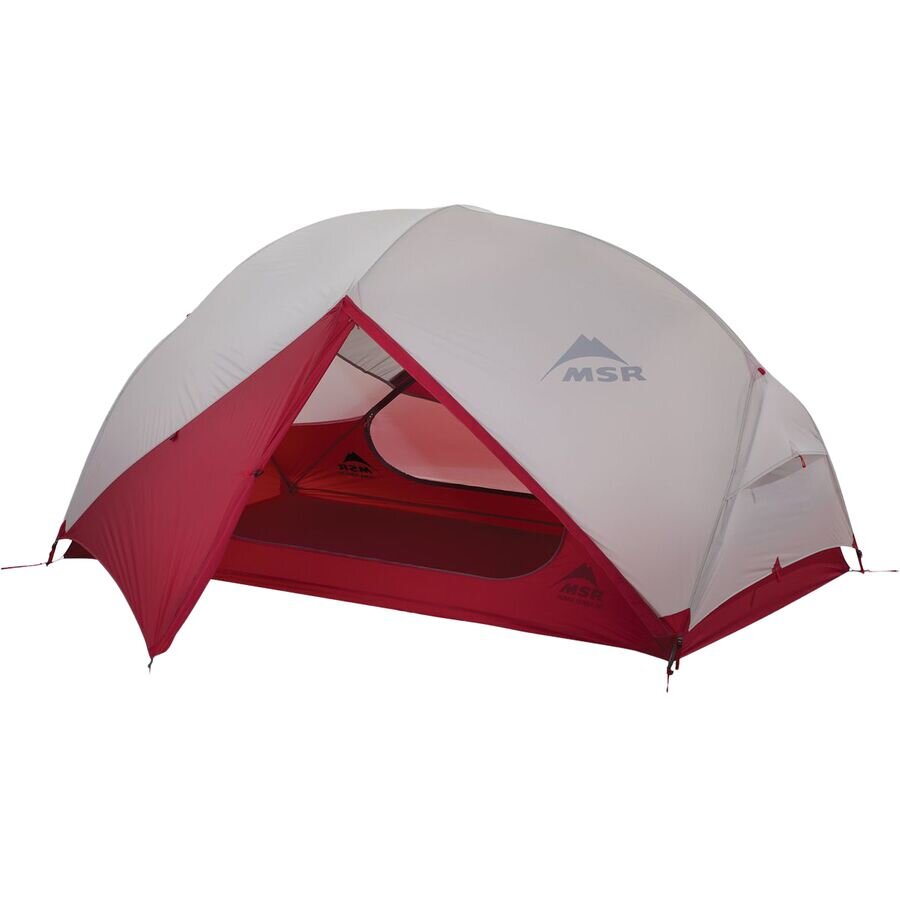
Backpacking Tent
If you’re in the market for a tent, you will notice 3-season and 4-season tents out there – with 3-seasons being by far the most popular. Now, I actually find this nomenclature pretty confusing. In reality, 3-season tents are built to withstand the typical conditions associated with backcountry camping: some cold weather, wind, rain, and maybe light snow. They are designed to be lightweight and packable. 4-season tents, on the other hand, are designed to protect you from extreme weather events generally found during the winter – and you’re not ready for that!
Now for the size of the tent. Unless you plan on backpacking on your own, I would suggest investing in a 2 or even a 3 person tent. Backpacking tents are designed to be compact. While 2 small people will fit comfortably into a 2-person tent, if you like a little wiggle room, then a 3-person tent might be the way to go (even if there’s technically only two of you).
Here are a few of my favorite 3-season backpacking tents:
Sleeping pad
Conduction is the transfer of heat from physical contact, and it’s why we lose heat when we sleep on the cold ground. The obvious solution is to insulate the space between you and the ground. That’s where sleeping pads come into play! Because I sleep cold, my year-round, go-to sleeping pad is The NEMO Tensor Insulated Sleeping Pad. The Big Agnes Insulated AXL Air Sleeping Pad is another good option.
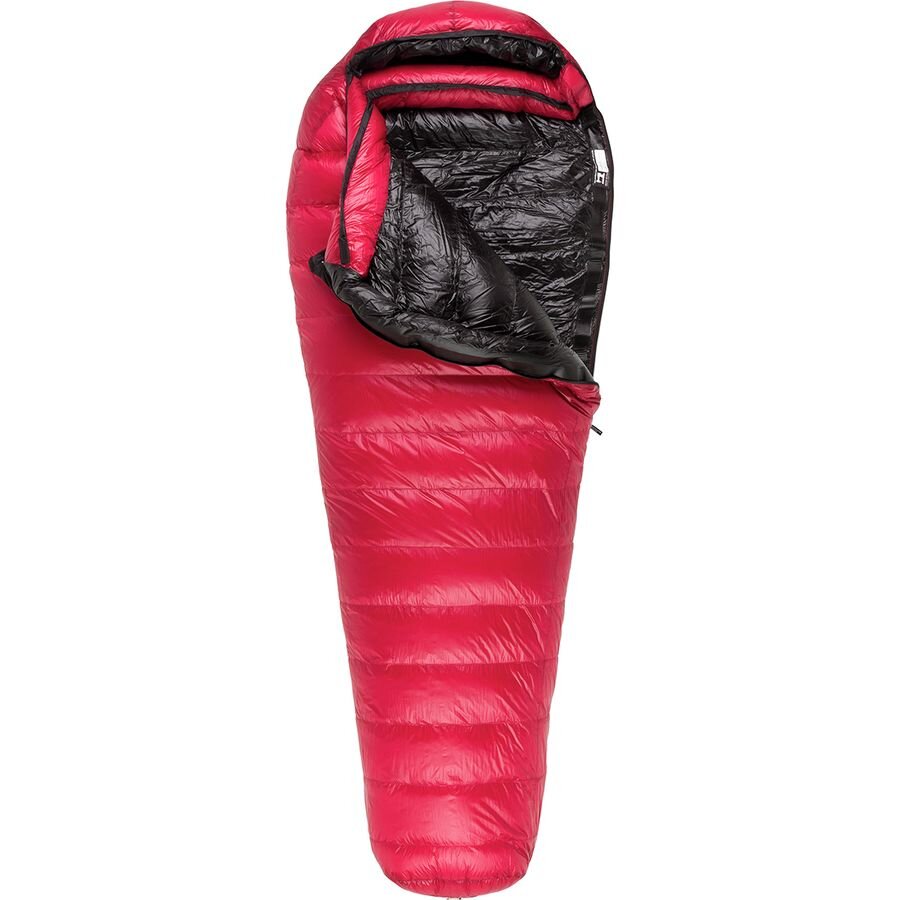
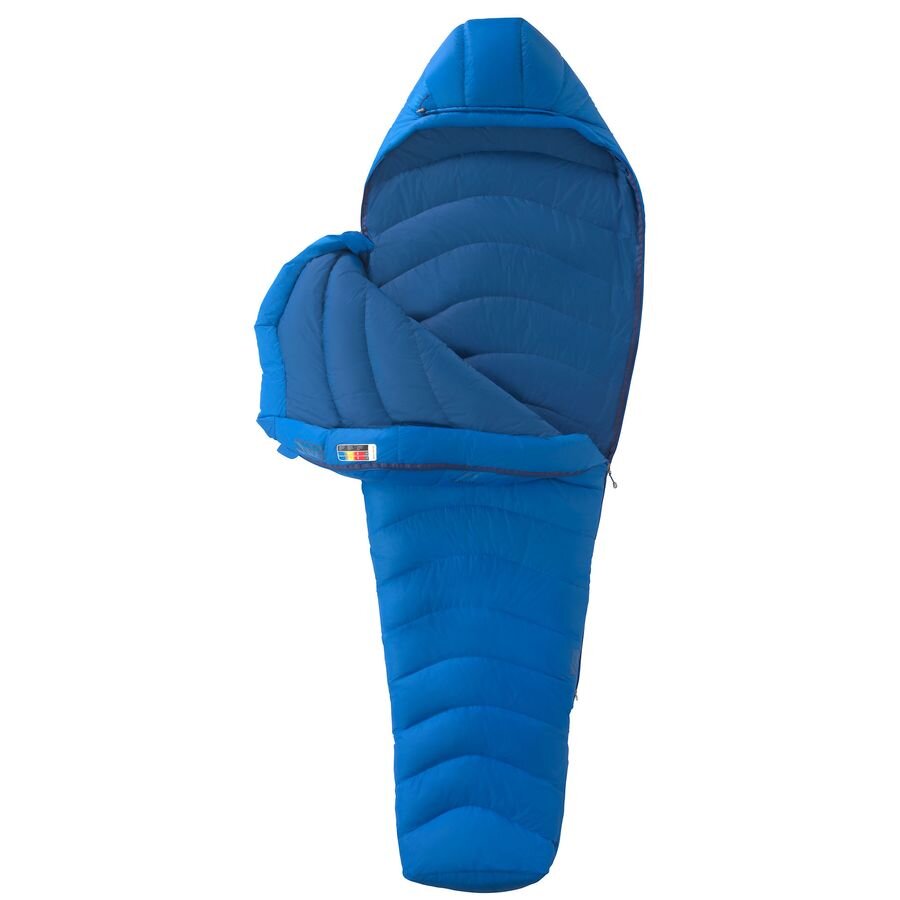
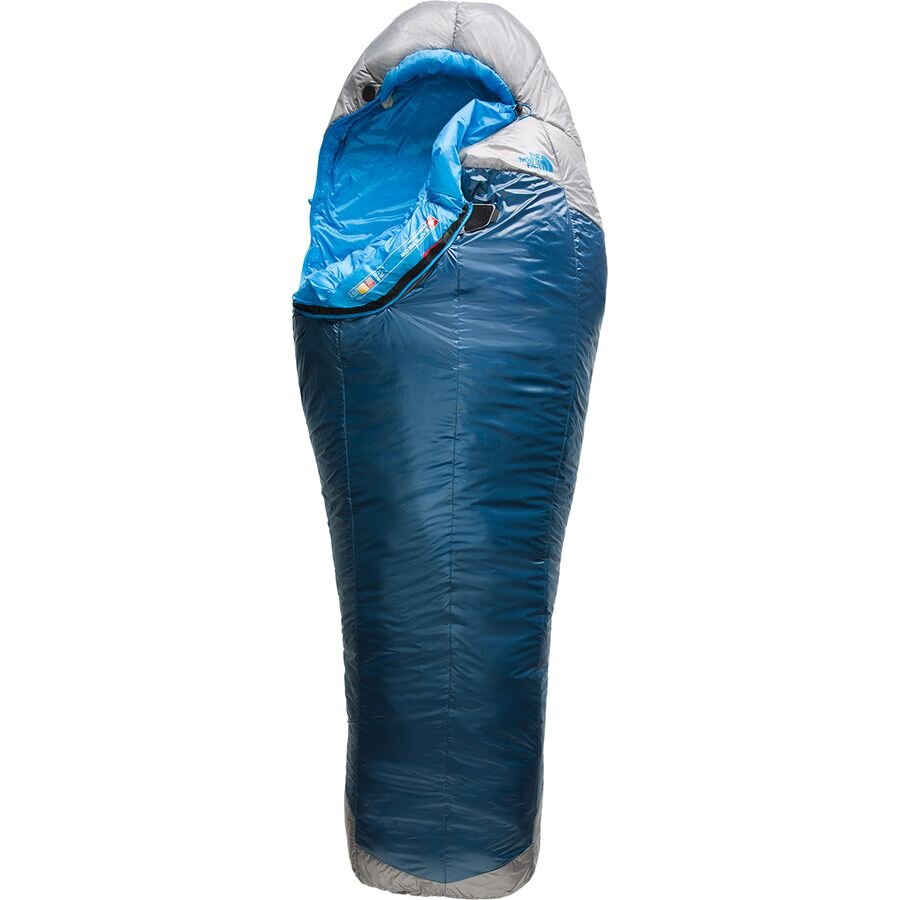
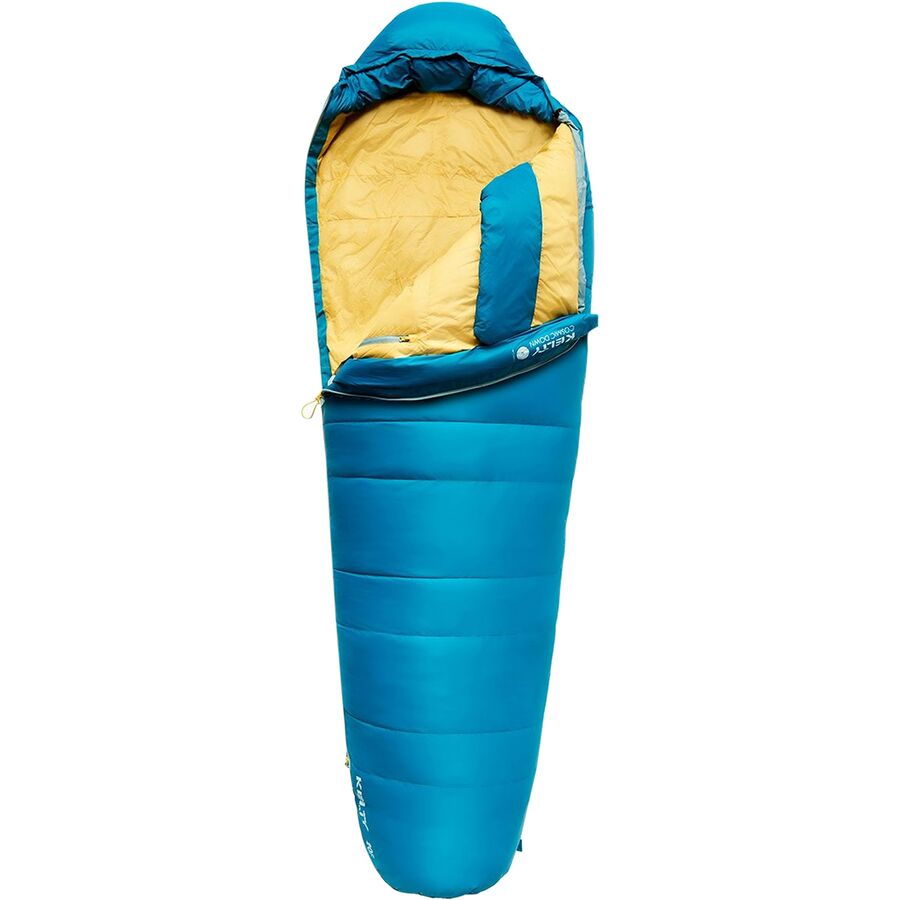
Sleeping bag
The two factors to look at when researching sleeping bags are the weight and the temperature rating. In general, you are looking for a low warmth to weight ratio – meaning that you want the most warmth for the least amount of weight. The appropriate temperature rating for you will depend on where and when you are camping and whether you naturally run hot or cold.
In the end, like all gear, experience is the best litmus test. But, when choosing a sleeping bag based on temperature ratings, I’d say it’s best to air on the side of caution, especially if you’re a cold sleeper. Remember, it’s a lot easier to unzip your sleeping bag to cool down than to increase the warmth by adding extra clothing or layers.
Water treatment
When it comes to water in the wilds, it’s always better to be safe than sorry. Even the most pristine-looking H20 can put you in the hospital if it happens to be home to the wrong type of bacteria. There are many different filtration and purification methods out there, but water treatment drops/tablets are a simple and budget-friendly option when you’re just starting.
Backpacking Stove
Everything tastes better in the backcountry. Especially when it’s hot! And few things suck more than getting to your destination and not being able to cook your food. Take it from me, I’ve been there. So don’t forget your fuel!
The Jetboil Flash Stove is small, durable, and fast. Plus, it’s all in one design makes it an easy choice for a convenient backcountry cook system. Jetboils are designed to do precisely what the name promises: boil water quickly. They are primarily intended for tea, coffee, and dehydrated meals. But I actually use my Jetboil to cook things like Top Ramen and Annie’s Mac and Cheese and have never had any issues.
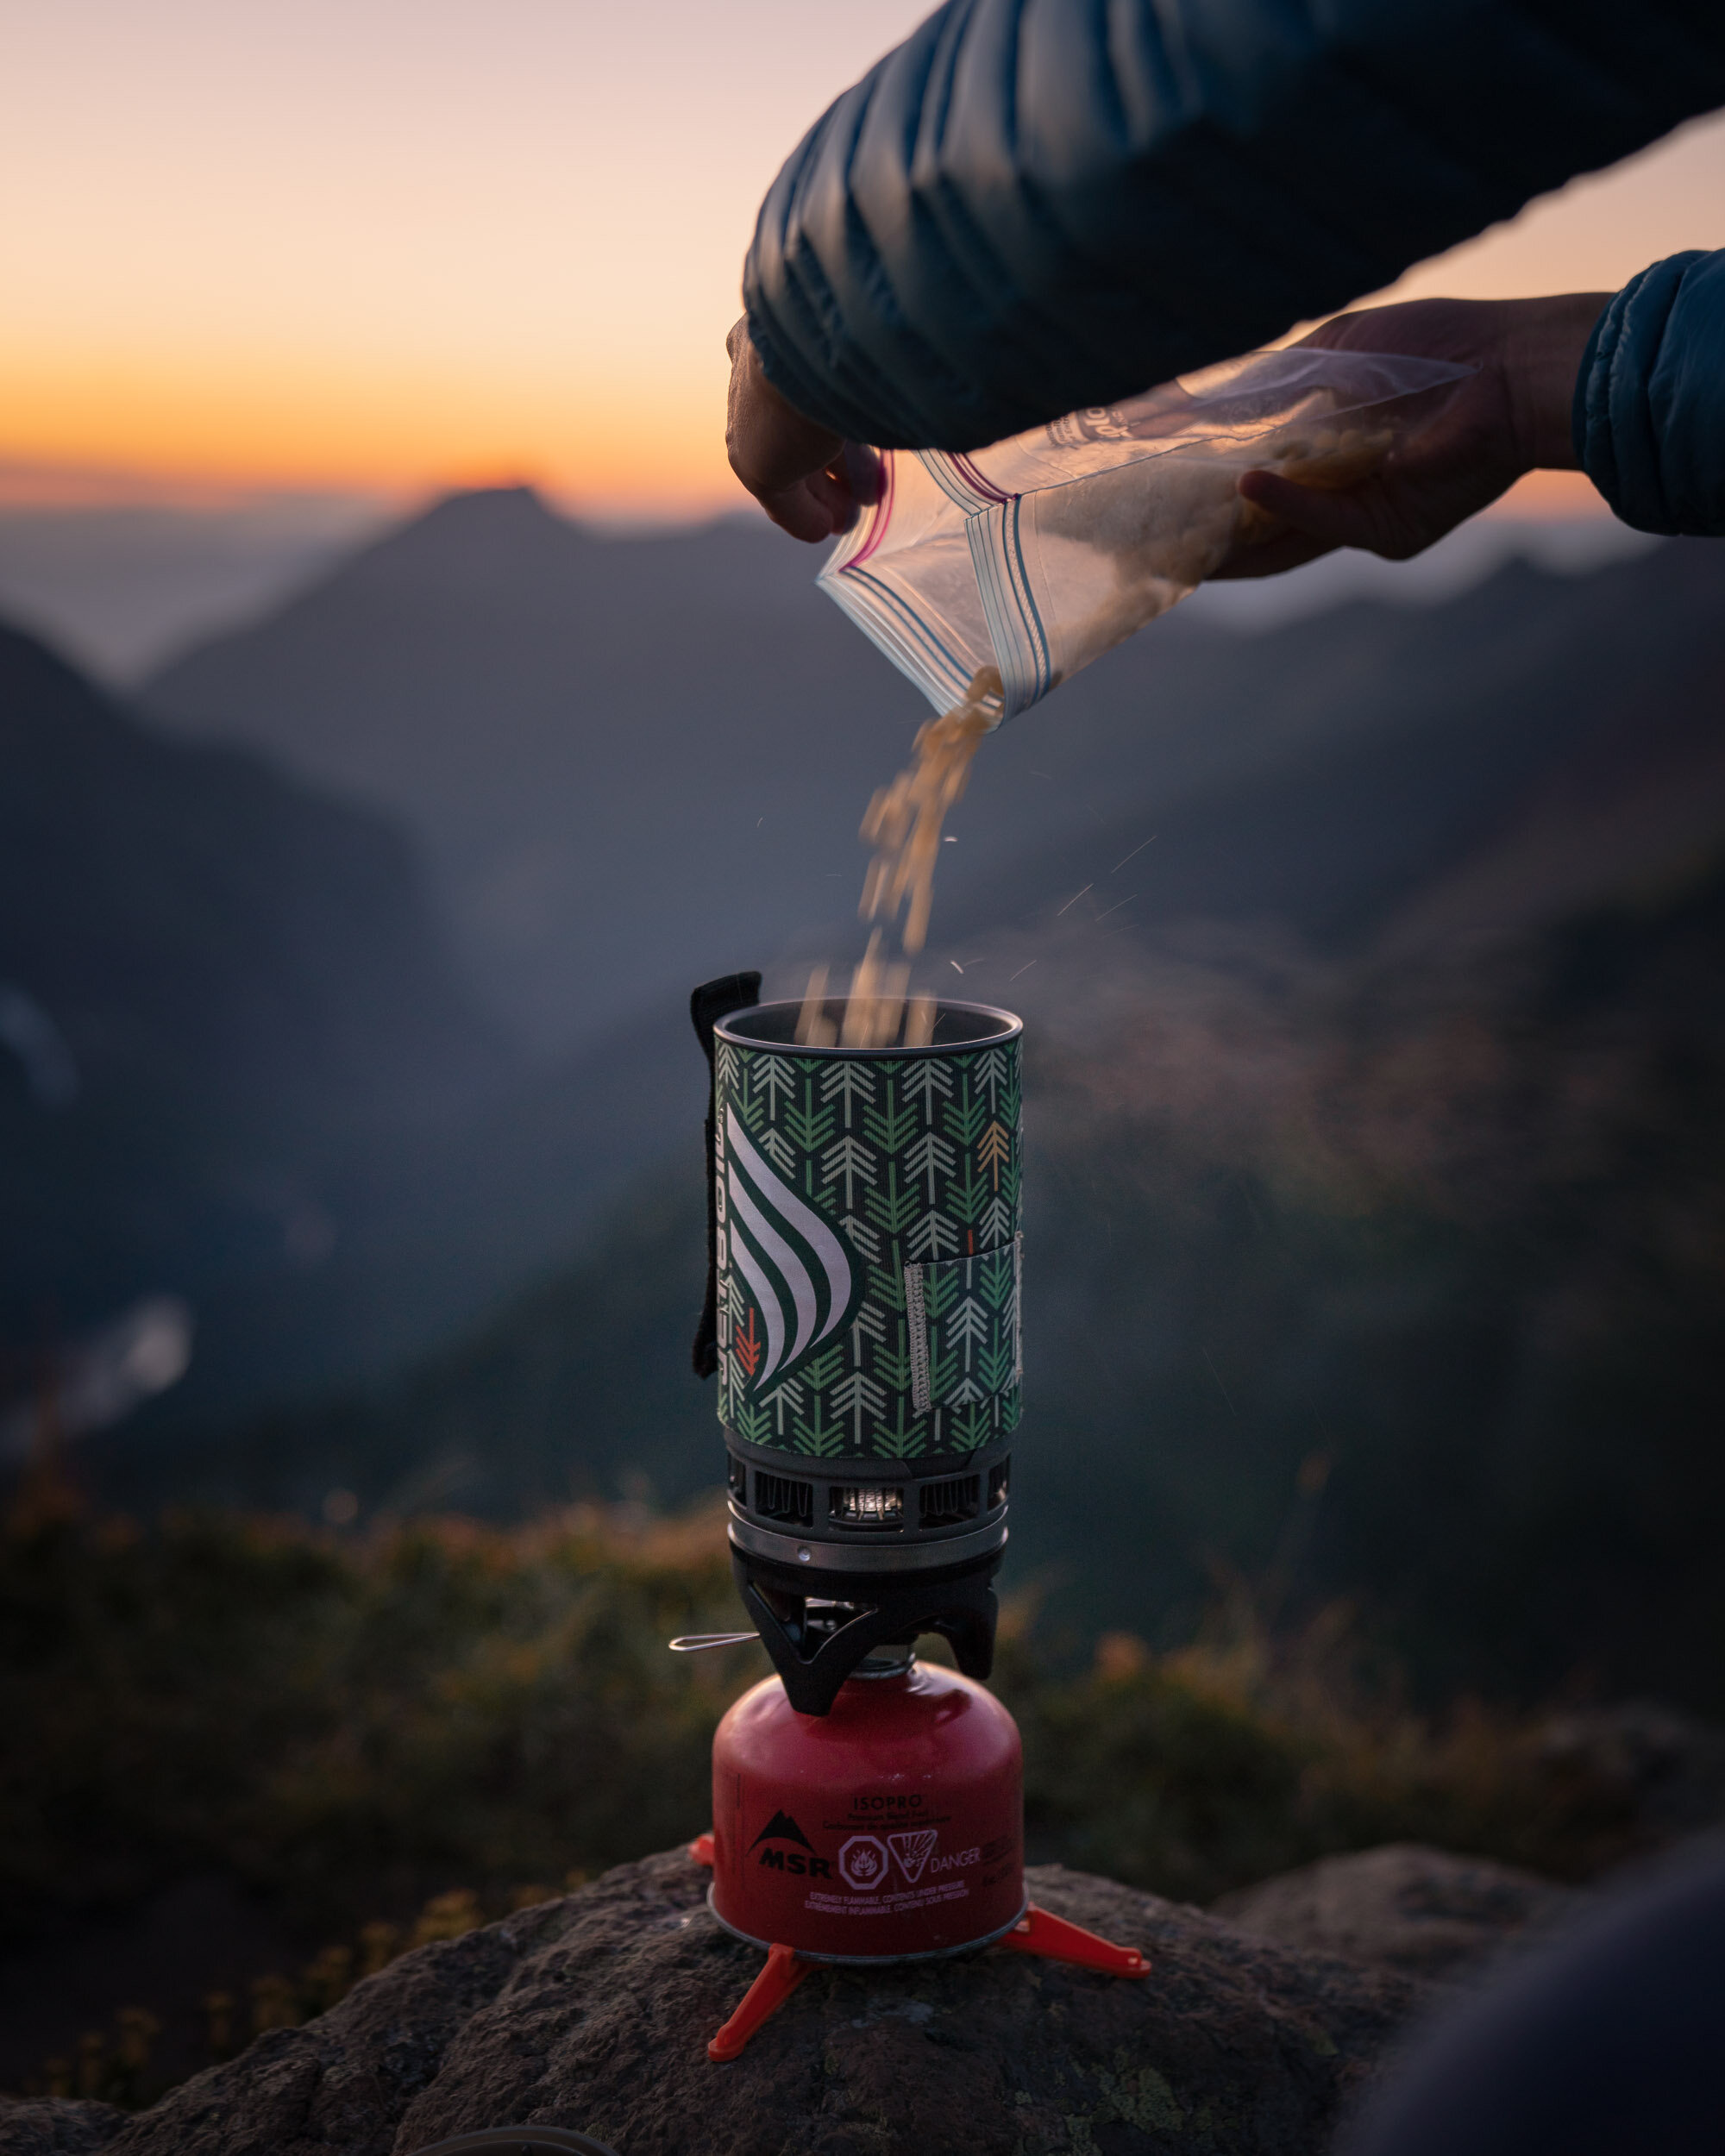
Cooking dinner in my Jetboil Flash.
Kitchen supplies
You don’t need a lot of gear here. I usually eat straight out of my Jetboil or the meal packaging (most freeze-dried meals are made to cook inside the package). In this way, I limit my kitchen supplies to some lightweight utensils. But you may also want to pick up a bowl, cup/mug, and some biodegradable dish soap. If you choose to go with an ultralight cook system like the MSR Pocket Rocket 2, you will also need to bring along a pot or two.
Headlamp
A headlamp isn’t really specific to backpacking. To be safe, you should probably always keep one in your backpack—even if you’re just day hiking. You just never know when you’re going to decide to stay for a summit sunset and need that light to get back down to your car.
Note: It doesn’t matter how old you are, trekking polls can make a world of difference when you’re wearing a heavy pack. Although not essential, trekking poles help reduce the strain and force of gravity on your lower extremities. They also help with balance. Big packs throw your center of gravity off balance, and the first time you have to cross a river, climb down a steep decent, you’ll be glad you have your trekking poles with you!
4. Backpacking Food
The type of food you pack will depend mainly on the length and duration of your backpacking trip. You should plan on packing breakfast, lunch, and dinner for reach day you plan on being on the trail, plus one extra day of food (just in case). Freeze-Dried backpacking meals are an easy (just add water) and lightweight option. I’m personally not a huge fan of backpacking food (although there are some decent options out there). I prefer to go to the grocery store and pick up food that I know I like. Some of my go-to backpacking meals include Top Ramen, Annie’s Mac & Cheese, protein bars, and instant oatmeal.
5. Backpacking Hygiene
Hygiene related questions are actually some of the most common backpacking questions I get asked. And I totally get it! The idea of spending significant time out in nature without access to a bathroom or running water is an intimidating prospect for many people. To be honest, I keep it pretty simple. Over the years, I’ve carved my toiletries down to a few basics that I deem necessary: toothbrush, toothpaste, a small hairbrush, SPF lotion, face wipes, and sanitary/body wipes.
Wipes are the most critical weapon in my backcountry hygiene tool kit. I use them to wash my face, stay fresh down there, and stop bacteria from instigating any serious mischief.
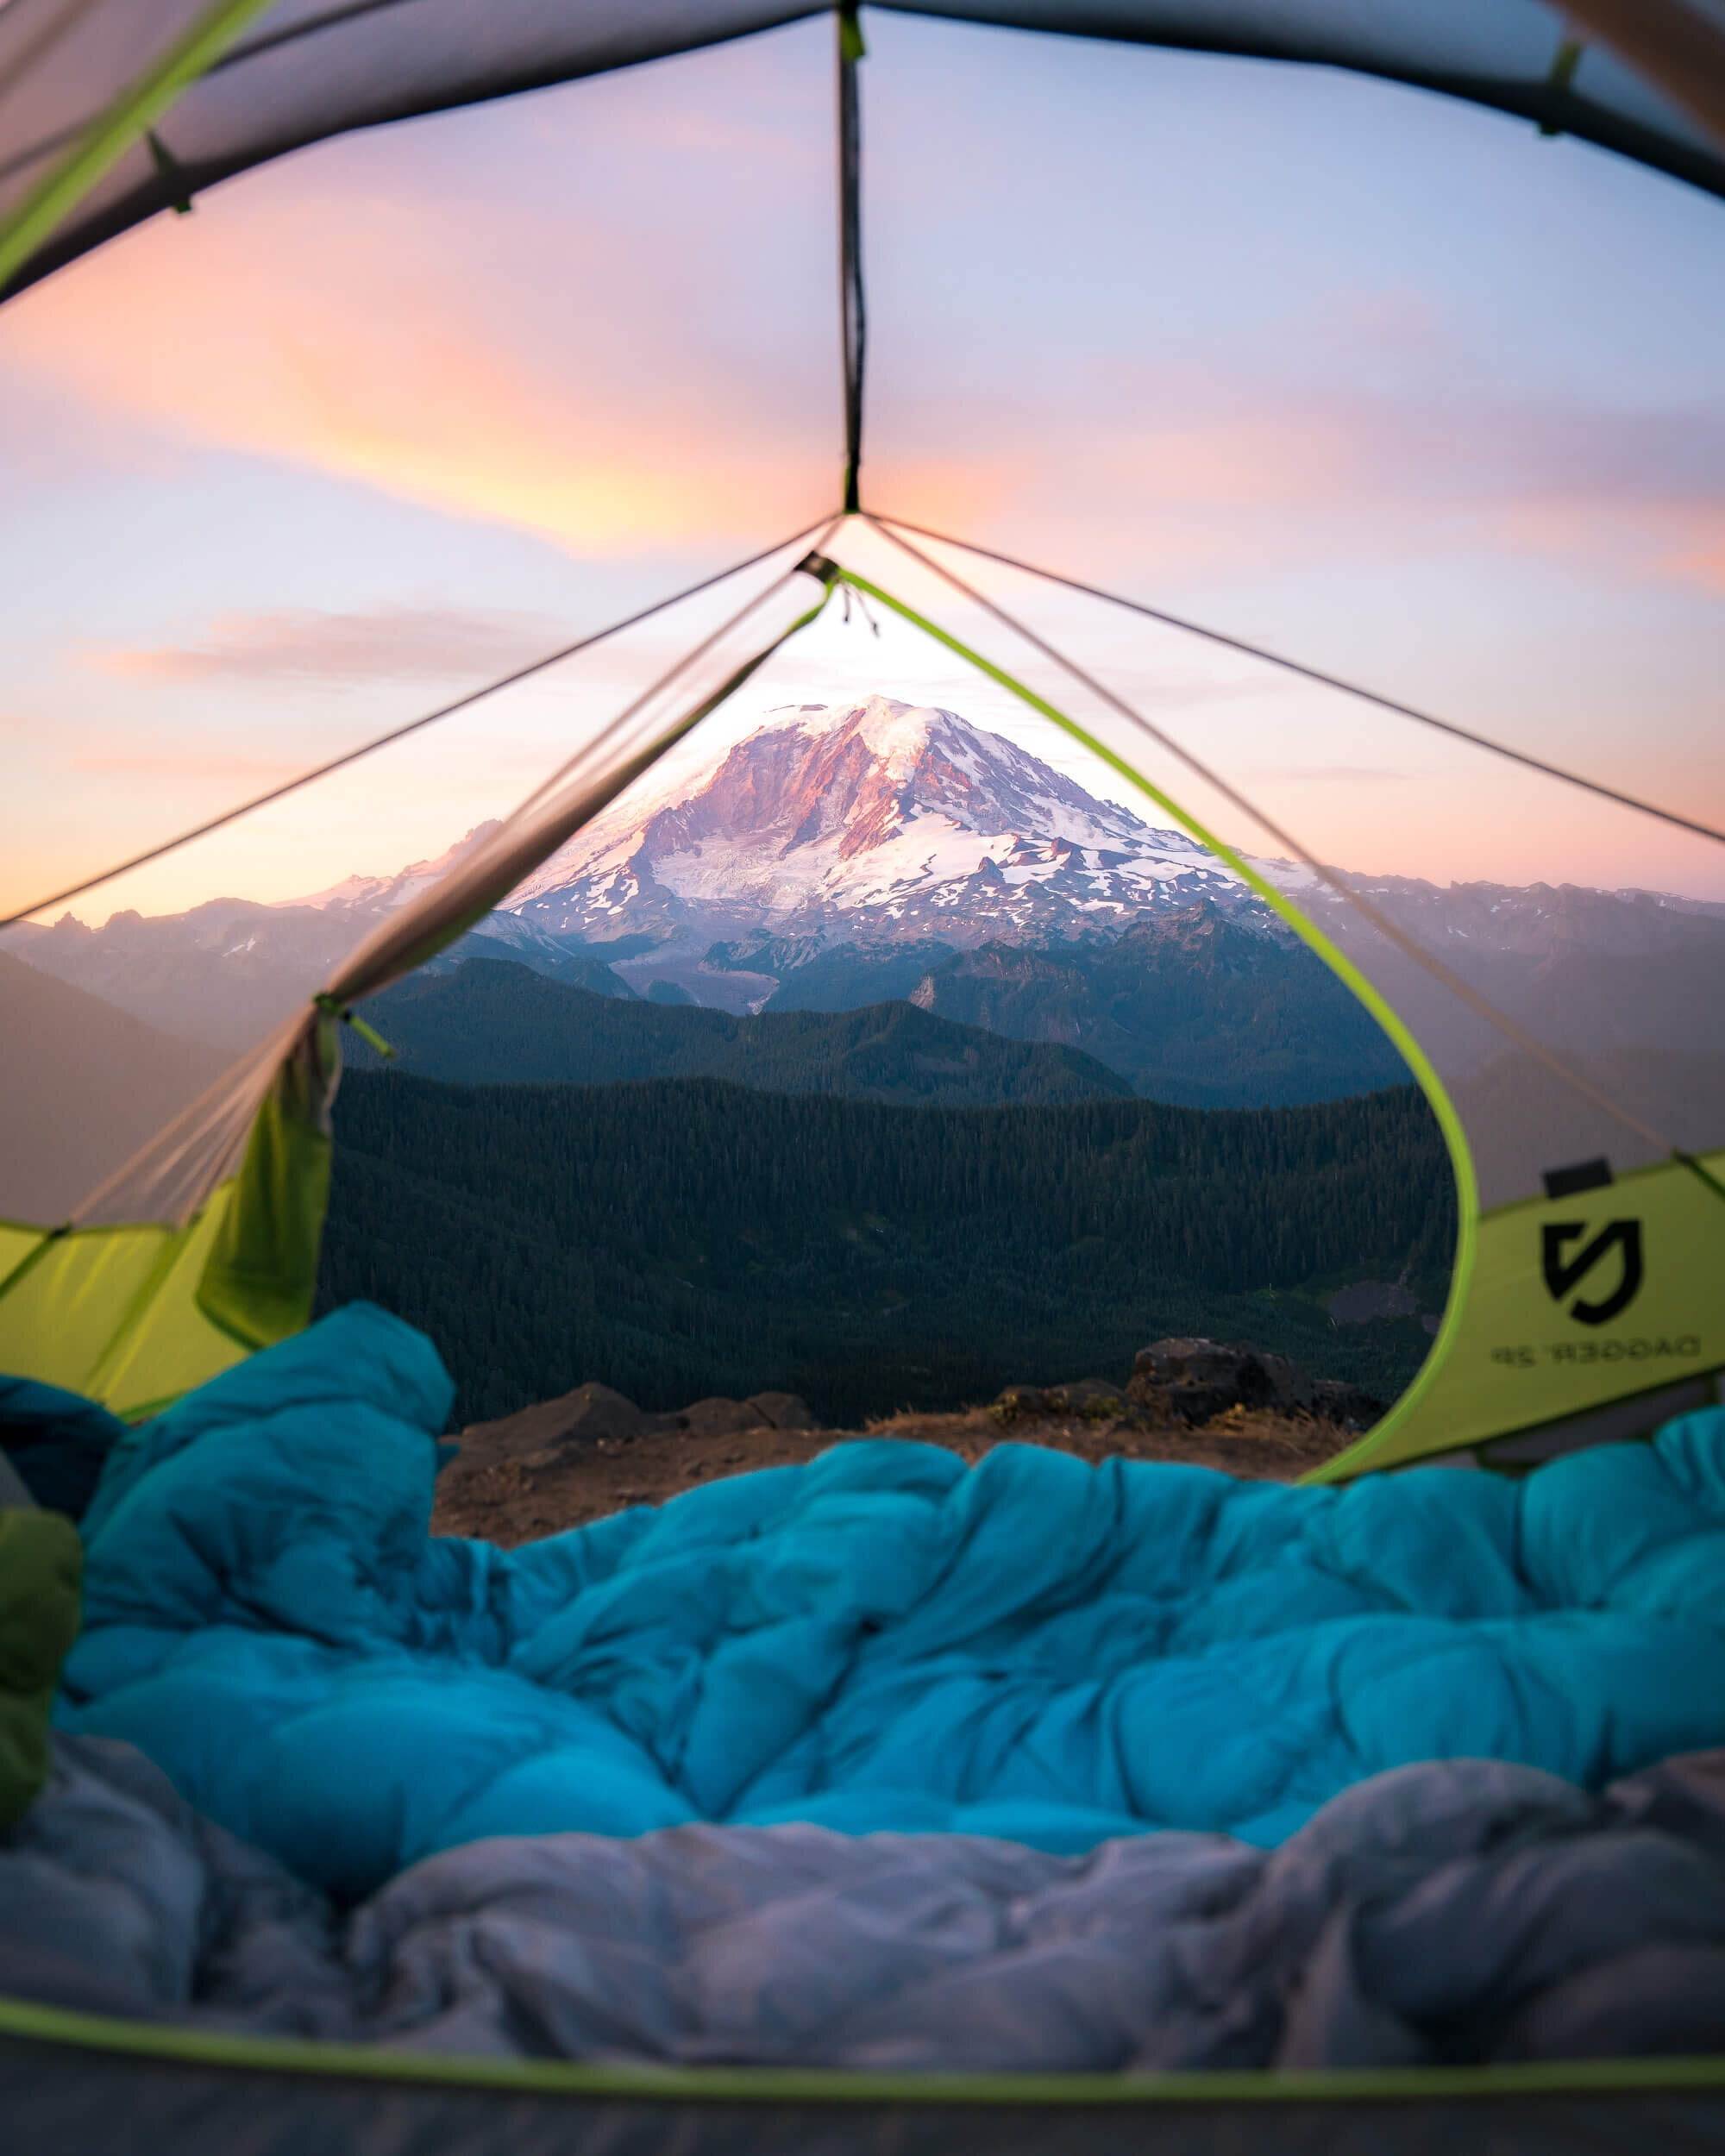
Camp spot at with a view of Mount Rainier in the distance. Shown in photo: NEMO Equipment Tent, Marmot 15 Degree Sleeping Bag.
6. Going To The Bathroom In The Backcountry
It’s not uncommon to find pit toilets (generally just a hole in the ground) at popular backcountry camping sites. When they are available, please use them! However, when no outhouse or designated “toilet” is present, digging a cathode is the most widely accepted method of backcountry human waste disposal. Here’s how it works:
A. Try to pee at least 200 feet from small bodies of water, like streams and ponds. The urine could seep through the soil and contaminate the ecosystem in the water.
So that’s Number One … What about Number Two? If you find yourself in deuce mode without a commode, make sure to pick a secluded spot at least 200 feet from any body of water, campsite, or trail. You want to avoid contaminating the ecosystem.
B. Dig a hole at least 6-8 inches deep. Do your business directly into that hole, then bury it thoroughly. Next, bag any toilet paper in a sealed plastic bag and hike it out.
If all else fails, you can bag up your own poop in a sealed plastic bag and carry it out, like you do when you walk your dog. Make sure the bag is closed! Yes, it’s a little gross … but we didn’t go camping to be comfortable. We went to have an adventure! I recommend picking up a WAG bag just in case you find yourself in this situation.
Regardless of anything I’ve said here, check what the specific regulations are where you are planning on backpacking. Some wilderness areas have stricter human waste disposal rules than others.
Backpacking in Mount Rainier National Park with the HMG 2400 Southwest Backpack.
7. How To Pack Your Backpack
How you pack your gear is partially left to personal preference. But there is definitely a method to the madness. A well-packed backpack will feel a lot lighter and more comfortable than a poorly packed one. Keep in mind that modern backpacks are designed with waist belts that distribute a pack’s weight to your hips and lower body. Take advantage of this!
Typically, you want to pack bulky items first – sleeping bag, sleeping mat, extra clothing (that you won’t need for the hike). Pack the heaviest items in the middle, where you have the most core support. This would include things like food, stove, and your bear canister if you have one. Next, I like to put items that I might want to access quickly on top. So my extra clothing layers, water filter, first aid kit, etc. Small items like my headlamp, snacks, and knife that I use frequently go in my pack’s lid. I personally like to pack my tent first. Given the long narrow shape, I slide it in along the side of my bag. Other people strap their tent to the outside of their pack, and that’s fine too – it’s whatever works for you!
The other big question that people often have is how heavy their pack should be. Your backpack should be no heavier than 20 percent of your body weight. If it’s significantly heavier, try to reevaluate what you are bringing. This will get a lot easier as you spend more time in the backcountry!
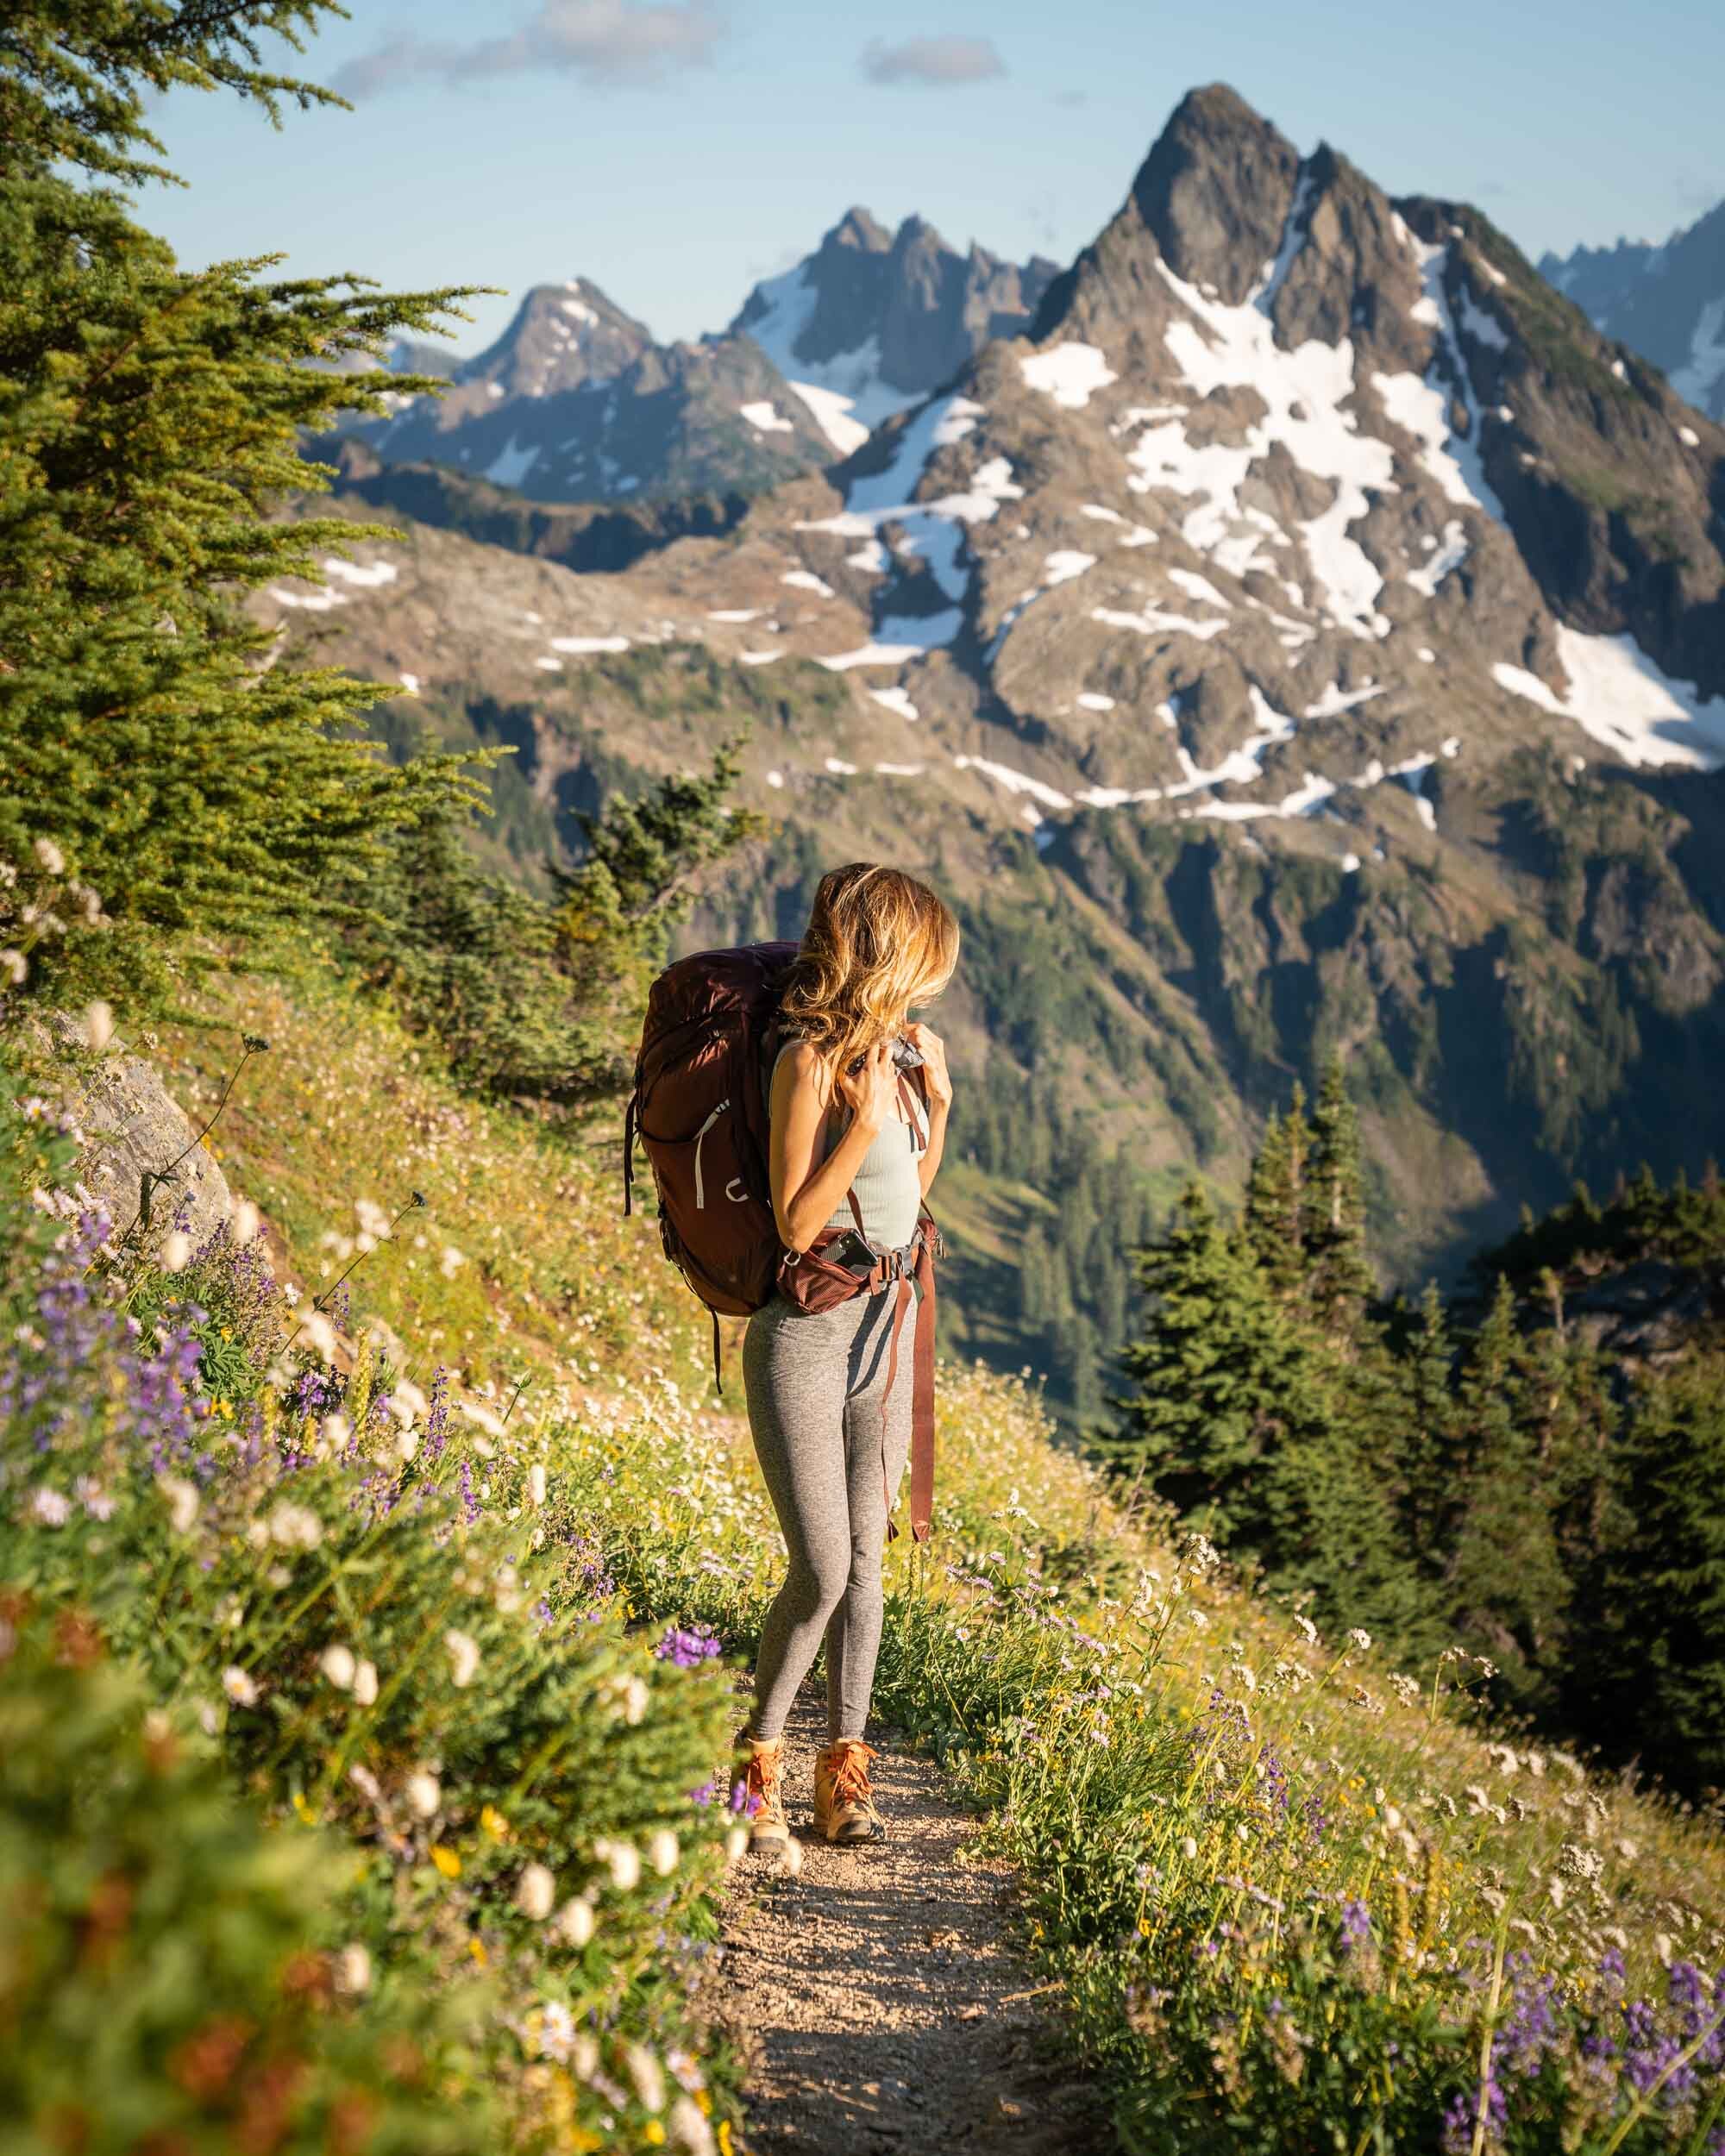
Hiking in the Mount Baker-Snoqualmie National Forest. Wearing: Gregory Maven 55L Backpack, Beyond Yoga Leggings, and Danner Mountain 600 Hiking Boot.
8. Preparing for your backpacking trip
Mentally Prepare for your backpacking Trip
Mentally preparing for a backpacking trip is just as important as your physical preparation. While there’s no substitute for experience, you can build your confidence with a few car camping trips first. Having your car can eliminate some anxiety that you might have about being isolated in nature. It’s something familiar, it allows you to bring more comforts from home, and worst-case scenario you can easily leave. But don’t worry, you won’t want to! And once you’ve tested out all your gear, slept in your tent a couple times, and figured out what you need and what you can live without, you’ll be ready for your first backpacking trip!
Check out my Camping 101 Guide to get started!
Physically Prepare for your backpacking trip
The best way to physically prepare for backpacking is to go hiking! Build up your endurance by incorporating at least one long hike a week. And don’t forget the weight! But if you don’t have time to go hiking every week, that’s okay too. The biggest thing is that you need to get used to carrying your backpacking gear for long distances. This isn’t just about strength. It’s also about building endurance and learning how your body moves differently with a backpack on. Don’t be afraid to take some long walks around your local park or neighborhood with your pack on as if you are going backpacking. The stair master at your gym is also a great option!
Backpacking in New Zealand in the Marmot Tungsten 2P UL Tent.
Figure out backpacking destination logistics
No two trails are the same, and it’s essential to do your research in advance. Usually, you won’t have service at the trailhead, so plan ahead. At a minimum you need to look into details like permit requirements, camping regulations, water sources, and parking logistics before leaving.
Be Bear Aware
Part of your preparation before any backpacking trip will include researching the local wildlife. In particular, you want to be bear aware. For instance, in Washington, some areas require that you store all your food inside a bear canister (the Bear Vault is a great option). In contrast, other areas simply ask that you hang your food from a tree a distance away from where you set up camp. Other destinations will necessitate bear spray. You should also look into which type of bears you are most likely to run into.
Check the weather before you leave
Always check the weather before leaving on a backpacking trip. If conditions look dicey, be prepared to call off your trip. Even if the weather looks perfect, remember that conditions change abruptly in the mountains, and pack accordingly!
Let someone know where you are going and when you’ll be back
If you’ve seen 127 Hours, it should be pretty clear why you want to let someone know where you’re going and when you’ll be back. And if you haven’t seen it – Do. This is one lesson that’s best learned through someone else experience! Of course, as we’ve already discussed multiple times, stuff happens. You don’t want your loved ones to call search and rescue the minute your expected return time elapses. Sometimes it takes longer to get service than you expect, or the photo ops on the way out are just too good to pass up. So I would suggest giving two times: The time you anticipate having service again, and the time after which it would be appropriate to call for help.
9. Leave No Trace
If you love the outdoors enough to want to spend the night, then you should also want to minimize the impact you have on the landscape while you’re out there! After all, a clean home is a happy home. Leave No Trace is built on seven core principles that outline the best available minimum impact guidance for enjoying the outdoors responsibly. The Leave No Trace principles aren’t black or white, right or wrong. They aren’t about exclusion or preventing people from using our public lands. Instead, Leave No Trace provides a framework for making good decisions about enjoying the outdoors responsibly. The seven core principles include:
-
Plan Ahead and Prepare
-
Travel and Camp on Durable Surfaces
-
Dispose of Waste Properly
-
Leave What You Find
-
Minimize Campfire Impacts
-
Respect Wildlife
-
Be Considerate of Other Visitors
© 1999 by the Leave No Trace Center for Outdoor Ethics: www.LNT.org. I encourage you to visit The Leave No Trace Center for Outdoor Ethics for more information on how you can protect the beautiful places we all love so much.
Backpacking in Washington. Shown in photo: Gregory Maven 55L Backpack, Beyond Yoga Leggings, and Danner Mountain 600 Hiking Boot, and Big Agnes Copper Spur HV UL2 Tent.
10. Practice Makes Perfect
At the end of the day, there’s no substitute for experience. I’ve been backpacking for the better part of 30 years, and I rarely finish a backpacking trip without learning something new. You aren’t always going to get it right, and that’s okay. Every time you go backpacking, keep track of the items you used the most, which ones you don’t use, and which ones you wish you had. Through experience, you will lighten your load and become more efficient in the backcountry. And most importantly, you’ll figure out what works best for you.
Please note that this blog post includes affiliate links. If you do choose to purchase something, I may earn a small commission – at no additional cost to you. As always, all ideas and opinions expressed in this post are entirely my own.
Thank you so much for your support! Happy Adventuring. – jess
RELATED POSTS
My Favorite Hikes In Washington State


Thinking about going backpacking for the first time. Your blog was super helpful and recommendations just made it easy!
Thanks so great to hear Karen! I hope you have a wonderful time when you go. 🙂
I love gear posts! It may sound silly, but researching and adding stuff to my gear closet is just another fun aspect of backcountry camping (besides the wildlife, beautiful landscapes, and solitude.) One note, does your "JESS15" code work with Backcountry’s current Labor Day sale? I just went on to grab some things I’ve been eyeing, and when trying to use your code, and error occurs stating "No coupon could be found for the claim code: JESS15". I just wanted to inquire about that!
Hi Shelby! I feel the same way about gear. 🙂
I sent a message to Backcountry asking them to make sure my code is working. But in general I don’t think that it works on top of items that are already on sale. So if you’re shopping the Labor Day Sale that might be the issue. It should take 15% off any/all full price items in your cart though.
Thanks for this. I’ve been day hikin for a few years on and off. And now looking to plan m first overnight trip. This has been a great help!
That’s fantastic to hear Kim! There’s nothing quite like waking up in the mountains. Best of luck on all your hiking and camping adventures in 2021! 🙂
Great post, Jess…though I bought a tent a couple years ago for a trip with my daughter in the White Mountains of New Hampshire, that Big Agnes looks like a keeper. As I am finding out reading your blog, all well written and thought out!
Thanks Rob! Yeah, I really like Big Agnes tents in general. I feel like they design tents that achieve a great balance between function, design, and portability. Can’t wait to get back out there next summer!
Thank you for listing backpacking gear for outdoor activities.